

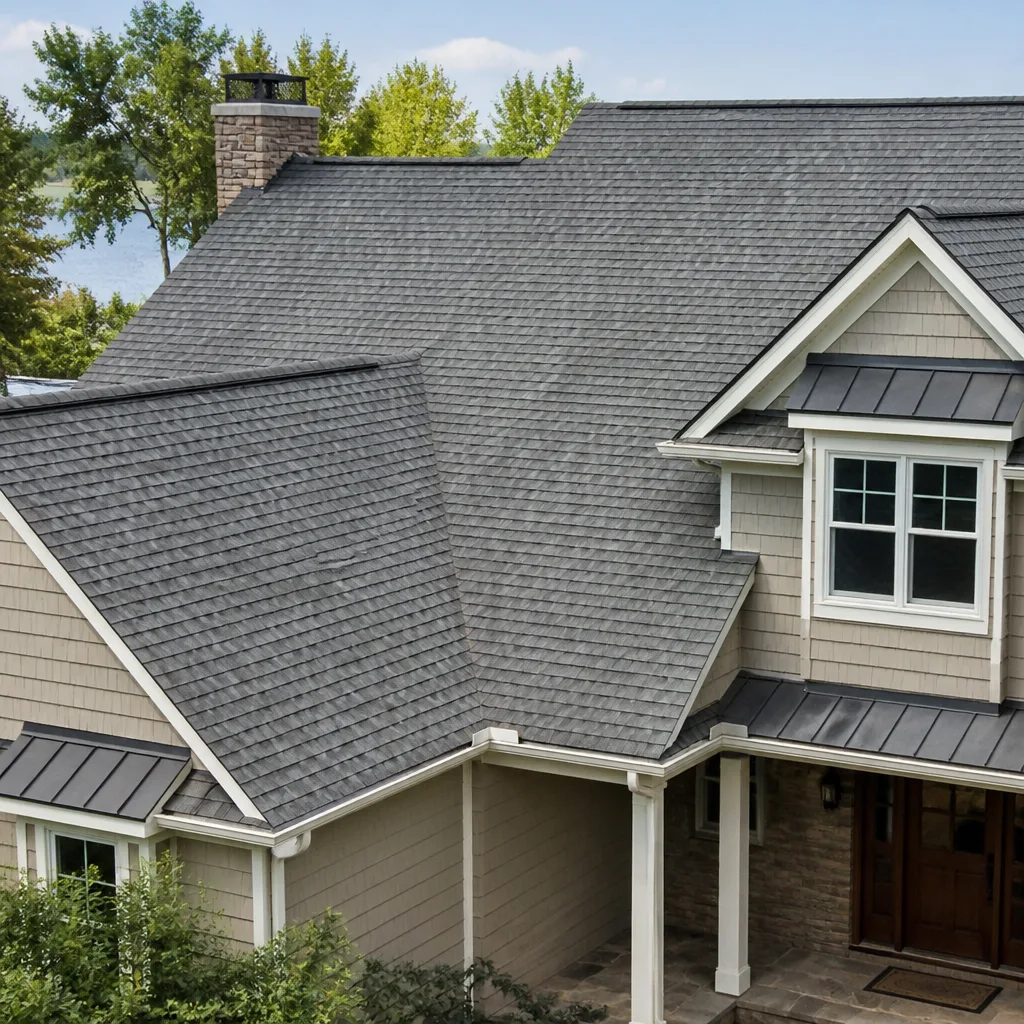
 Roofing
 Kitchen remodeling
 Bathroom remodeling
 Home additions & ADU
 Windows & doors
 Driveway & pavers
 Fence
Free written scope consultation - allowances, timeline, and change-order rules on paper before a single trade is scheduled
Tile Roofing in Richmond, CA: What It Costs and How Long It Takes
Tile roofing in Richmond, CA usually runs $600 – $2,500 for a targeted repair and $8,000 – $20,000 for a full replacement, with most repairs finished in a day and full tear-offs taking three to six working days depending on roof size and pitch. Call (833) 997-7759 for a free on-site estimate and a written line-item quote. The number you see is the number you pay.
Key Takeaways
- Tile repairs in Richmond start at $600 and top out near $2,500 for broken field tile, slipped courses, or failed flashing.
- Salt air off the bay eats fasteners and flashing long before the tile itself fails – that’s the number-one call we get here.
- Most Richmond tile jobs need a permit, and older 1910s – 1950s homes often need sheathing repairs once the old underlayment comes up.
- Every job is backed by our 730-Day Done Right Promise, and we answer the phone with a live person, 24/7.
How We Do Tile Roofing in Richmond, Start to Finish
Tile is a heavy, layered system, and the sequence matters more than on asphalt. Here’s what happens on a real Richmond tile job, stage by stage.
Stage 1: Roof inspection and scope (day 1, 1 – 2 hours)
We walk the roof and the attic, check the underlayment, the flashing at chimneys and valleys, and the condition of the fasteners holding each course. On Richmond homes we specifically look for corrosion at the nails and the metal drip edge, because the marine air does the most damage at the fasteners. You get a written scope and a fixed price before anything moves.
Stage 2: Tear-off and decking check (days 1 – 2)
We lift the existing tile and store it if it’s reusable, then strip the old underlayment down to the sheathing. On a 1920s bungalow in 94801 or 94804, this is where soft or rotted deck boards usually show up – the original wood sheathing didn’t get the ventilation it needed. We photograph everything and price the deck repairs before we proceed, so there are no surprises mid-job.
Stage 3: Underlayment and flashing (day 2 – 3)
New underlayment goes down as a full system: an ice-and-water membrane at the valleys and eaves, then a high-temp synthetic underlayment across the field. Flashing at the chimney, skylights, and wall intersections gets replaced, not patched. This is the layer that actually keeps Richmond’s wet winters out, and it’s the layer homeowners never see, so we document it.
Stage 4: Tile installation (days 3 – 5)
Courses go up from the eave, fastened with corrosion-resistant screws or ring-shank nails rated for coastal exposure. You decide here between a dry-laid or mortar-set hip and ridge, and whether to match the existing tile or upgrade to a different profile. Ridges, hips, and valleys get finished last.
Stage 5: Final walkthrough and cleanup (day 5 – 6)
We sweep the gutters, magnet-sweep the yard and driveway for stray nails, and walk the roof with you to show the finished work and the photographs of the layers you can’t see from the ground. Then we hand over the workmanship paperwork and the 730-Day Done Right Promise.
Styles & brands we work with
- Kitchen remodeling
- Bathroom remodeling
- Home additions & ADU
- Roofing
- Windows & doors
- Driveway & pavers
- Fence
The Tile and Underlayment Choices You’ll Weigh
Tile isn’t one product – it’s a family of materials with very different price and lifespan profiles. Here’s the honest trade-off on each.
- Clay barrel tile: the classic look, 50+ year lifespan, the most expensive per square. Best for a historic Richmond home where curb appeal is the whole point.
- Concrete tile: the most common tile we install in Richmond – lighter than clay, roughly 40 – 50 years of life, and a lower price per square. Wide range of colors and profiles.
- Interlocking flat tile: a modern, low-profile concrete tile that goes down faster, which lowers labor. Good for a clean contemporary look on a stucco facade.
- Synthetic composite tile: a lighter, engineered product that mimics clay. Useful when the existing roof framing wasn’t built for the weight of real tile.
- Underlayment grade: standard felt is cheap and short-lived; a high-temp synthetic or peel-and-stick membrane costs more but is what protects the deck under a tile roof for decades. In Richmond’s wet winters, we don’t cut this corner.
- Fastener and flashing metal: galvanized or stainless hardware costs more than plain steel but survives the salt air years longer. On a coastal Richmond roof, this is the single biggest longevity decision you’ll make.
What Tile Roofing Costs in Richmond, CA
Tile roof repair in Richmond runs $600 – $2,500 for the typical job – a broken field tile, a slipped course, failed flashing, or a leak at a valley. A full replacement lands $8,000 – $20,000, and occasionally higher. Five variables push a job toward the low or high end.
What moves the number
- Roof size and pitch: a steep two-story roof takes more time and staging than a low single-story, so labor climbs.
- Existing condition: a clean tear-off is straightforward; rotted sheathing, old multiple layers, or a leaking deck adds repair hours.
- Tile choice: clay barrel sits at the top of the range, concrete and interlocking flat in the middle, and a matched repair or partial section at the bottom.
- Underlayment and flashing scope: a system-level rebuild with new membrane and flashing costs more than an overlay, but it’s the difference between a 10-year roof and a 40-year one.
- Permit scope: the City of Richmond permit and inspection is a real line item, and it’s non-negotiable on a full replacement.
What a written estimate includes – and what it doesn’t
Our estimate covers tear-off, underlayment, flashing, tile, labor, permit, and cleanup, line by line, so you can compare apples to apples. What it doesn’t cover, and we’ll flag in writing, is hidden deck rot or structural repair discovered after the tear-off – those get priced and approved before we proceed, never tacked on later as a surprise. Upfront pricing, no surprises.
See the difference
 Before
 After
 Before
 After
 Before
 After
What Richmond Homes Specifically Do to a Tile Roof Job
Richmond is a former WWII shipyard boomtown, and much of its housing stock still shows it: rows of wartime duplexes and bungalows in ZIPs like 94801 and 94804, built between the 1910s and 1950s, with small stucco and wood-frame construction sitting on pier-and-post foundations. That build era shapes this job in ways you won’t hit in neighboring San Pablo or El Cerrito. The original sheathing and ventilation are often undersized for a modern tile system, and the marine air off the bay accelerates corrosion on fasteners, flashing, and drip edge long before the tile itself fails. Cool, wet winters expose any weak flashing to moisture intrusion, which is why we inspect the flashing and underlayment as seriously as the tile. Any work that touches the roof structure can trigger seismic review on those pier-and-post foundations, so pulling the City of Richmond permit up front – not after the fact – keeps the job on schedule. For wider project context, this tile work is often part of a full Roofing in Richmond scope, and homeowners planning a larger exterior upgrade sometimes pair it with Impact Windows & Doors in Richmond or Energy-Efficient Windows in Richmond to tighten the envelope in one pass.
Serving Richmond, CA – Our Local Coverage Area
We serve Richmond and nearby communities. Use the map below to see the area we cover. If you’re nearby, we can almost certainly help.
Frequently Asked – Tile Roofing in Richmond
A full tile replacement typically takes three to six working days once materials are on site; most repairs finish in a single day. Cool, wet winter weather can push exterior work back a day or two, so we schedule with a weather buffer built in. Call (833) 997-7759 and we’ll give you a realistic start date, not an optimistic one.
Yes – a full tile replacement in Richmond requires a permit and an inspection, and we pull it for you. We handle the paperwork and coordinate the inspection so it doesn’t sit idle waiting on you. It’s part of the written line-item estimate.
Often yes. If the field tile is mostly sound and the leak is at a valley, flashing, or a slipped course, a targeted repair in the $600 – $2,500 range usually solves it. We’ll tell you honestly when a repair will hold and when it’s throwing money at a roof that’s at the end of its life. Call for a free inspection and a straight answer.
Repairs run $600 – $2,500, and a full replacement lands $8,000 – $20,000, depending on roof size, pitch, tile choice, and how much sheathing repair is needed. Call (833) 997-7759 for an exact quote – estimates are free and we put the price in writing.
Every tile roofing job we do is backed by our 730-Day Done Right Promise – if it’s not done right, we make it right. We also carry the manufacturer’s warranty on the tile and underlayment. You get the coverage in writing, and we stand behind it.
Get a Free Tile Roofing Estimate in Richmond
Ready to stop guessing what your tile roof needs? Call (833) 997-7759 for a free on-site estimate on tile roofing in Richmond. A live person answers, 24/7, and we’ll schedule a visit that fits your week. You’ll get a written, line-item quote, a clear timeline, and a straight answer on whether you need a repair or a replacement. If you’re weighing the bigger picture, our roofing service and our Richmond coverage page lay out the rest.
Written by the team at Groundwork Construction Co. of Oakland.