
Last updated November 17, 2026
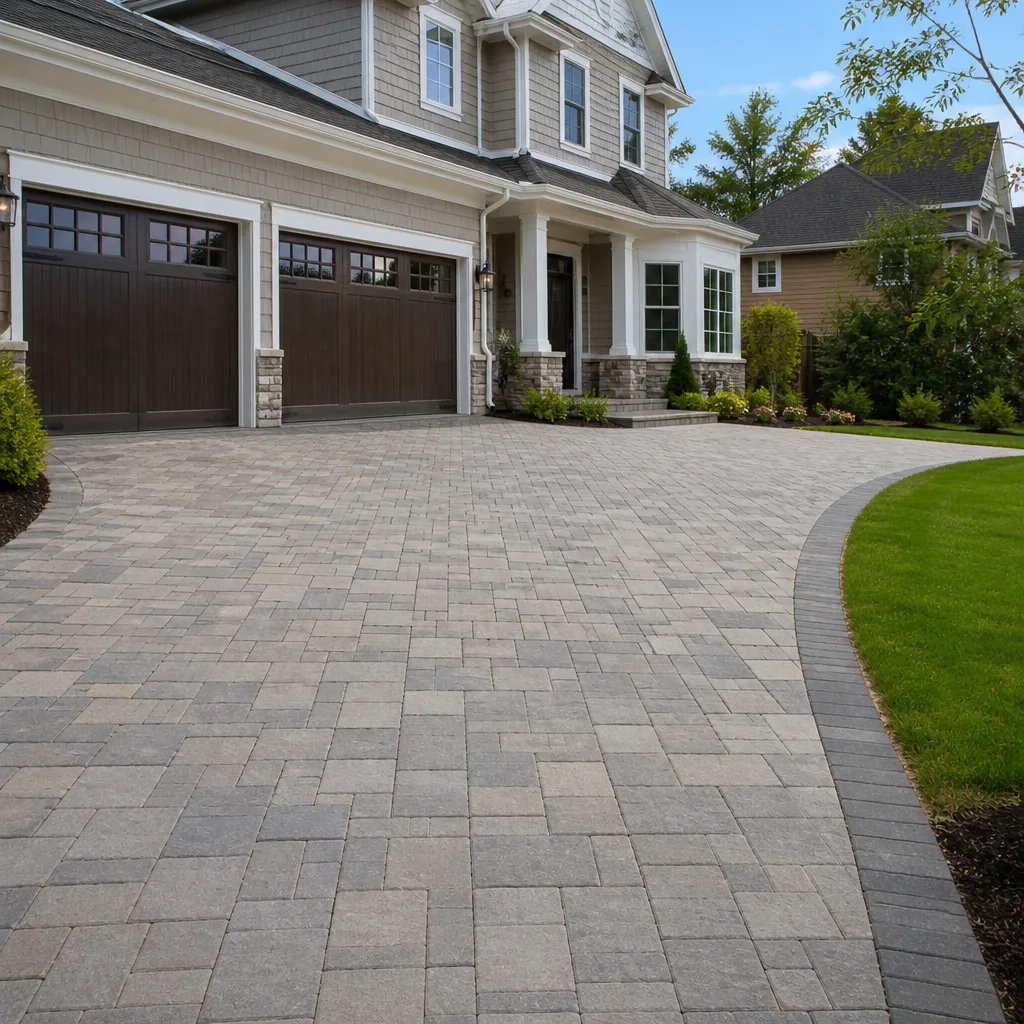 Driveway & pavers
 Kitchen remodeling
 Bathroom remodeling
 Home additions & ADU
 Roofing
 Windows & doors
 Fence
Free written scope consultation - allowances, timeline, and change-order rules on paper before a single trade is scheduled
DIY vs Professional Driveway & Pavers: What’s Safe to Do Yourself
Plenty of homeowners have laid driveway pavers that looked flawless on day one and were rocking, sinking, and pooling water by year three. Every one of them made the same mistake inside the first two hours of the project, and it had nothing to do with how carefully they set the stones. It was the base. This guide is about that gap: the excavation, compaction, and edge restraint work that decides whether a driveway in Oakland survives a decade of winter rain or fails after a single wet season. We’ll cover which jobs you can genuinely take on yourself, which ones will cost you more in the end, and how to read a contractor’s quote so you know what you’re actually paying for.
Quick Answer
Cleaning, small repairs, and resealing an existing paver driveway are genuinely safe and cost-effective to do yourself. Building a new driveway is not, because the part that determines whether it lasts – excavating to proper depth, compacting in lifts, testing density, and installing edge restraints correctly – needs equipment and judgment most homeowners don’t have. Hire a pro for any new install or full replacement, especially in Oakland where clay soil and a rainy season punish a weak base.
Styles & brands we work with
- Kitchen remodeling
- Bathroom remodeling
- Home additions & ADU
- Roofing
- Windows & doors
- Driveway & pavers
- Fence
Table of Contents
- Why the Base Decides Everything
- Renting a Plate Compactor vs Knowing How to Run One
- What’s Safe to Do Yourself
- The Equipment Homeowners Underestimate
- The Oakland Sidewalk Liability Problem
- How to Tell If a Contractor’s Quote Is Fair
- Oakland’s Soil and Rain: What They Do to Pavers
- Common Mistakes to Avoid
Why the Base Decides Everything
A paver driveway is a base with a thin skin of stone on top. The pavers are the visible part, maybe 2 inches of it. Underneath sits a compacted layer of aggregate base, typically 4 to 8 inches deep depending on load and soil, and the whole thing rests on properly prepared subgrade. When that base is right, the pavers sit still and shed water. When it’s wrong, no amount of careful laying saves it. You get settlement, heaving, shifting joints, and sand washing out from between the stones.
This is where the YouTube-confident crowd goes wrong. The videos skip over base work because it’s slow, dusty, and boring to film. So people excavate three inches deep, dump a bag or two of gravel, run a plate compactor over it once, and start laying. Within a year, the material has settled unevenly, water has found a low spot, and the pavers are rocking.
In our experience around Oakland, base failures show up fast because of the soil. Much of the East Bay sits on expansive clay – it swells when wet and shrinks when dry. That movement transfers straight up through a thin base into the pavers. A properly built base spreads the load and buffers that movement. A shallow one doesn’t.
What proper base work actually involves
- Excavate to the full depth: paver thickness plus bedding sand plus compacted base, measured off the finished grade you want.
- Proof-roll and compact the subgrade before anything goes on it.
- Place aggregate base in lifts of 2 to 4 inches and compact each lift separately.
- Test density as you go – you can’t eyeball compaction.
- Set edge restraints and anchor them into the base, not just the surface.
- Screed the bedding sand to a consistent depth and lay the pavers.
- Compact again, then sweep joint sand in and compact a final time.
That’s the sequence every competent crew follows. It’s also why a proper driveway job takes days, not hours. If you’re planning a full replacement and want to understand what a well-built one looks like, our Driveway & Pavers in Oakland page walks through the process.
Renting a Plate Compactor vs Knowing How to Run One
You can rent a plate compactor for a day at most tool rental yards in Oakland. Renting it is easy. Using it correctly is a skill, and the gap between the two is where DIY base work falls apart.
Compaction isn’t “go over it a few times.” It’s a function of machine weight, vibration frequency, number of passes, moisture content of the material, and lift thickness. Run the machine too fast or with lifts that are too deep, and the top surface looks hard while the layer underneath stays loose. Walk away, and that loose layer settles under load. Compact when the material is bone dry and it won’t lock together. Over-wet it and it turns to mush that never reaches density.
The machine also has a tell. A plate compactor jumping and bouncing across the surface usually means the material is too dry or the lift is too thick. A pro reads that and adjusts. A first-timer keeps going and assumes it’s working. Then the season turns, the base moves, and the pavers tell the truth.
What “testing density” means in practice
Commercial crews use a device like a nuclear density gauge or a Clegg hammer to confirm each lift hit its target. Some use a simple proof-rolling method with a loaded truck. You don’t need to buy a gauge to understand the point: compaction is measured, not guessed. If a contractor’s crew compacts by feel with no testing step, ask how they verify each lift. The answer tells you a lot.
This is the heart of the DIY vs professional driveway pavers question. It’s not whether you can place stones neatly. It’s whether you’re equipped to build a base that won’t move, and that starts with the right machine run the right way.
What’s Safe to Do Yourself
Not every paver job needs a crew. Several tasks are genuinely within reach for a careful homeowner, and doing them yourself saves real money without risking the structure underneath.
- Cleaning. Pressure washing at moderate pressure, or a stiff broom and a mild detergent, clears moss, dirt, and the occasional oil stain. Use a wide fan tip and keep the wand moving so you don’t blast the joint sand out.
- Replacing joint sand. Over time sand washes out of the joints, especially after heavy rain. Sweeping fresh polymeric or regular joint sand back in and misting it is a straightforward weekend job.
- Small repairs. A handful of shifted pavers at the edge of a driveway can usually be lifted, the bedding re-leveled, and the stones reset. Stay small – a few stones, not a whole field.
- Resealing small sections. If your pavers were sealed before, a refresh on a small area is doable. Test on a hidden spot first and follow the product’s coverage and weather requirements.
- Weed control. Pulling weeds from joints and keeping the driveway clear keeps the surface stable and the joints intact.
- Gutter and drainage clearing. Making sure rainwater runs off the driveway and away from the house is cheap, easy, and prevents more damage than any sealant.
Notice what’s missing: anything involving excavation, base material, compaction, or edge restraints. Those are structural. Once you start moving earth and building a base, you’ve crossed from maintenance into construction.
Seasonal maintenance that protects the work
In Oakland, the calendar drives paver care. Do your cleaning and joint sand top-up in late summer or early fall, before the rains arrive. Check the joints again in early spring, after the wettest months, and reset any stone that’s lifted. A fifteen-minute walk down the driveway twice a year catches problems while they’re still cheap to fix. That habit, more than any product, is what keeps a paver surface intact.
The Equipment Homeowners Underestimate
Here’s the tool list most people don’t see coming. A plate compactor rental is the one everyone budgets for. The rest is what makes a driveway come out straight, flat, and stable.
- A laser level or rotary level with a grade staff. You need to set a consistent finished grade and check it across the whole driveway. A string line and a torpedo level won’t hold up over 40 feet.
- A compaction testing method. A pro-grade tool or a proof-roll with a loaded truck. In DIY hands, this is the missing piece almost nobody accounts for.
- Edge restraint tools. Edge restraints hold the pavers in place against lateral creep. You need a hammer drill and masonry bits for anchoring, a saw for cutting restraint, and a way to seat spikes into the base.
- A wet saw or paver splitter. Cutting pavers for edges, curves, and the transition to the sidewalk or garage apron is a big share of the labor.
- Diamond blades. You’ll go through them. They’re not cheap and they aren’t a one-and-done purchase.
- A screed rail system. Getting bedding sand to a uniform depth across the whole driveway is what keeps the finished surface from undulating.
- Hauling and disposal. Excavated soil has to go somewhere. In Oakland, that’s a dump run or a rented bin, and it adds up fast.
The hauling math nobody runs
A driveway is measured in cubic yards of material moved, and that’s a lot of weight. A typical two-car driveway in Oakland could mean several tons of excavated soil hauled away and a comparable volume of base and sand brought in. Unless you have a truck and a lot of time, this step alone usually tips the economics toward hiring a crew. Add the equipment rental, blades, and disposal fees, and the DIY savings shrink fast.
The Oakland Sidewalk Liability Problem
Here’s a piece of the DIY decision most guides never mention. If your driveway connects to a city sidewalk, you’re now responsible for a piece of pedestrian infrastructure – and if someone trips and falls there, the questions come back to you.
In Oakland, sidewalk repairs adjacent to private property can fall on the property owner. The city has a cost-share program for certain repairs, but the underlying duty to keep the walkway safe sits with the owner in many cases. Pour or lay a new driveway apron that shifts, heaves, or leaves a lip at the curb, and that’s a trip hazard at the exact spot pedestrians walk every day. If someone falls, your homeowner’s insurance gets involved, and the claim can be larger than the whole project.
A professional install handles this differently. A contractor builds the transition to the sidewalk to code, sets the grade so water doesn’t pond into the walkway, and documents the work. Many carry liability coverage for their crews, and the finished job is on the record. When a Homeowners Association or the city asks questions later, there’s a paper trail.
What to check before you dig near the sidewalk
- Confirm where your property line actually sits and whether the apron crosses into the public right-of-way.
- Check with the city on permit requirements for work at the sidewalk edge before you start.
- Make sure the new surface sheds water toward a drain or the street, not across the walk.
- Keep the finished surface flush with the adjoining walk to eliminate lift-and-trip points.
If your project also touches the fence along the driveway, that boundary is worth looking at before you start grading near it. Our Fence Installation in Oakland page covers how fence footings and driveway grades interact.
How to Tell If a Contractor’s Quote Is Fair
The best way to judge a paver quote is to understand what labor actually goes into the base work. Once you know that, the numbers stop looking arbitrary.
A fair quote itemizes the real steps: excavation and depth, base type and depth, compaction and testing, edge restraint, bedding sand, paver type and square footage, cutting, joint sand, and disposal. It also names the paver brand – pavers from a quality maker like Belgard behave differently than bargain stock. When we build quotes at Groundwork Construction Co. of Oakland, the number you see is the number you pay; you’re not going to see a change order for “unexpected base work” halfway through, because the base gets priced before the job starts.
Red flags in a paver quote
- No base depth stated. A quote that doesn’t say how deep the base goes is guessing.
- No compaction or testing mentioned. Base work is most of the labor; it should be in the scope.
- Lump sum with no line items. You can’t check what you can’t see.
- Unusually low total. Often it means a thin base, no edging, or skipped disposal.
- No mention of permits or sidewalk-edge work. In Oakland, that’s a real cost that shouldn’t be buried.
When the quote is detailed and the base work is priced honestly, the total usually reflects real time and material. Cheap quotes skip steps; that’s the whole mechanism. Our technicians have up to 12 years of experience building exactly this kind of work, and every project carries our 730-Day Done Right Promise: if it’s not done right, we make it right. If you’re comparing numbers and want an itemized one to check against, a free estimate is the place to start.
Oakland’s Soil and Rain: What They Do to Pavers
Oakland’s climate is mild, but mild doesn’t mean forgiving for hardscape. The rainy season runs roughly November through April, and the soil across much of the city is expansive clay, especially on the flats east of the hills. That combination is what turns a shallow base into a failing driveway.
Clay swells when it soaks up winter rain and shrinks as it dries in summer. A paver surface sitting on a proper base distributes that movement and stays put. A thin base lets the movement come through, and you get heaving at one corner and settlement at another. Water pooling at a low spot makes it worse. The fix isn’t a thicker paver; it’s a deeper, better-compacted base with proper drainage.
Neighborhood matters here too. In the hills, runoff and slope drainage drive design. On flatter ground, you’re managing sheet flow and the sidewalk edge. In either case, the base is what has to handle Oakland’s wet-dry cycle. If you want to see how that gets built for local conditions, look at how paver driveways in Oakland are engineered around clay soil and grade.
Common Mistakes to Avoid
- Excavating too shallow. Skipping depth to save a day of digging means the base has nowhere to live. The pavers will settle within a season or two, and the whole job has to be redone.
- Compacting in thick lifts. Trying to compact six inches at once leaves loose material at the bottom. Two to four inches per lift, compacted one lift at a time, is the standard.
- Skipping edge restraint. Pavers want to spread outward over time, especially where a car pulls in. Without anchored edge restraint, the border creeps and joints open up.
- Getting the grade wrong. A flat driveway that doesn’t shed water becomes a pond. Getting the finished slope right so water runs away from the house and toward drainage is a design decision, not an afterthought.
- Ignoring the sidewalk transition in Oakland. A lifted or displaced apron at the public walk is a trip hazard and a liability exposure. Build that transition flush and to code.
- Over-washing with a pressure washer. Blasting joint sand out with high pressure leaves joints empty, which lets water into the base. Moderate pressure, wide fan tip, keep moving.
- Sealing too soon or too thick. New pavers need time before sealing, and heavy coats trap moisture. Follow the product’s timing and test a small area first.
See the difference
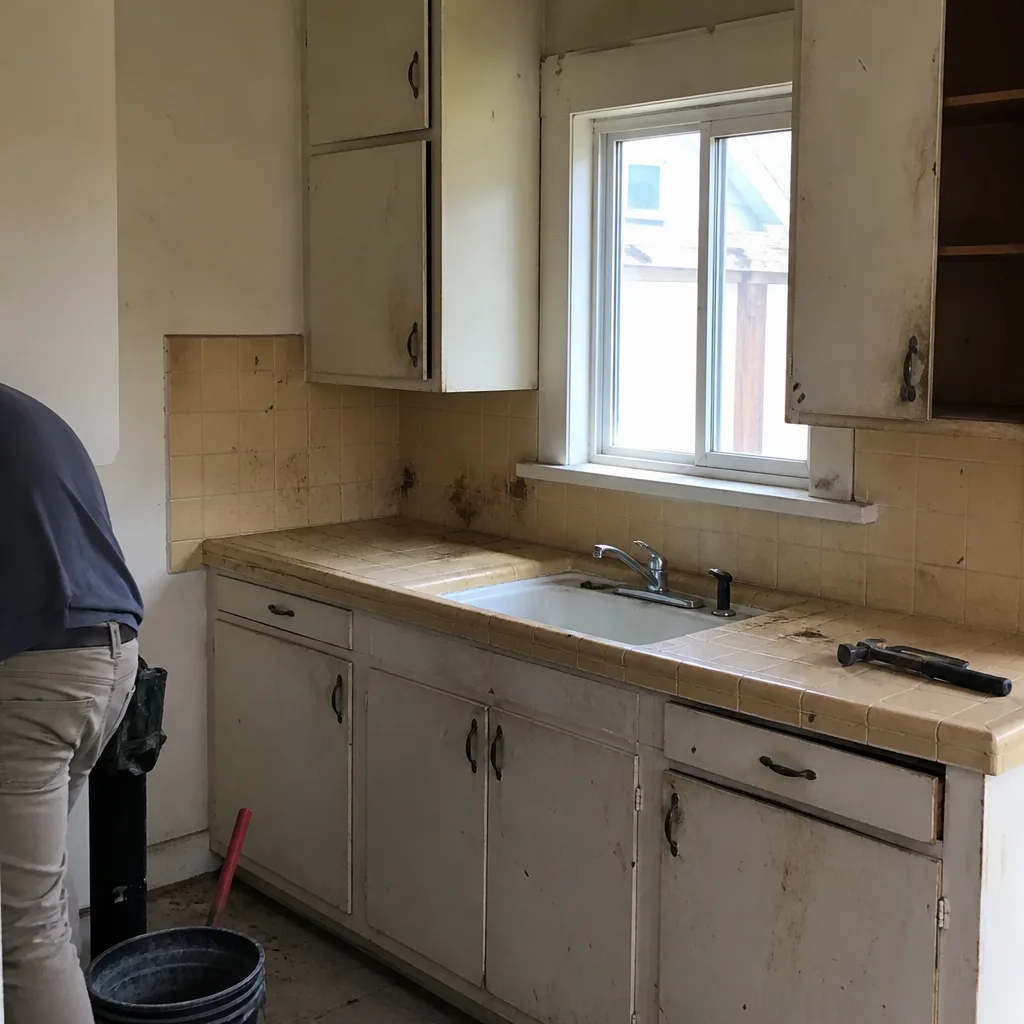 Before
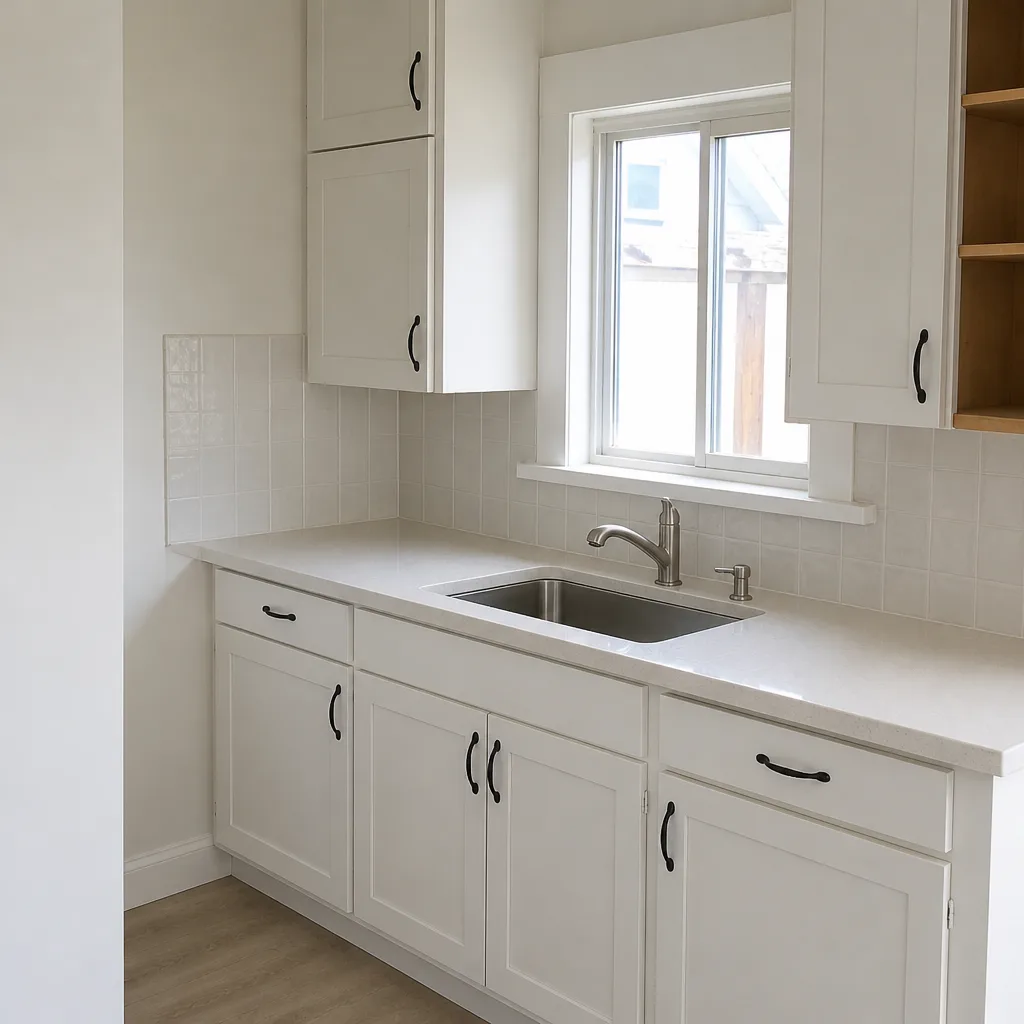 After
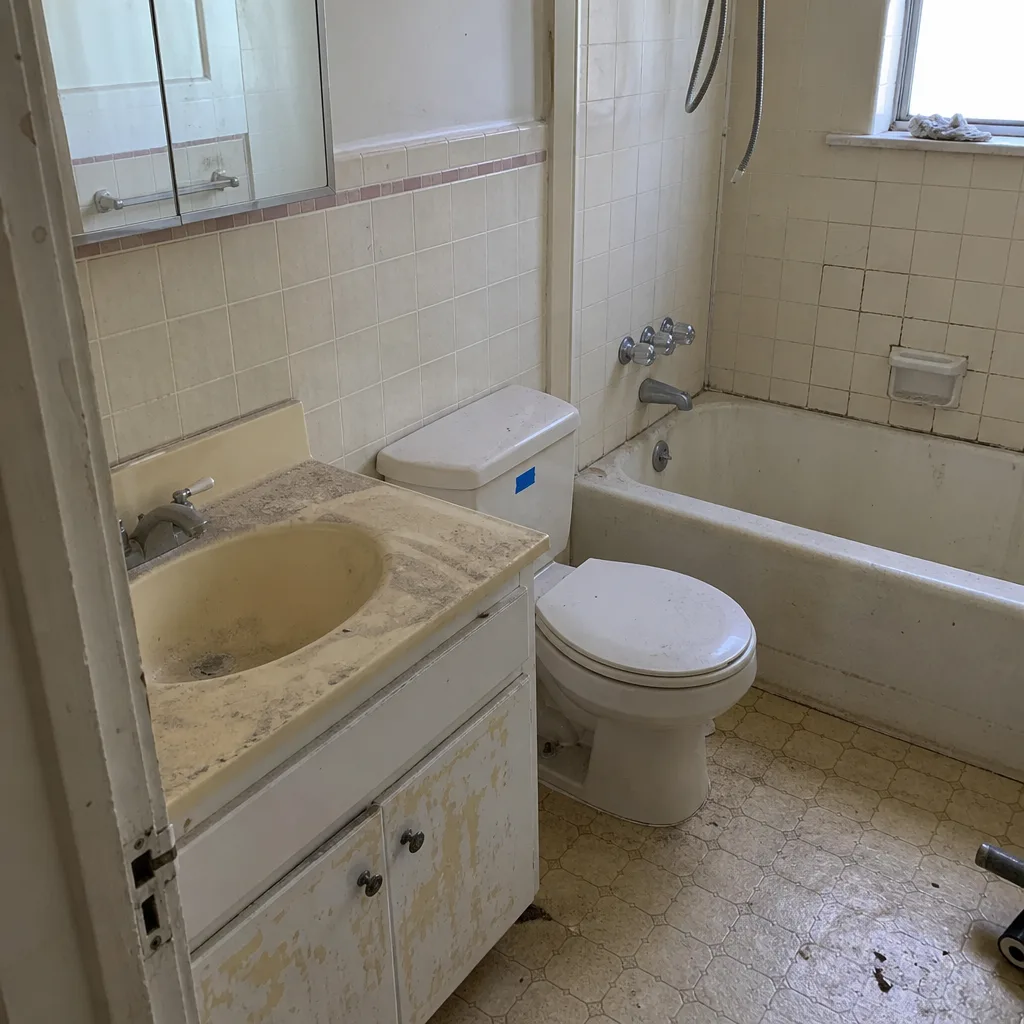 Before
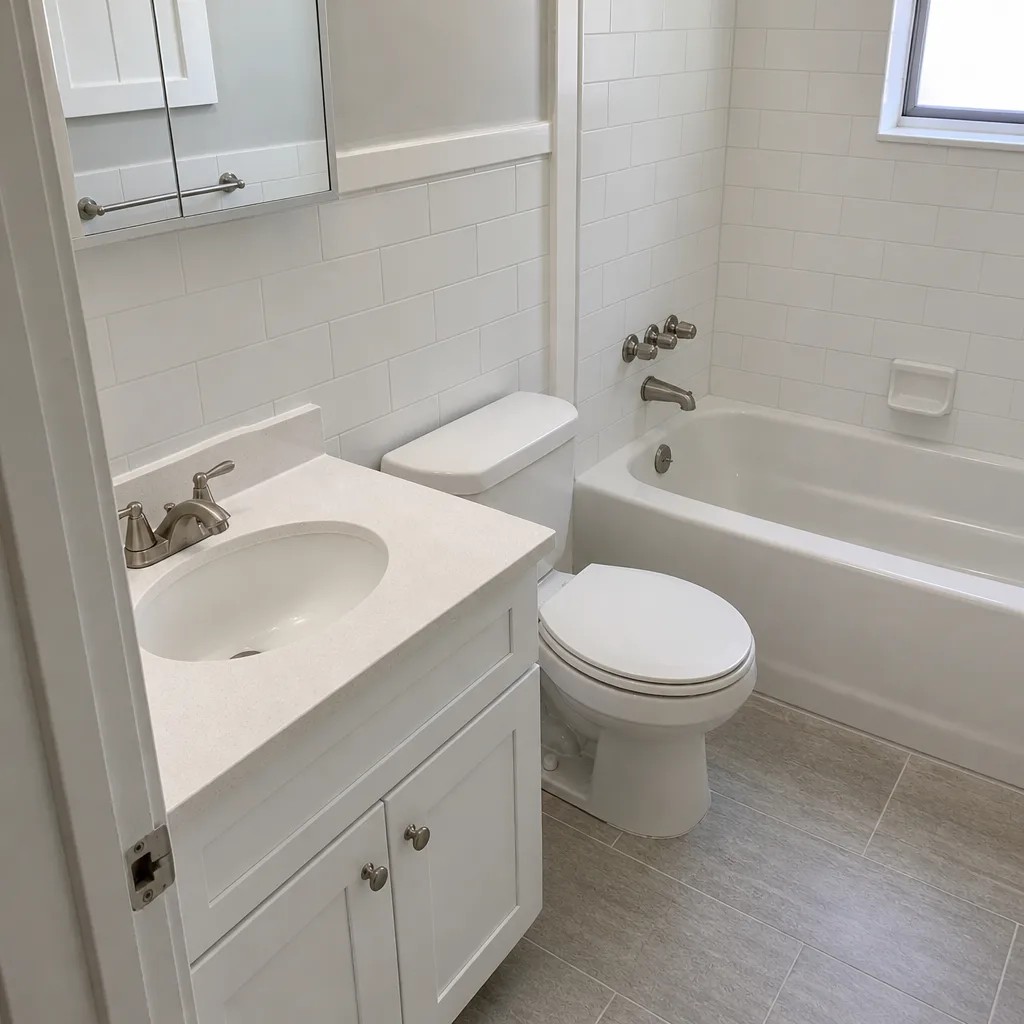 After
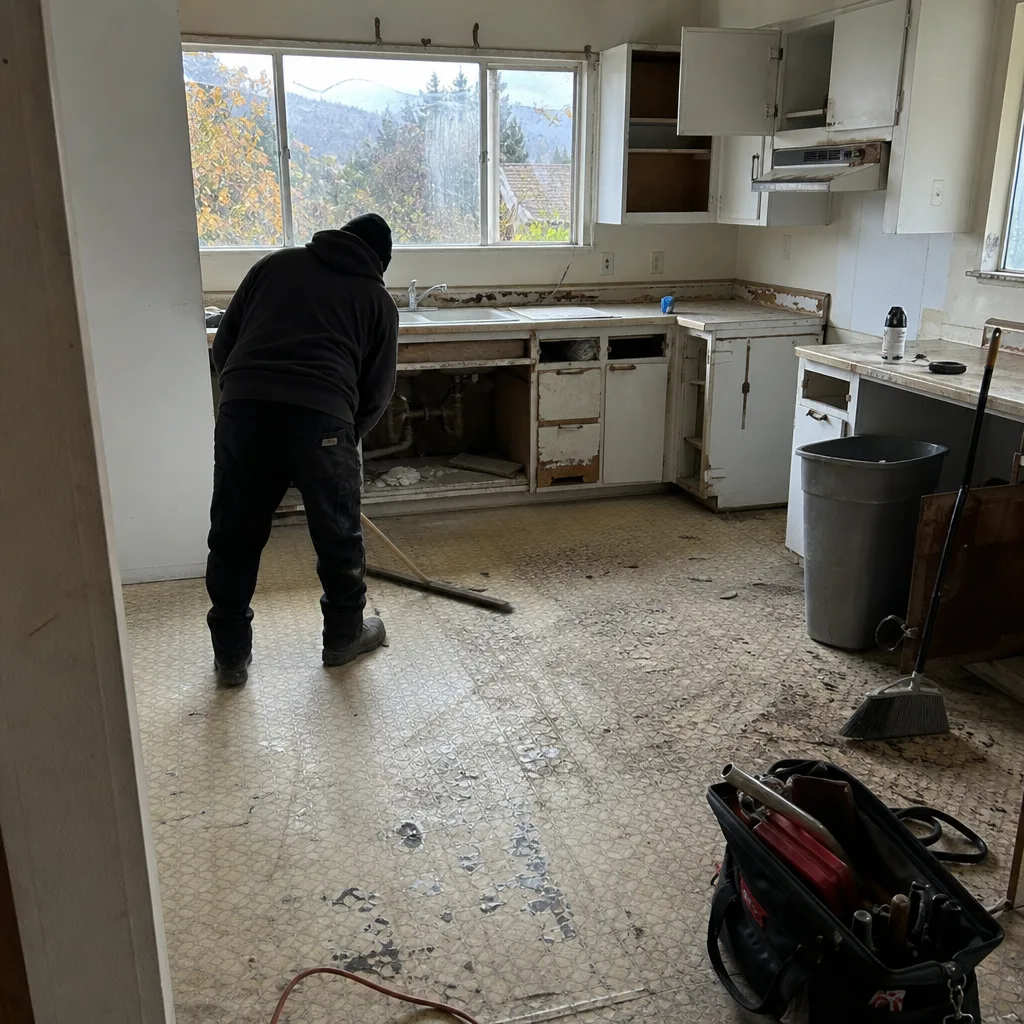 Before
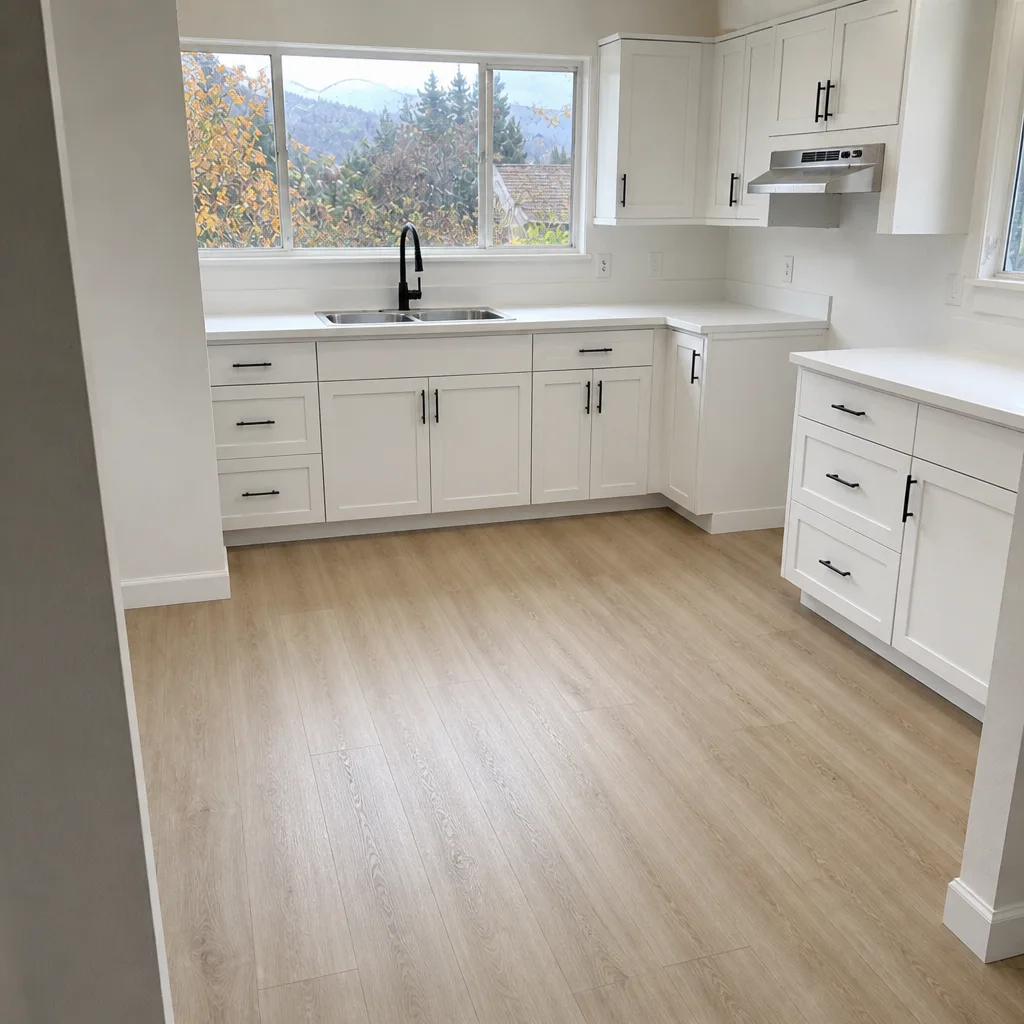 After
When to Call a Professional
Call a pro for any new driveway install or full replacement, any project involving excavation and base building, any run that connects to the public sidewalk, and any repair that’s more than a handful of stones. These are the jobs where a wrong call costs more to fix than to do right the first time. If you’re building out a larger project around the driveway – a new garage, an attached unit, a reconfigured front yard – scope that with a team that handles the whole build, and our Home Additions & ADU in Oakland page covers how those fit together with hardscape.
For maintenance and small repairs, you’re equipped. For the structural work, you want a crew that excavates and compacts to measurement and backs the work in writing. Groundwork Construction Co. of Oakland offers free estimates in Oakland – call (833) 997-7759. Calls are answered by a live person, 24/7, and our technicians arrive background-checked and in uniform.
Frequently Asked Questions
You can lay pavers, but laying is the easy part. The part that determines whether the driveway lasts – excavation depth, base material, compaction in lifts, testing, and edge restraint – is the hard part, and it’s where most DIY jobs fail. If you can’t build and verify a proper base, hire a professional. Clean up, small repairs, and resealing you can absolutely do yourself.
Typically 4 to 8 inches of compacted aggregate base, on top of a prepared subgrade, plus about an inch of bedding sand and the paver thickness. In Oakland’s expansive clay, deeper and better-compacted base is safer, because the soil moves with the seasons. A contractor sets the exact depth based on soil and how the driveway will be used.
DIY can look cheaper on paper until you add the plate compactor rental, laser level, saw and blades, base and sand delivery, and dump fees for excavated soil. Then come the failures a thin base causes, which cost more to fix than the whole project. For a full install, hiring a pro is usually the cheaper path when you price the whole thing honestly.
Compaction removes the air pockets in the base so it can carry load without settling. A loose base shifts under weight – a car, a delivery truck, seasonal soil movement – and that movement reaches the pavers. Without correct compaction in proper lifts, the surface rocks, joints open, and water gets underneath. Compaction is what makes the pavers stay put.
In Oakland, sidewalk-adjacent work puts responsibility on the property owner if a pedestrian falls on a hazard you created. A displaced or lifted driveway apron is exactly that kind of hazard. A professional install builds the transition flush and to code, and documents the work, which protects you if questions come up later. Check permit requirements before digging near the public right-of-way.
Yes, resealing is a safe DIY job for small sections, as long as you test on a hidden spot first and follow the product’s weather and coverage instructions. Clean the surface, let it dry fully, and apply thin coats. Avoid sealing brand-new pavers too soon, and don’t seal over wet joints – trapped moisture is worse than no seal at all.
The Bottom Line
The DIY vs professional driveway pavers decision comes down to one thing: the base. Cleaning, resealing, small repairs, and joint sand are safe for a homeowner and worth doing yourself. Excavation, compaction in measured lifts, edge restraint, and the sidewalk transition are structural work that needs the right tools and the judgment to use them, and a failure there undoes the whole driveway. In Oakland, clay soil and a long rainy season make an honest base non-negotiable. Understand what labor goes into that base, and you can read any quote. Then you’re not guessing – you’re choosing.
If you want a driveway built to last and backed in writing, Groundwork Construction Co. of Oakland combines quality paver products with upfront pricing and the 730-Day Done Right Promise. Start from the Groundwork Construction Co. of Oakland home page, or call (833) 997-7759 to schedule your free estimate and design consult. Financing at 0% for 18 months is available, and projects over $10,000 get $1,000 off. From foundation to finish line, built to last, backed in writing.
Written by the team at Groundwork Construction Co. of Oakland.