
Last updated November 17, 2026
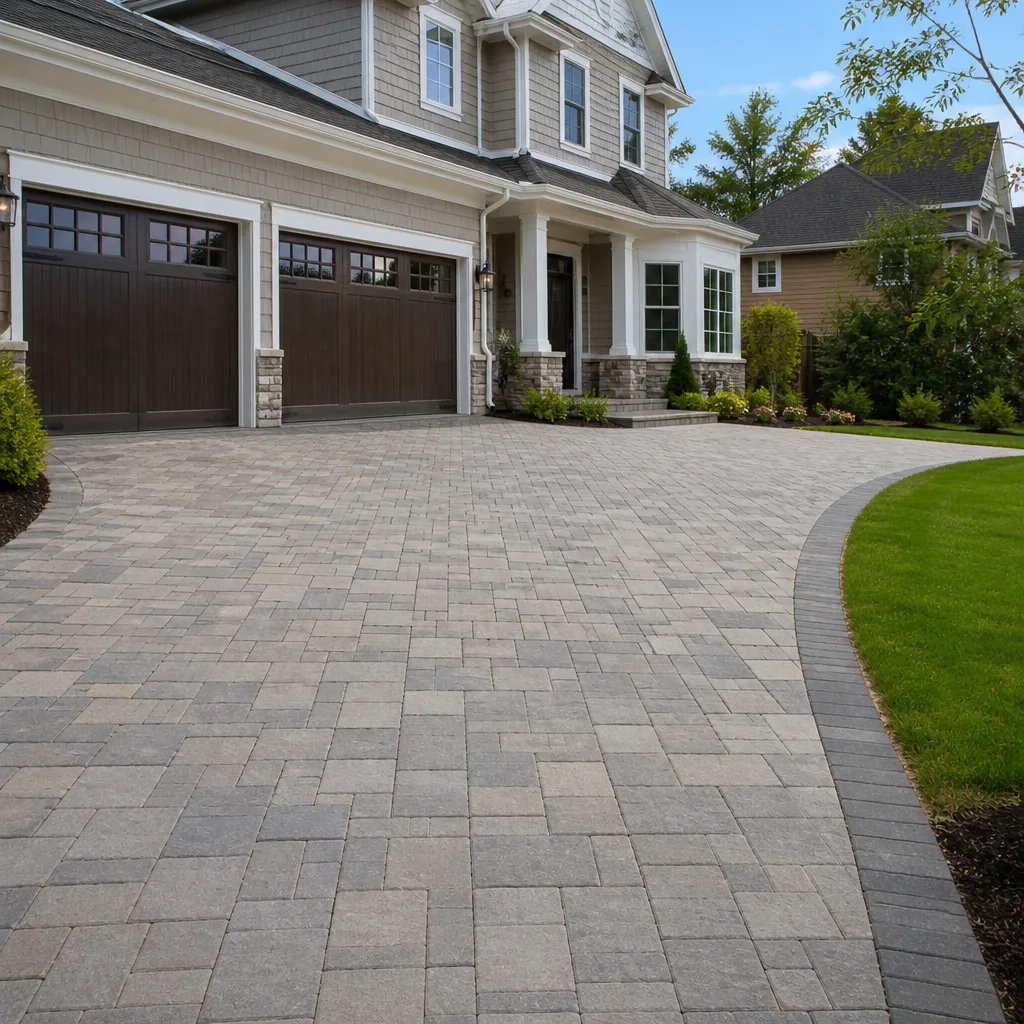 Driveway & pavers
 Kitchen remodeling
 Bathroom remodeling
 Home additions & ADU
 Roofing
 Windows & doors
 Fence
Free written scope consultation - allowances, timeline, and change-order rules on paper before a single trade is scheduled
Driveway & Pavers Warning Signs Every Homeowner Should Know
A single rocking paver in the middle of your driveway is not a one-paver problem. It’s a 40-square-foot warning sign, and the homeowners who ignore it are the ones writing the biggest checks later. We’ve pulled up plenty of Oakland driveways where one loose stone at the edge told the whole story: the base underneath had been quietly failing for months, water had been working through the joints, and by the time the owner called us, a $600 reset had turned into a full re-lay. This guide covers the specific visual and structural cues that separate normal wear from base failure, how to measure the difference, and what each pattern tells you about the fix ahead. Read it before you spend a dime on repairs.
Quick Answer
Driveway pavers fail in predictable stages, and the early signs are almost always visible. Normal settling shows up as small, even dips across the whole surface. Base failure shows up as differential settlement – one section dropping relative to its neighbor – plus rocking stones, sand washing out of joints, and water pooling in the same spot after every rain. Catch these in the first weeks and you’re looking at a reset or re-sand; ignore them and you’re looking at a full base rebuild.
Styles & brands we work with
- Kitchen remodeling
- Bathroom remodeling
- Home additions & ADU
- Roofing
- Windows & doors
- Driveway & pavers
- Fence
Table of Contents
- Normal Settling vs. Differential Settlement: How to Measure the Difference
- Why Edge Pavers Are Always the First to Fail
- Joint Sand Erosion: The Quiet Warning You Can Spot in Minutes
- What Water Pooling Patterns Tell You About Drainage Failure
- Oakland Tree Root Pressure: Reading Heaving Patterns That Look Random
- Cracks, Chips, and Efflorescence: What the Surface Is Saying
- Seasonal Inspection Calendar for Bay Area Driveways
- Repair or Replace? A Decision Framework
Normal Settling vs. Differential Settlement: How to Measure the Difference
All pavers settle a little. The base material compacts over the first year, the pavers nest into the bedding sand, and the whole surface drops a few millimeters. That’s expected, and it usually stops within 12 to 18 months. What you need to watch for is differential settlement – one part of the driveway dropping while the section right next to it stays put. That gap is the signal.
We’ve seen the difference clearly in Oakland, where hillside lots in neighborhoods like Montclair and Oakmore sit on slopes that put uneven pressure on one side of a driveway. On flat lots in the Fruitvale district, the same failure shows up when a downspout dumps water at one corner for years. Same symptom, different cause.
Here’s how to measure it:
- Lay a 4-foot level or straightedge across several pavers in the area you’re worried about.
- Slide a coin or a taper gauge under the low end. If the gap is 1/8 inch or less across a 4-foot span, that’s normal. If it’s 1/4 inch or more, you’re looking at base movement.
- Check the transition to the adjacent section. A sudden lip between two areas that should be continuous is differential settlement.
- Walk the whole surface barefoot (or in thin-soled shoes). Rocking pavers will click or shift underfoot – mark them with chalk and count them. More than three in a 20-square-foot area points to a base problem, not isolated stones.
- Repeat the check after a heavy rain. If the dip gets deeper or widens in wet weather, water is undermining the base.
A single paver rocking after two years might just need to be reset. Ten rocking pavers clustered together means the base beneath them has lost compaction, and resetting them without fixing the base will fail again in a season. We’ve learned to check the base before recommending anything, because resanding a joint over a compromised base is throwing money at a symptom.
Why Edge Pavers Are Always the First to Fail
Edge pavers are the first to move because they only have soil on one side. Every load the driveway takes – a delivery truck, a mid-size SUV, the pressure of a hundred rainstorms – pushes laterally against the edge restraint. If that restraint is loose, the pavers walk outward one at a time, and once the edge opens, sand starts flowing out of the joints like grain from a bag.
What the edge position tells you:
- Edge pavers shifted outward 1/2 inch or more: The edge restraint has failed. This is a base issue, not a paver issue.
- Edge pavers tilting toward the yard: The base underneath is washing out toward the lower grade. Water is finding a path.
- Edge pavers sinking below the adjacent surface: The edge is no longer holding the lateral load, and the pavers are migrating.
- Visible sand trail at the edge: Confirmed joint sand erosion – the base is being hollowed out one rainstorm at a time.
Oakland’s rainy season makes edges fail faster than people expect. From November through March, we get rain on a fairly consistent cadence, and every storm that sheets off a slope or a downspout concentrates water at one edge. In the Oakland hills, that runoff carries dissolved soil and fine sand, and the edge paver is what’s standing in the way. A trip to the edge of your driveway after a good storm will tell you more about its health than a whole year of looking at the middle. Failing edges are also a driveway & pavers in Oakland concern that affects curb appeal and, eventually, the surface vehicles drive on.
Joint Sand Erosion: The Quiet Warning You Can Spot in Minutes
Joint sand is what locks the pavers in place, and when it washes out, the whole field starts to move. The problem is you can’t see it happening from a standing height. The sand leaves the joints a millimeter at a time, and the pavers look fine right up until they don’t.
Here’s a quick field test:
- Look at the joints at a low angle with the sun to your back. Sand-filled joints sit flush or slightly proud. Eroded joints have a visible depth – you can see a shadow in them.
- Run a pencil tip or a small screwdriver gently into a joint. If it sinks more than 1/2 inch before hitting compaction, the sand has washed out.
- Check the edges first. Joint sand migrates toward the lowest point, so edges and low spots will show the deepest erosion.
- Look for sand trails in the gutter, at the bottom of the driveway, or along the curb. That’s the missing sand, paid for and swept away.
- Sweep the driveway with a soft broom after a dry week. A surprising amount of fine grit coming up is a sign the joints are giving up material.
Re-sanding costs less than almost any other repair and prevents the base damage that costs the most. In our experience across Oakland, joint sand should be topped off every 2 to 3 years in our climate – sooner if the driveway carries heavy loads or sits at the bottom of a slope. Aggressive pressure washing will strip the sand years faster than nature would, so if you clean your driveway, expect to re-sand in the same weekend.
What Water Pooling Patterns Tell You About Drainage Failure
Water pooling on your driveway after a rain doesn’t always mean the base is failing. Sometimes it’s just a surface slope issue – the pavers are fine, they’re just sitting a degree or two flatter than they should. The pattern is what tells you which one you’re dealing with.
Surface slope issue: Shallow, wide pooling that dries within a few hours, consistent across the whole driveway, no deepening over time. The pavers are flat and stable; the water just sits a little before it drains.
Drainage failure or base settlement: Concentrated pooling in the same spot, getting deeper season over season, often with a visible dip. The base under that spot has lost compaction or is holding water, and a ponding pocket has formed.
We’ve seen both in Oakland, and they show up in neighborhoods for different reasons. In the flats, the pooling usually comes from a poorly graded drive that drains toward the garage instead of toward the street. In the hills, it comes from a failed edge or a low retaining point that collects runoff before it can sheet away. Either way, the fix is about getting the water moving, not just filling the dip.
Pay attention to where water stands in the 24 hours after a storm. If a brown puddle appears in the same spot three storms in a row, that’s the warning. Take a photo with something for scale – a shovel blade or your shoe – and keep the photo. When you call a contractor, a photo history tells them more about the problem than a fresh look does. If you’re comparing options, a written quote from a fence installation in Oakland can be a good check on drainage because fence footings hold up only when water moves away from the base.
Oakland Tree Root Pressure: Reading Heaving Patterns That Look Random
Tree roots don’t crack pavers the way a sledgehammer does. They lift them. The pattern is subtle at first because the heaving looks random – one paver up, two down, a third one tilted – until you line up the high points on a diagram and realize they trace a root.
What to look for:
- A line of raised or tilted pavers that runs across the driveway rather than along it. Root growth follows soil paths.
- Pavers that seem to “float” when you walk on them, with a slight give. Roots are lifting the field.
- Heaved joints with sand pushed out on one side. The root is forcing material ahead of it.
- Cracks in the pavers that run perpendicular to the suspected root line. Root pressure bends the field until the material snaps.
Oakland has mature street trees in neighborhoods like Rockridge, Temescal, and Grand Lake, and the roots reach farther than most homeowners expect – sometimes 20 to 30 feet from the trunk for a mature oak or ficus. A driveway that was fine for years can start heaving as a tree finds new water. In our experience, the call comes in the spring after the wet season, when the roots have pushed and the pavers are visibly off.
The fix depends on whether the root is still active. Sometimes a root barrier and a re-lay handle it. Sometimes the mature tree needs an arborist’s assessment before any paving work happens, because cutting through a root line is a decision that has to be made by someone who knows the tree. We don’t skip that step – paving over an active root without addressing it is a repeat-visit guarantee nobody wants.
Cracks, Chips, and Efflorescence: What the Surface Is Saying
The surface of your pavers is a second diagnostic layer, and it catches problems the base won’t reveal until much later. Three surface signs matter most:
Hairline cracks that run in a line: Isolated hairline cracks are usually cosmetic. A run of cracks along a straight path is a base issue – the pavers are flexing because the field below them is moving.
Corner chips and edge spalling: Chips from a dropped tool are normal. Chips that appear on their own along an edge, especially at the downhill end of the driveway, suggest the pavers are grinding against each other as the base shifts. That’s a warning that the field is loose.
White chalky bloom (efflorescence): Efflorescence is salt migrating to the surface, and it’s not a base failure by itself. But when it keeps coming back after you clean it, water is moving through the pavers and out the top – which means the drainage below is compromised. We’ve seen this repeatedly on older Oakland driveways where the joint sand had been gone for years.
Older paver installations, especially those from the ’70s and ’80s, use materials that chip more easily than today’s interlocking systems. If you’re finding chips across the driveway, not just at the edges, the pavers may be at the end of their service life. A replacement with current materials will outlast the original installation, and premium brand partners in the construction category – from slab makers to drainage systems – have raised the bar considerably. Surface damage isn’t cosmetic for long – it’s the last warning before a re-lay.
Seasonal Inspection Calendar for Bay Area Driveways
Oakland’s climate is mild, but the two-season pattern (wet winter, dry summer) drives the failure cycle. The right time to check is just before the rain and just after.
Walk the driveway in five minutes per check, once a season:
- October (before the rains): Check edge pavers, joint sand depth, and surface pooling. If the driveway is going to fail, this is where the first sign shows up.
- January (mid-rainy season): Look for new low spots, sand trails at the edge, and fresh efflorescence. The base is under the most pressure now.
- March or April (after the rain): This is when heaving and differential settlement are most visible. Measure any dips and check for rocking pavers.
- July (mid-dry season): Look for new cracks, chips, and weed growth pushing through joints. Summer heat expands the pavers and any base movement shows up as cracking.
We’ve found this cadence catches most base failures 6 to 18 months before the repair cost jumps from a reset to a rebuild. Five minutes twice a year, plus a quick glance after any unusual storm, is all it takes.
Repair or Replace? A Decision Framework
If you’ve found warning signs, the next question is what they mean for your wallet. Here’s how we break it down.
- Under 10 rocking pavers, single dip, no sand erosion: Reset and re-sand. This is a maintenance repair, not a failure.
- 10 to 30 rocking pavers, sand erosion along an edge, pooling in one spot: Edge reset with base repair. The problem is contained, and catching it here saves a full re-lay.
- Differential settlement across multiple areas, heaving, or visible base failure: Full re-lay with base rebuild. Resetting individual pavers won’t hold.
- Tree roots visible under pavers, cracks running across the field, or pavers older than 25 years: Replacement with a root barrier and modern base design.
We’ve learned to give homeowners a written, line-item breakdown of what each option covers – resand only, reset with base repair, or full re-lay – so they can see the savings of catching the problem early. The difference in cost between a re-sand and a re-lay is substantial, and the only thing that determines which one you need is when you act. Our Groundwork Construction Co. of Oakland home page lists the full range of work we handle if you want to see how a driveway project fits into a larger home upgrade. For homeowners looking at a bigger picture project, a new driveway often pairs well with a home additions & ADU in Oakland, since the same site grading, drainage, and base work applies to both.
Common Mistakes to Avoid
- Resetting one paver without checking the base. A single rocking paver on a failing base will be joined by its neighbors within a season. Pull a small section up and look at what’s underneath before you reset anything.
- Pressure washing the joints to “clean” the driveway. High-pressure water strips joint sand and accelerates erosion. If you want to clean the surface, use low pressure and plan to re-sand in the same weekend.
- Ignoring sand trails at the edge. Sand in the gutter is sand that used to be in your joints. Follow the trail back to where it’s coming from – that’s where the repair starts.
- Landscaping over the drainage path. New mulch, planting beds, or fencing that redirects water toward the driveway will accelerate base failure. Check where the water goes before you plant.
- Assuming the pavers themselves are the problem. In our experience, most driveway paver failures are base and drainage issues, not paver defects. A premium paver on a bad base will fail as fast as a cheap one.
- Putting off the inspection “until spring.” Oakland’s rain does its worst base damage between November and March. By spring, the failure is already set and the repair cost has climbed.
- Hiring on a verbal quote with no line items. Paver work has a lot of variables – base depth, edge restraint, drainage correction, root handling. A phone estimate that doesn’t distinguish between them is a change order waiting to happen.
See the difference
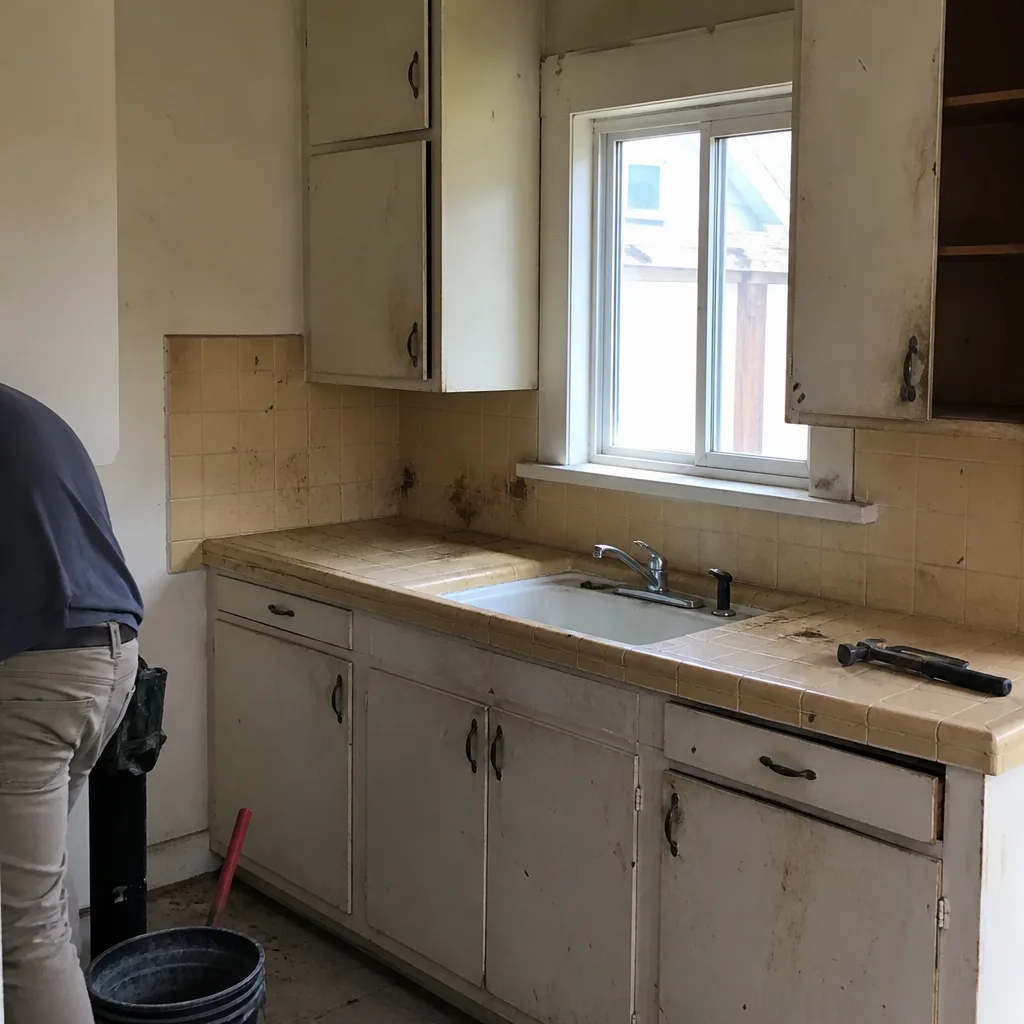 Before
 After
 Before
 After
 Before
 After
When to Call a Professional
Call us when the warning signs are beyond a single rocking paver. If you’re seeing more than a handful of rocking stones, sand trails at an edge, water pooling in the same spot after every storm, a visible lip between sections of the driveway, or pavers that have lifted along a line that traces toward a tree, the base is involved and a reset won’t hold. We also get called when a driveway is over 20 years old and the surface is starting to crack in lines or shows regular chips along the edges. Groundwork Construction Co. of Oakland offers free estimates in Oakland – call (833) 997-7759. We’ll measure the settlement, check the joints and edges, and give you a written, line-item option list with upfront pricing so you can see exactly what each repair path costs.
Frequently Asked Questions
In the Oakland market, a joint re-sand typically runs $300 to $700 for an average driveway, a reset of 10 to 30 pavers with base repair runs $800 to $2,000, and a full re-lay with base rebuild runs $12 to $22 per square foot depending on access, drainage work, and material. Catching the problem at the re-sand stage is always the cheapest path. Call (833) 997-7759 for an exact quote – estimates are free.
Normal settling is even across the whole surface and stops within 12 to 18 months. Failure is differential – one section drops relative to its neighbor, measured with a 4-foot level. If you can fit a 1/4-inch coin under the level across a 4-foot span, or if there’s a visible lip between two sections, the base is moving. Call (833) 997-7759 to have it measured.
No. Replacing pavers over a failing base will fail again within a season or two, and often faster because new pavers don’t have the settled interlock that the old field had. The base and drainage correction are what make the pavers last. Call (833) 997-7759 before you buy materials so we can scope the base work correctly.
Many driveway replacements and any work that changes the connection to the street or alters drainage flow need a permit from the City of Oakland. We pull the required permits and pass the inspections, and the written quote shows the permit line items separately so there are no surprises. Call (833) 997-7759 and we’ll walk you through what your specific project needs.
No. We give written, line-item quotes with upfront pricing, and the number you see is the number you pay. The only time a quote changes is if you change the scope, and we tell you the new number before we pick up a tool. Call (833) 997-7759 to book your free estimate.
Late spring and early fall are the best windows in Oakland – the ground is workable and the rainy season hasn’t started. That said, if the warning signs are active, don’t wait for the “right” season; base failure accelerates through the wet months. Call (833) 997-7759 and we’ll schedule an assessment at the earliest reasonable date.
The Bottom Line
Driveway pavers warn you before they fail. A rocking stone, sand leaving the joints, water standing in the same spot, a lip between two sections, or a line of lifted pavers that traces toward a tree – each one is a specific signal about the base underneath. The homeowners who catch these early spend hundreds; the ones who wait spend thousands. Check your driveway twice a year, take photos, and when the signs go past one paver, get the base measured before you spend a dime on surface fixes. Groundwork Construction Co. of Oakland offers free estimates, written line-item quotes, and a 730-Day Done Right Promise on the work – if it’s not done right, we make it right.
Call (833) 997-7759 to schedule your free estimate and design consult. Calls are answered by a live person, 24/7, so you’re never stuck in a voicemail loop. We also offer $1,000 off projects over $10,000 and 0% financing for 18 months on qualifying work. Our technicians are background-checked and arrive in uniform, and our technicians have up to 12 years of experience on paver, base, and drainage work.
Written by the team at Groundwork Construction Co. of Oakland.