
Last updated November 17, 2026
 Bathroom remodeling
 Kitchen remodeling
 Home additions & ADU
 Roofing
 Windows & doors
 Driveway & pavers
 Fence
Free written scope consultation - allowances, timeline, and change-order rules on paper before a single trade is scheduled
Bathroom Remodeling Troubleshooting: Common Problems and How to Fix Them
Grout cracking in a newly remodeled shower within six months isn’t a grout problem. It’s almost always a substrate problem, and re-grouting without fixing the cause will fail again in another six months while the moisture damage underneath grows silently. That’s the pattern we see most often when we’re called out to diagnose a bathroom that’s misbehaving after a remodel. The visible symptom is rarely where the real failure lives. This guide walks you through the diagnostic framework an honest contractor uses: how to identify what actually went wrong, who’s responsible for fixing it, and what a real repair looks like. Whether you’re in a 1920s bungalow off Piedmont Avenue or a newer build in Oakland, the troubleshooting logic is the same. What changes is what we find.
Quick Answer
Most post-remodel bathroom problems trace back to one of four root causes: a tiling substrate that wasn’t waterproofed properly in the wet zone, a shower pan that was never flood-tested before tile went down, a plumbing vent or P-trap installed incorrectly, or an exhaust fan undersized for the room’s cubic footage. Diagnosing which failure you’re dealing with takes an hour of close inspection and, in the shower case, a flood test you can run yourself. The fix depends entirely on the root cause. Re-grouting a shower that’s leaking through the substrate won’t solve anything.
Styles & brands we work with
- Kitchen remodeling
- Bathroom remodeling
- Home additions & ADU
- Roofing
- Windows & doors
- Driveway & pavers
- Fence
Table of Contents
- Tile and Grout Failure: Diagnosing the Root Cause
- Shower Pan and Waterproofing Leaks: The Flood Test Method
- Persistent Odor After a Remodel: Three Causes and How to Diagnose Each
- Exhaust Fan Underperformance: Why a New Fan Still Fogs the Mirror
- Caulking and Sealant Failure at Wet Joints
- Floor Movement, Loose Tile, and Subfloor Issues
- Grout Discoloration and Efflorescence: What Moisture Is Telling You
- How to Document Remodeling Defects for a Warranty Claim
Tile and Grout Failure: Diagnosing the Root Cause
Cracked grout in a shower is the most common complaint we hear after a bathroom remodel. Homeowners see it and assume the grout was bad. Sometimes it is. Most of the time it isn’t. There are three separate failure modes that all look like “cracked grout,” and telling them apart determines whether the fix is a tube of sealant or pulling tile down to the studs.
Setting failure: wrong adhesive or insufficient coverage
Setting failure means the tile wasn’t bonded properly to its substrate. Look for tiles that sound hollow when you tap them with a knuckle, or that lift away from the wall with minimal pressure. The cause is usually thin-set applied with a spot-bonding method instead of full coverage, or thinset that dried out before the tile went down. In a wet area, the standard is 95% coverage on the back of the tile. When you pull a failed tile and the back is mostly clean with only a few globs of adhesive, that’s a setting failure and the installer is responsible.
Substrate failure: unbacked drywall in the wet zone
Substrate failure is the most expensive diagnosis and the one that hides the longest. It means regular drywall – or worse, green board – was installed behind the tile in a shower wall where it should have been cement board or a bonded waterproofing membrane. Drywall gets wet, swells, softens, and the tile above it has nothing solid to grab. By the time grout starts cracking, the paper on the drywall has usually failed and you’re one flood test away from a real leak. Tap along the wall near the crack. A hollow, soft, or dull sound is a warning sign. Pull the escutcheon off the shower valve if you can, and look at what’s behind the tile. If you see paper-faced gypsum in a wet zone, that’s a substrate failure and no amount of re-grouting will fix it.
Movement failure: missing control joints
Movement failure is the most fixable of the three. It means the tile was set tight against a wall, tub, or change of plane without a flexible joint. When the structure flexes slightly – which all houses do – the rigid grout has nowhere to give, so it cracks along a predictable line. Look at where the crack is running. If it’s a clean line following a corner, a tub edge, or the junction between two different wall planes, that’s movement, and cutting out the grout in that line and replacing it with a flexible sealant (100% silicone or a urethane) is the correct repair. If the cracks are random, branching across the field of tile, suspect setting or substrate failure instead.
One more note specific to Oakland’s older housing stock: many pre-war homes in neighborhoods like Temescal, Rockridge, and the Dimond have bathrooms where the tile was originally set in a thick mortar bed over metal lath. Those old mud-bed installations are actually extremely durable – but when a remodel calls for tearing them out and replacing them with cement board and membrane, the new assembly has to be built correctly or you’ve traded a 70-year assembly for a 5-year one. We’ve seen that trade go badly when the membrane wasn’t sealed at the penetrations.
Shower Pan and Waterproofing Leaks: The Flood Test Method
The flood test is the single most useful diagnostic a homeowner can run on a leaking shower, and almost nobody does it. It tells you whether your shower pan is intact, which in turn tells you where the leak is coming from. You can run it yourself in about 24 hours with a drain plug and a bucket.
How to run a flood test
- Remove the drain cover and install a test plug in the drain, sealing it as tight as the plug allows. These are available at any hardware store for under $20.
- Fill the shower pan with water to the level of the curb – or about 2 inches below the top of the curb if the curb is low. Mark the water line with a pencil on the tile or curb face.
- Wait 24 hours, checking occasionally. Do not use the shower during this time.
- Look at the water line. If it dropped noticeably, the pan has a leak. Small drops (a quarter inch) can also be evaporation, so check against a control: fill a shallow pan with water, set it on the bathroom floor next to the shower, and compare.
- Inspect the ceiling below, if the shower sits over a finished room, for new moisture or staining during the 24 hours.
- Pull the plug, drain, and record the result. Take photos of the marked water line, the plug, and (if applicable) the ceiling below.
If the water level holds and there’s no staining below, your shower pan is intact and the leak is most likely coming from a cracked grout joint on a wall, a failed seal at the valve trim, or the caulk line at the curb. Those are fixable without tearing out the shower. If the water line drops and the ceiling below shows moisture, the pan itself has failed – the pre-slope or liner was installed wrong, or the wrong material was used at the curb, or the weep holes at the drain were blocked by thinset during the original install. That’s a tear-out and rebuild of the shower pan, not a patch.
Shower pan failures are common in Oakland remodels where the installer skipped the pre-slope under the liner. Without proper slope toward the drain, water sits in the pan, the liner gets saturated, and eventually it finds a path through. A flood test on the day of install would catch a bad pre-slope before tile ever went down. It’s the cheapest check in the entire build. If your contractor didn’t do it, ask them why.
Persistent Odor After a Remodel: Three Causes and How to Diagnose Each
A bathroom that smells like sewer after a remodel isn’t a mystery. There are three mechanical causes, and each one produces a slightly different smell and symptom pattern.
Cause 1: A missing, dry, or improperly installed P-trap
Every drain needs a P-trap – a U-shaped section of pipe that holds a small amount of water to block sewer gas from rising into the room. If the trap was eliminated to fit a new vanity or floor drain, or if it’s a shallow “S” trap that siphons dry after every use, sewer gas will find its way up. Smell: a consistent sewer odor with no obvious source, often worse in the morning. Diagnosis: look under the sink. If the drain runs straight down with no U-bend, that’s your problem. If the trap is there but dry, running the faucet briefly will stop the smell, which confirms the diagnosis. Dry traps also happen in floor drains that aren’t used regularly – a capful of mineral oil keeps the water from evaporating.
Cause 2: An improperly vented drain
Every fixture needs a vent pipe running up and out the roof. Without a vent, the drain glugs, empties slowly, and lets sewer gas in through the trap as the pressure equalizes. Smell: intermittent, often worse right after using the drain. Diagnosis: does the sink or shower drain glug or gurgle as it empties? That’s the sound of a missing vent. A plumber can confirm with a smoke test – pumping smoke into the drain system and watching where it escapes.
Cause 3: A wax ring that wasn’t seated
The wax ring is a simple seal between the toilet base and the drain flange. If the toilet was set on a floor that wasn’t perfectly flat, or if the ring was reused instead of replaced during the remodel, the seal leaks slightly, and sewer gas rises around the base of the toilet. Smell: strongest right at the base of the toilet, especially after flushing. Diagnosis: press a piece of tissue paper or a piece of plastic wrap around the base of the toilet, seal it to the floor with tape, and check again in a few hours. If the smell stops, the wax ring is the problem. Replacing it is a 1-hour job.
One complication worth mentioning: in some Oakland homes, particularly older ones in neighborhoods like West Oakland or Fruitvale, the sewer lateral itself may be cracked or the floor drain may share a trap with a drain that’s been abandoned. A post-remodel odor that doesn’t resolve with any of the three fixes above usually means the problem is downstream in the drains, not in the bathroom itself. That’s a call-the-plumber-and-trace-the-line situation, not something to chase with air fresheners.
Exhaust Fan Underperformance: Why a New Fan Still Fogs the Mirror
A new exhaust fan that leaves the mirror foggy after a shower isn’t defective. It’s usually undersized for the room. Exhaust fans are rated in CFM – cubic feet per minute of air they move – and the rating has to match the bathroom’s volume, not its footprint.
How to calculate what your bathroom needs
The industry rule of thumb is one CFM per square foot of floor area for bathrooms up to 100 square feet. For bathrooms over 100 square feet, add up the CFM required for each fixture: about 50 CFM per toilet, 50 CFM per sink, and 50 CFM per shower or tub. Whichever number is higher – square footage method or fixture method – is the minimum the fan needs to move.
Example: a 5-by-8-foot bathroom (40 square feet) needs a 40 CFM fan minimum. A 10-by-10-foot bathroom (100 square feet) with a shower and toilet needs 100 CFM. A 12-by-14-foot primary bath (168 square feet) with a shower, tub, and double vanity needs 168 CFM or more. If your new fan is in the 50-80 CFM range and the room is larger than 80 square feet, it’s the wrong fan for the job.
Other reasons a fan underperforms even when it’s the right size
- Ductwork is undersized or has too many elbows. A 4-inch duct handles up to about 80 CFM. Anything higher needs 6-inch duct. Long runs with 90-degree elbows cut the effective airflow significantly.
- The duct terminates in the attic instead of outside. This is a code violation and a moisture problem – all that humid air ends up in the attic. Check where the duct actually goes.
- The fan is on a timer or switch that shuts it off too soon. A 20-minute run is the minimum for clearing a bathroom after a shower. If the fan’s on a 5-minute timer, that’s the problem.
- The bath door is airtight. A tight house needs makeup air. If the door has no undercut or return-air grille, the fan has nothing to pull and the mirror fogs anyway. Try the fan with the door cracked two inches and see if performance changes.
In Oakland’s older homes, we routinely find that the original exhaust fan was 50 CFM and the duct was 3 inches – undersized on both ends. Replacing the fan with a modern 110 CFM model without upgrading the duct to 4 inches produces almost no improvement. Both parts of the system have to be correct. A properly sized fan with new ductwork is a $400-$700 fix in most cases and one of the highest-value diagnostic calls we do.
Caulking and Sealant Failure at Wet Joints
Caulk fails on a predictable schedule, but if it’s failing in a year or less, the cause is usually one of three installation errors. The first is applying silicone over a damp or dusty surface – it won’t bond. The second is using a brittle caulk (like a painter’s acrylic) in a joint that sees movement, like where the wall tile meets the tub. That joint needs a flexible 100% silicone or a urethane, not acrylic. The third is failing to fill a deep joint with backer rod before caulking – the caulk shrinks as it cures, pulls away from one side, and opens a gap.
Check your caulk joints annually. Run a finger along them and press gently. If the caulk is peeling at either edge, has visible gaps, or has gone soft and sticky, it needs to be replaced. The correct repair is to cut it out fully with a utility knife, clean the joint with denatured alcohol, let it dry completely, and apply a fresh bead of 100% silicone with a proper tooling stroke. Re-caulking over old failed caulk is the single most common DIY mistake we see and it never lasts.
One Oakland-specific note: our seasonally shifting humidity and the seismic micro-movement all houses experience here cause slight, constant expansion and contraction at the wall-tub joint, and at the ceiling-wall joint if both are tiled. The right caulk for those joints is flexible, and the right prep is to cut out the old material completely, not to skim over it. Caulking is the cheapest item in a bathroom and the most likely to fail. If yours is failing repeatedly, that’s not a caulk problem – it’s a movement problem, and the joint may need a control joint, trim, or a different joint design at the corners.
Floor Movement, Loose Tile, and Subfloor Issues
Loose floor tile and cracked grout lines on the floor are almost always a subfloor issue. Tile needs a floor with a deflection rating of L/360 or better – meaning the floor sags no more than 1/360 of its span under normal load. Older Oakland homes often have the original 3/4-inch subfloor over 24-inch or wider joists – which is fine for wood floors but too flexy for tile. When a remodel installs tile over that without adding an underlayment layer, the floor flexes just enough to crack grout and eventually break the bond under individual tiles.
How to diagnose a subfloor problem
- Walk across the floor and note any spots that feel bouncy or give slightly underfoot. Mark them with painter’s tape.
- Check the tile lines near exterior walls and at the door threshold. Cracks that radiate from those points suggest deflection.
- Look under the floor if accessible (from the basement or crawl space). Measure the joist spacing and look for any prior cuts or notches that weakened the framing.
- If you have a tile that’s already loosened, lift it carefully and inspect the back. A clean tile back with no adhesive means setting failure. A tile back fully covered in thinset that’s separated from a crumbly underlayment means the underlayment failed.
The fix depends on which failure you found. Setting failure from a single tile is a tile replacement. Widespread deflection requires adding an underlayment layer (usually 1/2-inch plywood or a tile-specific membrane) before re-tiling – which means the floor has to come up. There’s no shortcut. If your floor tile is cracking across a wide area and the house is over 40 years old, plan on a floor tear-out and rebuild. It’s the only repair that will actually hold.
Grout Discoloration and Efflorescence: What Moisture Is Telling You
Grout turning dark, chalky white, or patchy is a moisture signal. Chalky white haze on grout lines is called efflorescence – mineral deposits the water carries to the surface as it evaporates. It’s not a cosmetic problem. Efflorescence means moisture is migrating through the tile assembly. Find the source before you clean it off. If you just clean it, it will be back in a few weeks.
Dark grout near the shower floor, or around the base of the toilet, is the same signal in a different form – the grout is saturated. Cause is usually a failed caulk joint at the floor or curb that lets water behind the tile on every shower. Add a check to your annual routine: after a shower, is the grout near the shower door or along the curb still dark 12 hours later? If it takes a full day to lighten, water is getting in and staying in. Re-caulk that joint, wait a week, and check again. If the dark grout persists, the shower pan or waterproofing is the issue and a flood test (see above) is next.
In Oakland’s older homes, grout efflorescence is also common around the base of exterior bathroom walls – the moisture is climbing through the wall cavity from the exterior, not from the shower. If you see efflorescence in a spot that isn’t near any shower, look outside at the wall above that spot for flashing gaps, cracked stucco, or drainage problems that let water in from the exterior.
How to Document Remodeling Defects for a Warranty Claim
If a defect shows up after a remodel, how you document it determines whether it gets fixed under warranty without a fight. California’s contractor licensing rules and the standard contract language most contractors use put a defined timeline and process on warranty claims. Following that process protects your rights.
Photo and video protocol
- Take a wide shot showing the defect in context – the whole shower wall, the whole floor, the whole sink area – from a standing height, at eye level.
- Take a mid shot from 2-3 feet away, showing the defect and its relationship to surrounding fixtures.
- Take a close-up, with a scale reference (a coin, a tape measure, or a pen) laid next to the defect to show size.
- Take a 30-second video slowly panning the area, then a moving shot that shows the defect from at least two angles.
- Photograph any water staining, efflorescence, or dark grout now, and again in a week. The change over time is what proves active moisture movement.
- Save the metadata on all files. Don’t edit, crop away timestamps, or resize originals.
Written notice
Send written notice of the defect to the contractor by email and, if the contract specifies it, by certified mail. State what the defect is, when it first appeared, what repair you’ve attempted yourself (if any), and what remedy you’re requesting. Be specific and factual – “the grout in the north shower wall cracked on 3/4/26 and spreads along a 4-foot line” is useful. “The shower is garbage” is not. Give a reasonable cure period – California law generally gives contractors an opportunity to inspect and repair before a claim escalates.
Under California’s contractor warranty framework, workmanship defects in most residential remodels are covered for a period defined by contract and by statute. Keep your contract, any change orders, the final inspection record, and the original permit number together in one file. A defect claim is strongest when you can hand the contractor a folder with the contract, the permit, the photos from installation day (if you took any), and the current photo record of the problem. Most contractors settle valid claims quickly when that documentation exists – and dig in when it doesn’t. If your contractor is a Groundwork project, the 730-Day Done Right Promise means the claim goes through our warranty process, not a debate. Call us and we schedule a walkthrough.
Common Mistakes to Avoid
- Re-grouting a shower without diagnosing why the grout cracked. Grout is the weakest part of the shower, so it cracks first when something underneath moves. Re-grouting cracks the same joint again in 6-12 months, and the moisture behind it keeps eating the substrate.
- Caulking over old caulk. New caulk doesn’t bond to old caulk. The joint opens again within months, and in the meantime you’ve locked the original failure underneath. Cut out fully, clean, dry, then reapply.
- Skipping the flood test after a remodel, or accepting a shower that was never flood-tested. If the contractor didn’t run a 24-hour flood test before setting tile, they skipped the single most important quality check in the shower build. Ask for documentation, or run it yourself before the final payment.
- Blaming the fan when the room is too big for it. Homeowners replace exhaust fans that “stopped working” only to get the same foggy mirror. Size the fan to the cubic footage of the room, not to what’s on sale at the hardware store.
- Assuming a post-remodel smell will air out. Sewer gas isn’t a lingering odor, it’s a vent or trap problem. It doesn’t improve with time. In older Oakland homes, it often points to a compromised sewer lateral that’s been there longer than the remodel and was just masked by new walls.
- Calling a different contractor to fix the first contractor’s work without documentation or notice. In California, the original contractor generally has the right to inspect and repair before you hire someone else. Skipping that step can make it harder to recover costs later. Send written notice first, with photos and a deadline.
- Accepting a warranty that requires you to “contact the office” with no written process. A real warranty commitment has a written claim process, a documented timeline, and a clear remedy. Our 730-Day Done Right Promise works this way – if it’s not done right, we make it right, in writing, for two full years after the last walkthrough.
See the difference
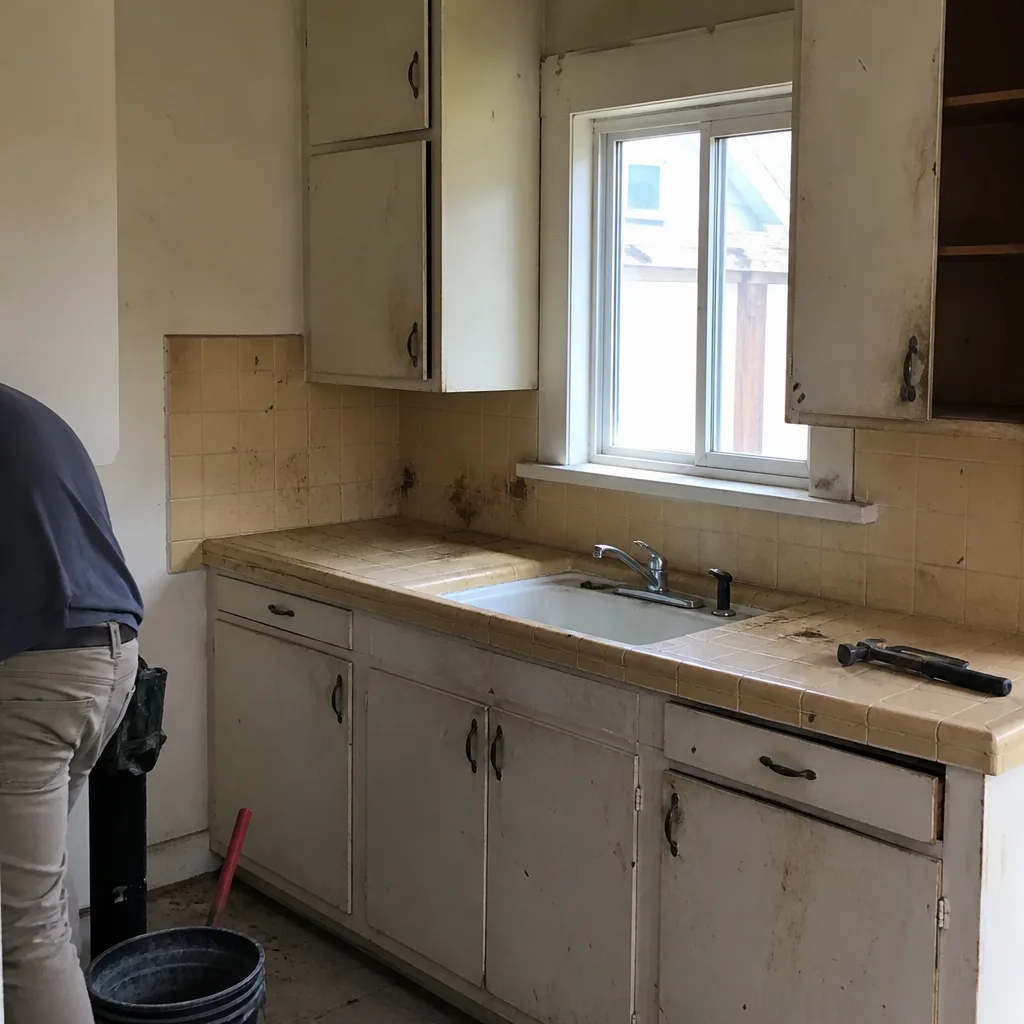 Before
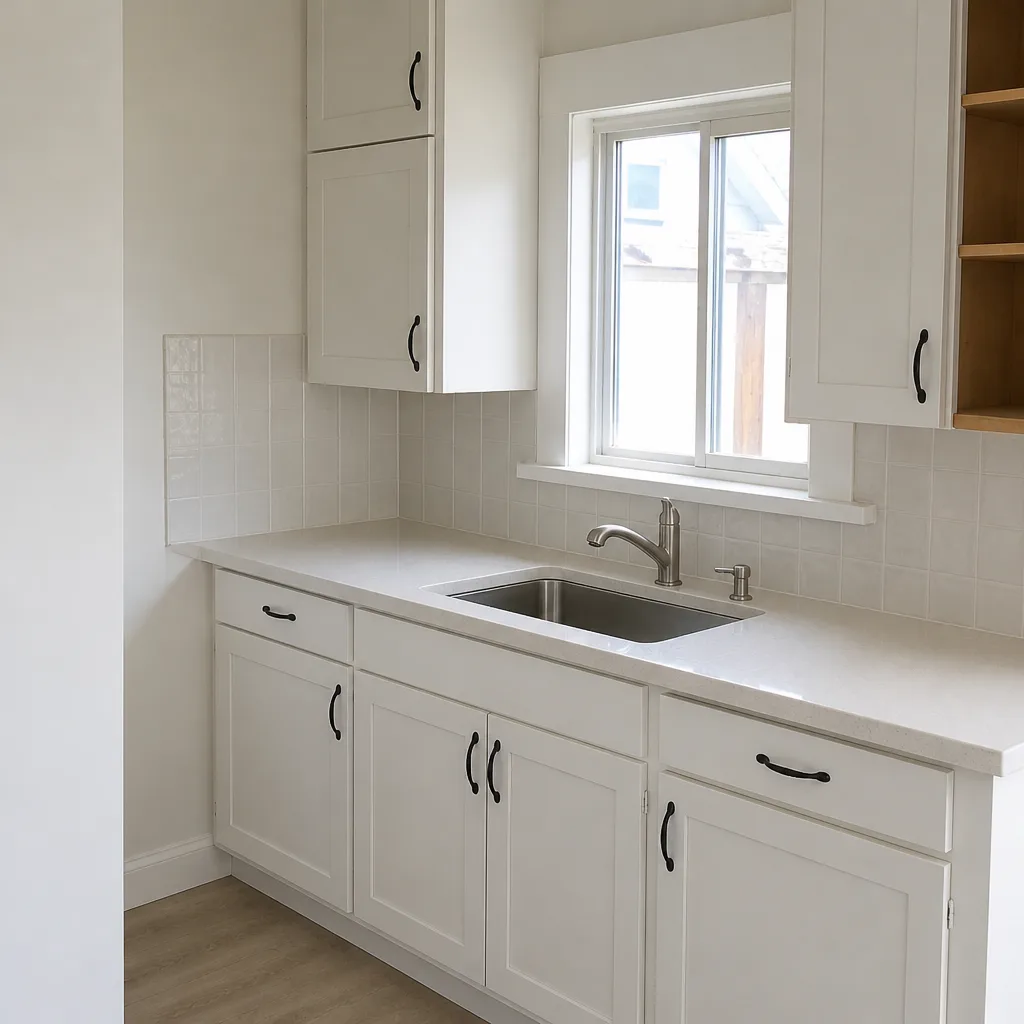 After
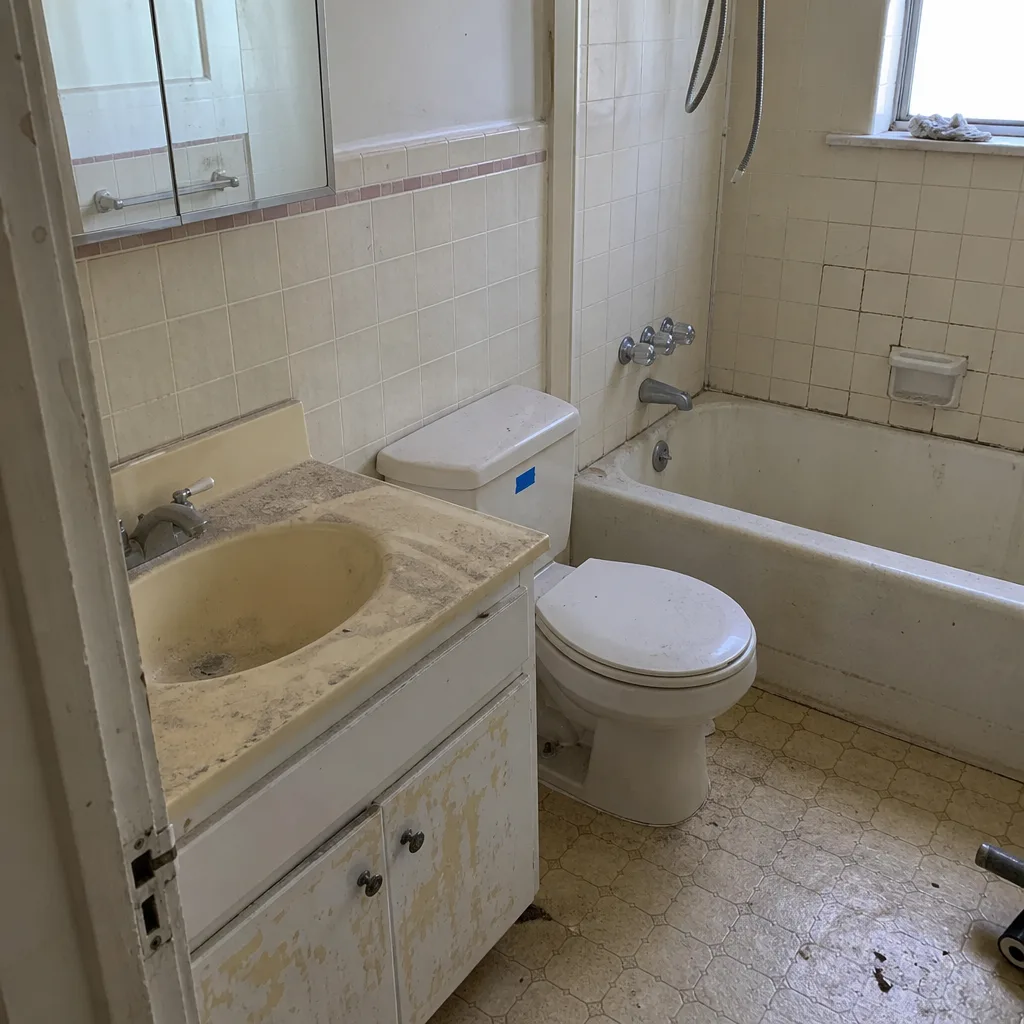 Before
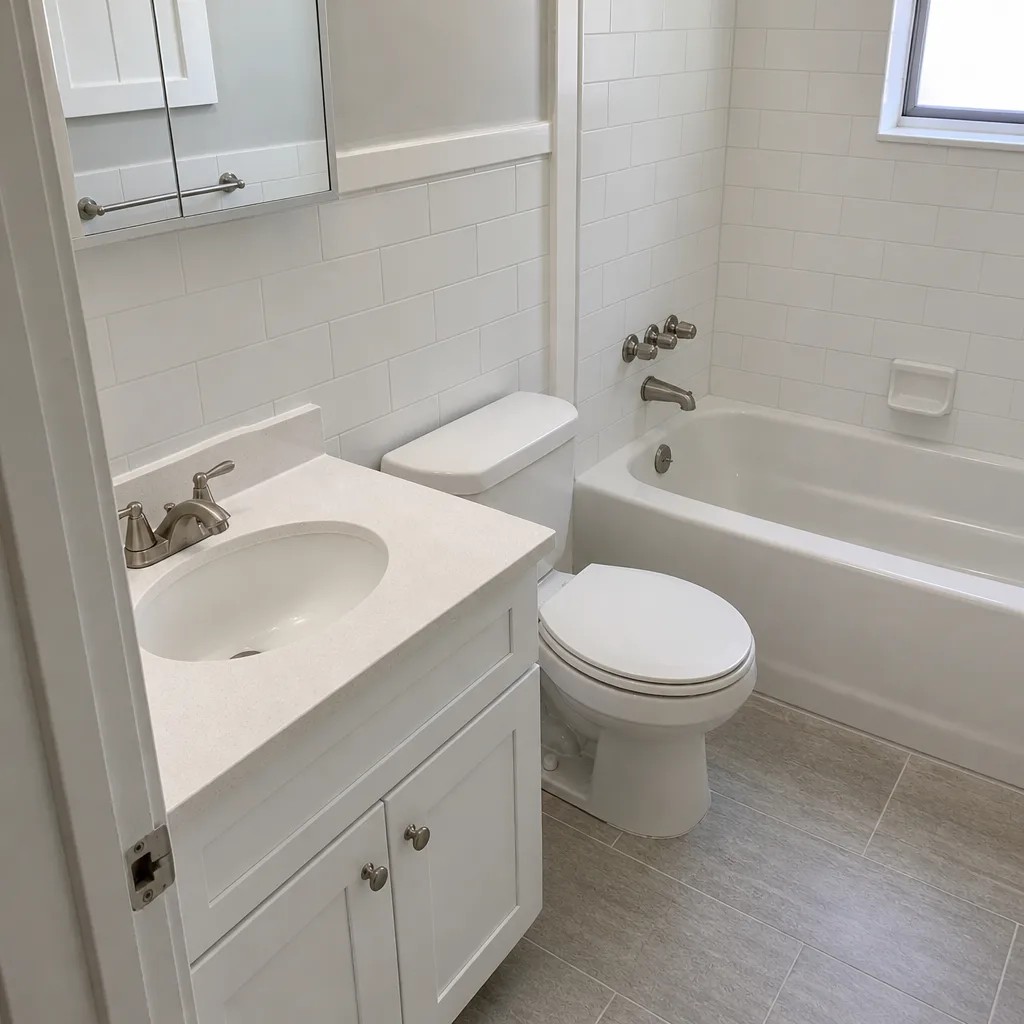 After
 Before
 After
When to Call a Professional
Some of what’s in this guide you can handle yourself – running a flood test, replacing a wax ring, re-caulking a joint correctly after full removal. Some of it involves tile setting, waterproofing assemblies, plumbing vent corrections, and subfloor framing, and those are the situations where we recommend calling a professional. Specifically: any crack pattern that suggests substrate failure, a shower pan that fails the flood test, missing or improperly vented drains, floor deflection problems, or any exhaust fan that needs new ductwork run through the attic or wall cavity.
Groundwork Construction Co. of Oakland offers free estimates in Oakland – call (833) 997-7759. We’ll come out, run the diagnostic, tell you exactly what failed and why, and give you an upfront price before any work starts. No surprises, no changing numbers mid-project. If the problem turns out to be something you can handle yourself, we’ll tell you that too. Our technicians have up to 12 years of experience with the exact failure modes in this guide, and our calls are answered by a live person 24/7, so you’re not waiting until Monday to get a real answer.
Frequently Asked Questions
Grout cracking within a year of a remodel is almost always caused by one of three things: a setting failure (the tile wasn’t fully bonded to the substrate), a substrate failure (drywall behind the tile instead of cement board or a waterproof membrane), or a movement failure (no flexible joint at a corner or change of plane). Tap the tile above the crack – a hollow sound points to setting or substrate failure. A clean crack line following a corner points to movement. Call (833) 997-7759 for an inspection if you’re not sure which you’re looking at – we diagnose it before recommending repairs, and estimates are free.
Run a 24-hour flood test. Plug the drain, fill the shower pan to just below the curb, mark the water line, and check it a day later. If the water level drops more than evaporation can explain, or if the ceiling below shows moisture, the shower pan or waterproofing has failed and the leak is behind the tile. If the water holds, any leak you’re seeing is coming from a grout joint or caulk line and can be repaired without tear-out. Call us for the inspection and flood test if you want it documented for a warranty claim.
The smell is sewer gas, and there are three common causes: a P-trap that’s missing, dry, or shallow enough to siphon, a drain that isn’t properly vented, or a wax ring under the toilet that wasn’t fully seated. Check under the sink first for a missing U-bend, then listen for glugging drains, then check the smell around the base of the toilet. If all three check out and the smell persists, the problem may be in the sewer line itself, which is common in older Oakland homes. Call (833) 997-7759 and we’ll trace it.
No, it’s most likely undersized for the room. Fans are rated in CFM (cubic feet per minute) and need to move about one CFM per square foot of floor area for bathrooms up to 100 square feet, or a total fixture-based CFM for larger rooms. A 50 CFM fan in a 120-square-foot primary bath can’t clear the air no matter how long it runs. Ductwork size and length also matter – a 4-inch duct handles about 80 CFM maximum. A properly sized fan with correct duct is usually a $400-$700 fix and worth doing. Call us for the diagnostic if you want it done once.
For a simple repair – re-caulking, replacing a wax ring, re-grouting a failing joint – no permit is required. For repair that involves opening walls, replacing a shower pan, or redoing plumbing, a permit is almost always required, and in Oakland the permit and inspection process is how you confirm the repair was done correctly. Any contractor who tells you a permit isn’t needed for a shower rebuild is telling you something important about how they work. Groundwork pulls permits on every job that requires one, and we pass inspection before we close it out.
If the contractor is Groundwork Construction Co. of Oakland, you’re covered by the 730-Day Done Right Promise – two full years after the final walkthrough, with a written claim process. Under California law, workmanship warranty periods are set by contract and by statute, and most standard agreements give the contractor a right to inspect and repair before you escalate. Send written notice with photos as soon as you notice the defect – the closer you are to the original work date, the simpler the claim. Call (833) 997-7759 and we’ll schedule a warranty walkthrough.
No – shower pan repair is a tear-out and rebuild, not a patch job. The pan is the waterproof assembly under the tile: pre-slope, liner, and weep-hole drain connections. Any repair requires removing the tile, the setting bed, and the liner, and rebuilding to current code. Doing it yourself is a multi-day job with a real risk of a hidden leak that damages the ceiling below. Call a professional. This is one of the highest-failure-rate DIY jobs we see, and the damage from a bad rebuild is far more expensive than the original repair.
The Bottom Line
Bathroom problems after a remodel aren’t random. They follow predictable patterns – cracked grout points to setting, substrate, or movement failure; a leak that passes the flood test is in the caulk or grout, and one that fails it is in the pan; post-remodel smell is a trap, vent, or wax ring; a foggy mirror is a fan sized wrong or a duct run too small. Diagnose the root cause before recommending any fix, document defects in writing with photos from the moment they appear, and know that a serious contractor backs the work for years, not weeks. If you’re staring at a problem in your Oakland bathroom that doesn’t fit any of these patterns, or you want a professional second look, call (833) 997-7759 for a free estimate. Learn more about Groundwork Construction Co. of Oakland, and if your project has grown beyond the bathroom, we also handle Home Additions & ADU in Oakland, Fence Installation in Oakland, and Driveway & Pavers in Oakland.
Contact Groundwork Construction Co. of Oakland
Call (833) 997-7759 to schedule your free estimate. A live person answers 24/7, not a voicemail. We’ll walk your bathroom with you, diagnose what failed, and give you an upfront price before any work begins. Every project is covered by the 730-Day Done Right Promise – if it’s not done right, we make it right – and every technician is background-checked and arrives in uniform. Financing is available at 0% for 18 months, and projects over $10,000 get $1,000 off. Upfront pricing, no surprises. From foundation to finish line. Built to last, backed in writing.
Written by the team at Groundwork Construction Co. of Oakland.