
Last updated November 17, 2026
 Windows & doors
 Kitchen remodeling
 Bathroom remodeling
 Home additions & ADU
 Roofing
 Driveway & pavers
 Fence
Free written scope consultation - allowances, timeline, and change-order rules on paper before a single trade is scheduled
DIY vs Professional Windows & Doors: What’s Safe to Do Yourself
Replace a bathroom vanity and you learn a few things: how to shut off a water line, how to level a cabinet, how to caulk a seam so it doesn’t look terrible. That skill set feels transferable. So when a bedroom window starts fogging between the panes or a back door stops latching, the instinct is to handle it the same way. The difference isn’t carpentry ability. It’s waterproofing. A window set into a wall is a hole in the building envelope, and a failed install won’t announce itself. It leaks quietly into the framing for months, and by the time you see a stain on the drywall in an Oakland bungalow, the damage has already moved past the window. This guide draws a clear line between what’s a reasonable weekend project and what needs a trained hand.
Quick Answer
Interior door hardware, screens, weatherstripping, and routine caulk maintenance are safe DIY work for most homeowners. Anything that involves cutting into the exterior envelope, changing a rough opening, or handling a structural header in a pre-1980 Oakland home should go to a licensed professional. Same-size window replacements still carry flashing and waterproofing risk serious enough that we don’t recommend them as a first-timer project.
Styles & brands we work with
- Kitchen remodeling
- Bathroom remodeling
- Home additions & ADU
- Roofing
- Windows & doors
- Driveway & pavers
- Fence
Table of Contents
- What’s Genuinely Safe to Do Yourself
- Why Waterproofing Is the Line You Don’t Cross
- Oakland Permits: When You Need One and When You Don’t
- Headers in Older Oakland Homes: The Structural Reality
- The True Cost of DIY Installation
- Title 24 and Window Performance in California
- Common Mistakes to Avoid
- When to Call a Professional
What’s Genuinely Safe to Do Yourself
There’s a real list here, and it’s longer than some contractors will admit. We’re not going to pretend every window-related task requires a crew. Plenty of it is straightforward, and doing it yourself saves money that’s better spent elsewhere.
Interior door hardware swaps. Replacing a knob, deadbolt, or handle set on an interior door is a screwdriver job. Standard backset is 2-3/8 or 2-3/4 inches, and nearly every residential door in Oakland is drilled for one or the other. Pop the old hardware, confirm the backset, install the new. Thirty minutes per door if the strike plate lines up. If it doesn’t, a chisel and ten more minutes.
Screen replacement. New spline, new mesh, a spline roller tool that costs under $15. Window screens take a beating in Oakland’s dry summers and the occasional wind event off the hills, and re-screening a frame is one of the most forgiving tasks in home repair. Watch a five-minute video and you’re qualified.
Weatherstripping and door sweeps. A door that whistles in January is losing you money on heating and letting smoke and pollen in during fire season. Foam tape, V-strip, or a new sweep on the bottom of an exterior door will fix most of it. This is maintenance, not remodeling.
Basic caulk maintenance. Here’s where the DIY line starts getting fuzzy, and it’s worth being precise. Re-caulking a joint that’s already caulked – scraping out the old bead, cleaning, running a fresh line of exterior-grade silicone or paintable latex – is reasonable DIY work. What is not reasonable is caulking over a gap that’s already open, or using caulk to seal a window that’s actively leaking. Caulk is a maintenance layer, not a repair. If water is getting in, the flashing behind the window is the problem, and no amount of caulk fixes that.
Interior door slab swaps. Replacing a hollow-core interior door with a new pre-hung or slab door is a solid weekend project, though it takes more patience than people expect. Hanging a door so it swings true and latches cleanly is a skill. It’s learnable. It’s also the kind of thing where a poorly hung door will annoy you every single day for the next decade.
Everything on that list shares one trait: if you get it wrong, the worst case is cosmetic or a call to a pro to fix it. Nothing on that list can rot a wall.
Why Waterproofing Is the Line You Don’t Cross
Exterior window replacement – even a straight same-size swap where the rough opening doesn’t change – is where we see homeowners get into trouble. The window itself is not the hard part. The flashing is.
A window in a wall requires a layered water management system. There’s the rough sill, which needs to slope slightly to drain water out rather than in. There’s sill pan flashing, which catches any water that gets behind the window and directs it to the exterior. There’s the weather-resistive barrier – house wrap or building paper – which has to lap over the flashing in a specific order. There’s the window flange or the head flashing, and there’s the sealant joint that ties it all to the exterior finish. Get the lapping order wrong and water gets in. Get the sill slope wrong and water gets in. Skip the pan flashing and water gets in.
None of this is visible once the trim goes back on. That’s the problem.
In our experience in Oakland, the failure mode is almost always slow. A wet winter like the atmospheric river years of 2017 and 2023 will push water through a bad flashing job. Then it dries out for two or three summers and nothing happens. Then someone notices a paint bubble near the window in November, or a musty smell in a bedroom, or a soft spot in the drywall. By the time that’s visible, the sheathing behind the window has been wet and dry, wet and dry, for years. We’ve opened walls to find rim joists with rot that started at a window installed eight years earlier.
The reason this isn’t a “watch a video and try it” task is that the feedback loop is too long. You won’t know you got it wrong until it’s expensive. Contrast that with an interior project – hang a door badly and you see it that day. That’s a fair fight. Water intrusion isn’t.
We don’t say this to scare anyone into hiring out. We say it because we’ve been the crew on the other end of this call, and we know what the repair looks like on the back end.
Oakland Permits: When You Need One and When You Don’t
Oakland’s permit requirements for window and door work depend on scope, and this is one of the most misunderstood areas of residential construction in the city.
When you don’t need a permit: Replacing an interior door slab or hardware, re-screening, re-caulking, weatherstripping – none of that requires a permit. Homeowners in Oakland can also perform certain minor repairs without pulling one.
When you do need a permit: Replacing exterior windows and doors generally requires a permit, and the trigger is usually the change in the opening, the structural nature of the work, or a same-size replacement done under a specific compliance requirement. If you’re changing the size of the rough opening – making a window bigger, adding a new window where there wasn’t one, converting a window to a door – a permit is required, and so is inspection.
Over-the-counter vs. inspected: Oakland’s Building Services at 250 Frank H. Ogawa Plaza handles a range of permits. Some straightforward same-size window swaps can move through with plans and a permit, but anything that alters the opening, alters structural framing, or involves an egress window requires inspections. Skilled trades and contractors who pull permits regularly know which path applies to a given job. Homeowners often don’t.
The egress issue. If a window swap touches a bedroom window in an older Oakland home, you may be interacting with egress requirements – the window has to open to a certain size to allow escape in a fire. A “same-size” replacement that happens to be smaller, or one that doesn’t open the way the original did, can fail an inspection years after installation if the home is ever sold or refinanced. This is one of the most common surprises we see at resale.
What “pull the permit” actually means. The permit itself is paperwork. The value is the inspection. An Oakland building inspector looking at a window install is looking at the flashing, the attachment, the header, and the egress sizing. That’s a second set of trained eyes on the part of the job you can’t see.
Here’s where our process matters for Oakland homeowners. When we handle window and door work, we pull the permits and we carry the job through inspection. That’s the point of hiring a licensed contractor – the responsibility for compliance sits with them, not with you. More detail on our Groundwork Construction Co. of Oakland home page.
Headers in Older Oakland Homes: The Structural Reality
Walk through the Rockridge, Temescal, or Cleveland Heights neighborhoods and you’re walking through housing stock that was largely built between 1900 and 1940. Bungalows, Craftsman four-squares, Mediterranean revivals. Beautiful houses. Houses that were framed before modern structural engineering was standardized, and houses that have been remodeled – often more than once – by every generation that came before.
When we open a wall to find what’s over a door or window, the answer varies by house. Some 1920s Craftsman homes have solid-sawn Douglas fir headers, sometimes oversized, sometimes undersized by modern standards. Some have been modified so many times the original header is only carrying half a load. Some have doubled-up 2×4 or 2×6 framing that was added during a 1970s remodel with no engineering behind it.
Every opening in a load-bearing wall – every door, every window, every pass-through – has a header over it. The header transfers the load from above the opening down and around to the sides. If you remove or modify that header without understanding what it’s carrying, the wall above it sags, the floor above it deflects, and the damage shows up slowly. A door that starts sticking. Cracks in the plaster radiating from the corners of the opening. In severe cases, a ridge that bows in the roof line years later.
This is why opening modification – making a door wider, raising a window head, cutting a new opening in an exterior wall – is never a DIY call in Oakland’s older neighborhoods. It’s not a skills question. It’s a “you need to know what’s in the wall before you touch it” question. Sometimes that means opening up the drywall and looking. Sometimes it means a structural engineer’s stamp. Sometimes it’s straightforward and sometimes it’s not, and you don’t know which until you’re in.
Straight same-size window replacement doesn’t usually touch the header. But you want whoever is on the job to know how to check it – and to stop and call for backup if what they find doesn’t look right.
The True Cost of DIY Installation
DIY window replacement gets sold on the price of the window. That’s not the cost. Here’s what homeowners actually spend when they take this on themselves, in ranges we see for a typical single window swap in an Oakland home:
- The window itself: $400 to $1,200 depending on size, glass package, and whether you’re buying a name-brand unit like an Andersen or a builder-grade unit from a big-box store. Full-frame replacements cost more than pocket replacements.
- Tools you probably don’t own: $300 to $800. A good level (a 4-foot and a 2-foot), a framing square, a pry bar, a reciprocating saw, a screw gun, a caulk gun rated for exterior silicone, a utility knife, safety glasses, gloves, a ladder. Some of this you have. Some of it you’ll buy and use once.
- Materials for a proper install: $100 to $250. Flashing tape, sill pan flashing, low-expansion spray foam, exterior-grade sealant, shims, trim stock, fasteners.
- The permit (if required): varies by scope, but budget for it. It’s part of the real cost.
- Disposal: $40 to $100 for taking the old window away.
- Inspection correction cost if the install fails: $500 to $2,500. This is the number nobody budgets for. If the inspector catches bad flashing, improper attachment, or a header issue, the window comes back out. Sometimes the wall does too.
- Water damage repair if the install fails over time: $2,000 to $15,000+. This is the range we’ve seen for sheathing, framing, and interior repair from a window that leaked for several seasons before anyone noticed.
Add that up across two or three windows and the math starts looking different. DIY can work out for a homeowner with existing tools, a helper, an easy access window, and a strong tolerance for risk. But the savings are usually thinner than the sticker price suggests, and the downside is asymmetric.
Upfront pricing shifts that equation. When you hire us, you get a written line-item quote before work starts – no vague “allowance” numbers, no change orders mid-job for things that should have been in the original bid. That’s what we mean by the number you see is the number you pay. Get a free project estimate before you decide anything.
Title 24 and Window Performance in California
California’s Title 24 energy code sets minimum performance standards for windows and doors in residential construction, and it’s the reason a “cheap window” often isn’t the right answer in Oakland.
The code requires that replacement windows meet certain U-factor and Solar Heat Gain Coefficient (SHGC) ratings. U-factor measures how quickly heat moves through the glass. SHGC measures how much solar heat the glass lets in. In Oakland’s climate zone, those numbers matter less for heating savings than they would in Tahoe and more for cooling than you’d expect in a place with mild summers – but they still matter for compliance.
Practically speaking, what this means for a homeowner:
- The window you buy has to be labeled. Manufacturer labels showing U-factor and SHGC have to be on the frame when the inspector sees it. Lose the label and you can fail an otherwise fine install.
- Older housing stock often has old single-pane aluminum or wood windows that don’t meet current standards. That’s one reason a same-size swap is common in Oakland – the upgrade to dual-pane or low-E glass is the point.
- A pro handles the paperwork. Compliance documentation goes with the permit. That’s part of the job, not an add-on.
We use window brands we trust – among them Andersen, Pella, and Marvin, along with other verified partners depending on the job – because the performance data is verifiable and the labels don’t disappear. That last detail sounds trivial until you’re the one holding up an inspection because the sticker got thrown out with the packaging.
Common Mistakes to Avoid
- Caulking instead of flashing. When water is getting around a window, the instinct is to hit it with fresh exterior silicone. Caulk is a maintenance layer at the finish surface, not the waterproofing system. If water is getting in, the flashing, sill pan, or weathering details behind the window are the issue, and the fix lives in the wall cavity.
- Ignoring the sill slope. The rough sill under a window needs to slope toward the exterior so any water that reaches the sill pan drains out. Flat sills pool water. In a dry summer, an improperly sloped sill looks fine in Oakland for months. It isn’t.
- Replacing a bedroom window without checking egress. Egress sizing is a code requirement, and it’s checked at resale and refinance. A “same-size” swap that closes up the opening enough to fail egress becomes someone else’s problem – usually yours, years later, at the wrong moment.
- Skipping the permit to “save time.” The permit isn’t a tax. It’s the inspection. Skipping it means nobody’s looking at the flashing, the header attachment, or the egress compliance besides you. And unpermitted work can complicate a sale or a refinance down the line.
- Cutting into a wall without understanding the header. In an Oakland Craftsman from 1925, what’s over the opening could be original solid-sawn fir, a 1970s remodel with doubled studs, or something in between. Open the wall and look, or hire someone who will. Never assume a modern framing plan applies to a hundred-year-old house.
- Buying the window before checking the rough opening. Rough openings are rarely exactly what they should be in older homes. Order the wrong size and you’re either paying restocking fees or watching a boxed window sit in your garage while the exposed opening stays tarped. Measure twice. Then measure again.
- Treating weatherstripping as a one-time fix. In Oakland, weatherstripping and door sweeps wear out faster than most homeowners expect between dry summers and wet winters. Checking them once a year takes ten minutes and saves you the draft, the smoke intrusion, and the utility bill.
When to Call a Professional
Call a licensed contractor when the work involves cutting into the building envelope, altering a rough opening, understanding a header in a pre-1980 home, or meeting Title 24 and egress requirements. Call when the window is second-story or above, when the install is on a wall with existing water damage or old flashing, or when the job involves more than one window and you want a single accountable party across the whole scope. Call when you’ve never set flashing and the window is going into an exterior wall that will be covered in trim by the end of the day.
We know the value of a homeowner who’s earned some skill. We also know the value of a job that gets signed off by an inspector and backed by a written guarantee. Groundwork Construction Co. of Oakland offers free estimates in Oakland – call (833) 997-7759. Every project we do is backed by our 730-Day Done Right Promise, and if it’s not done right, we make it right.
See the difference
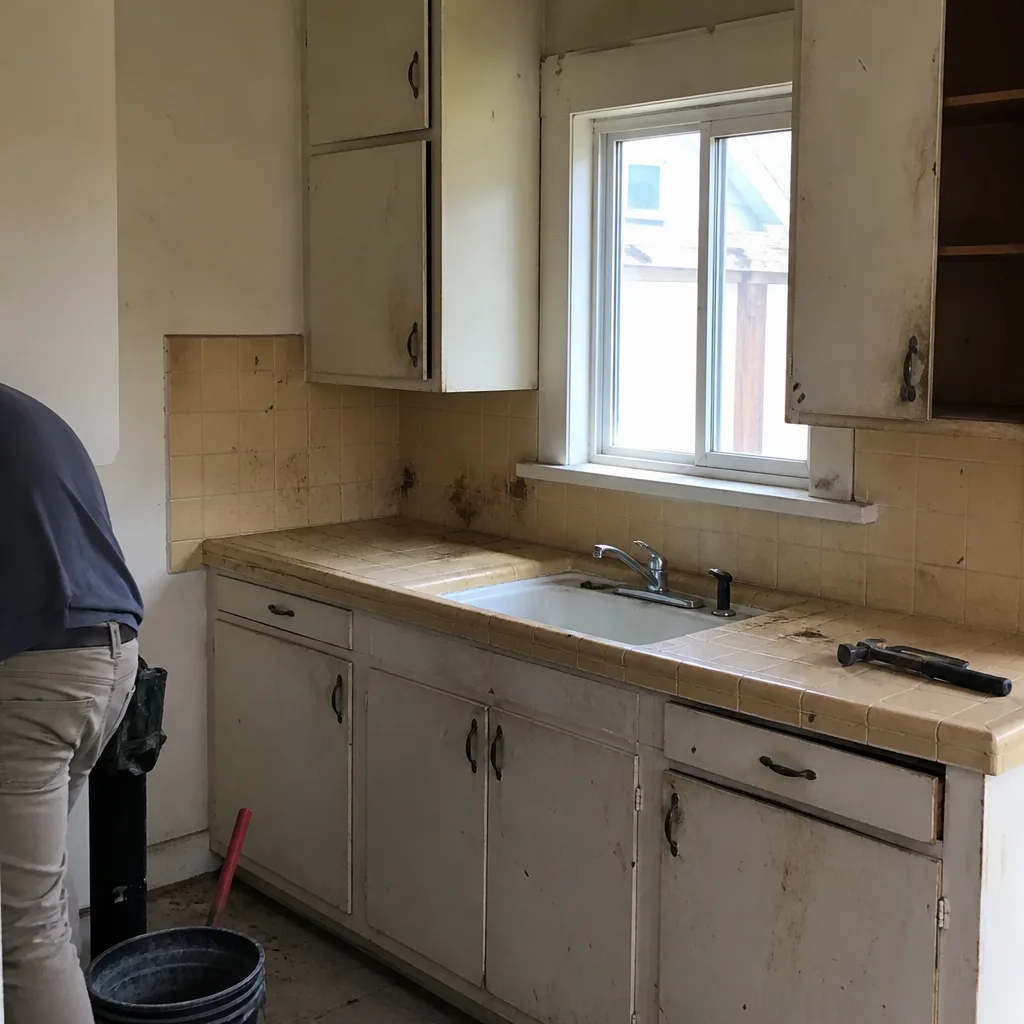 Before
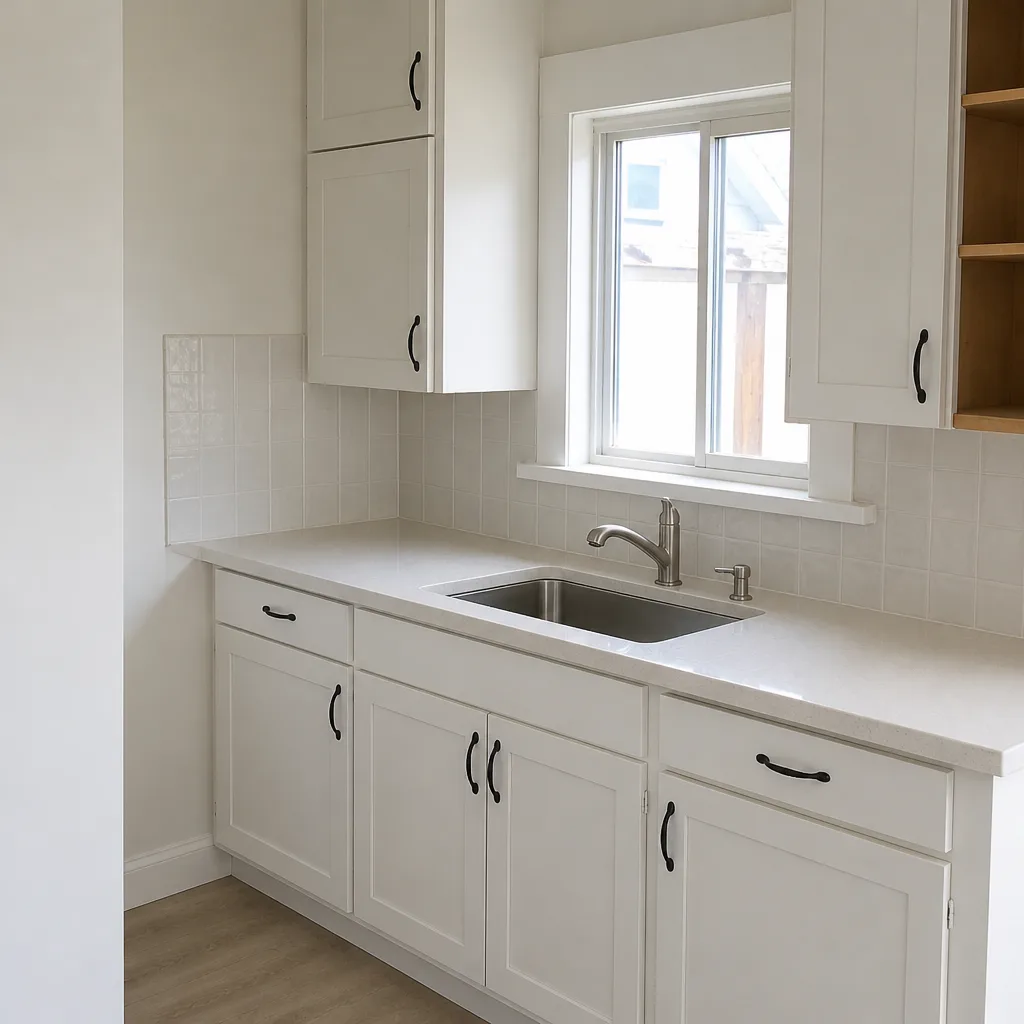 After
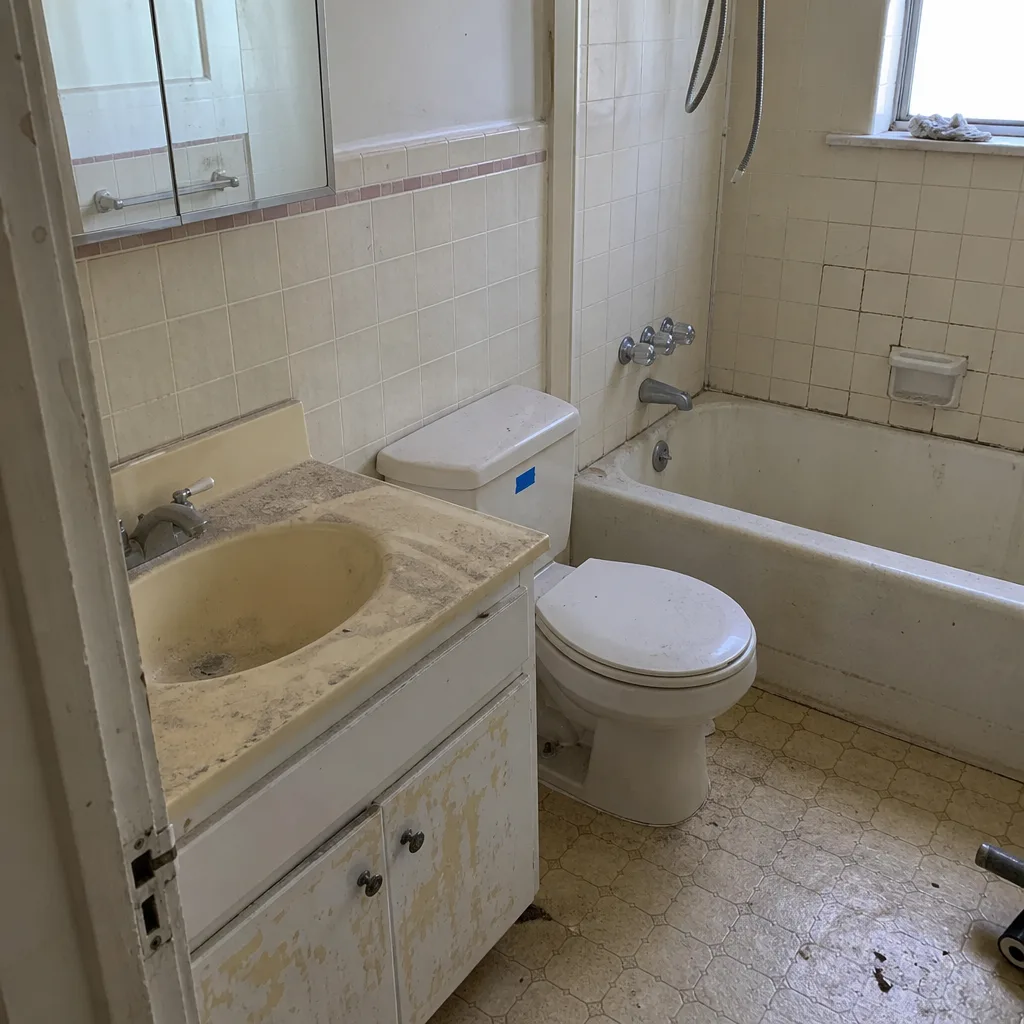 Before
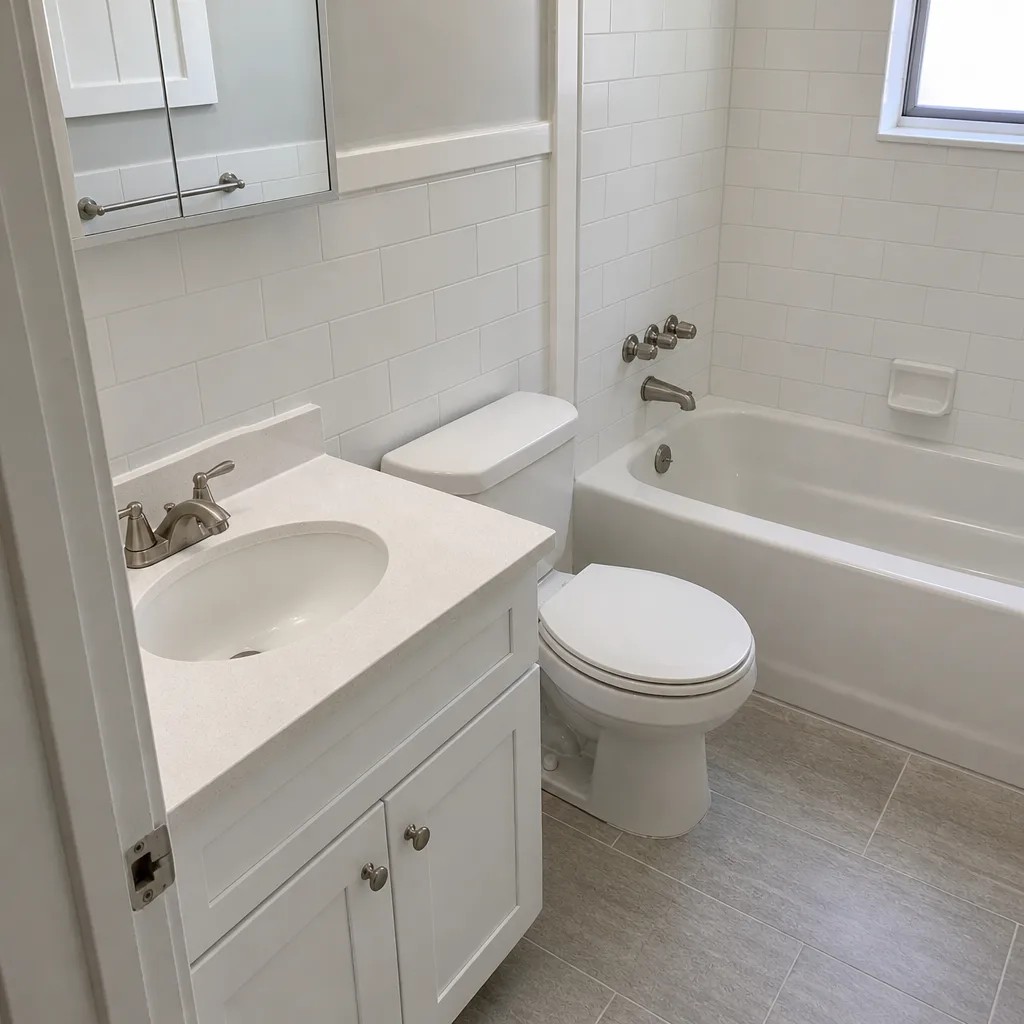 After
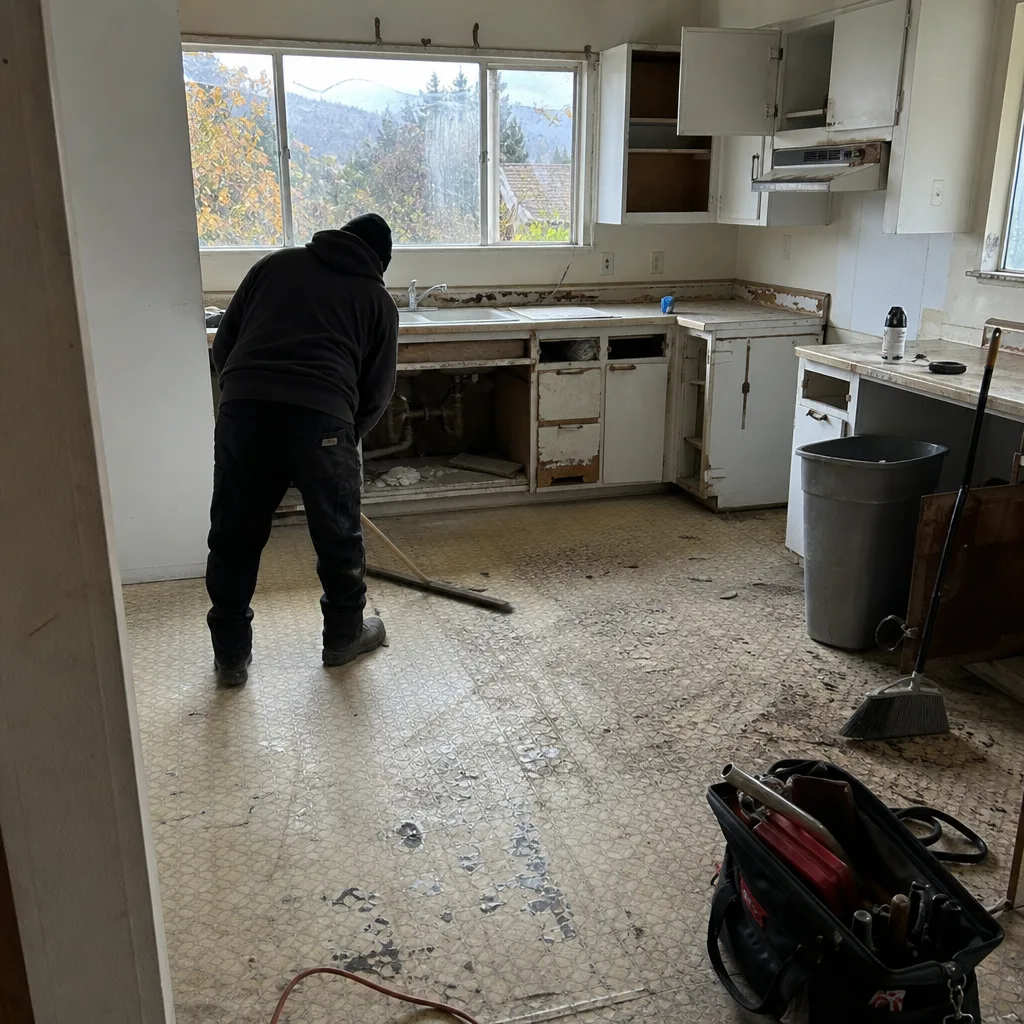 Before
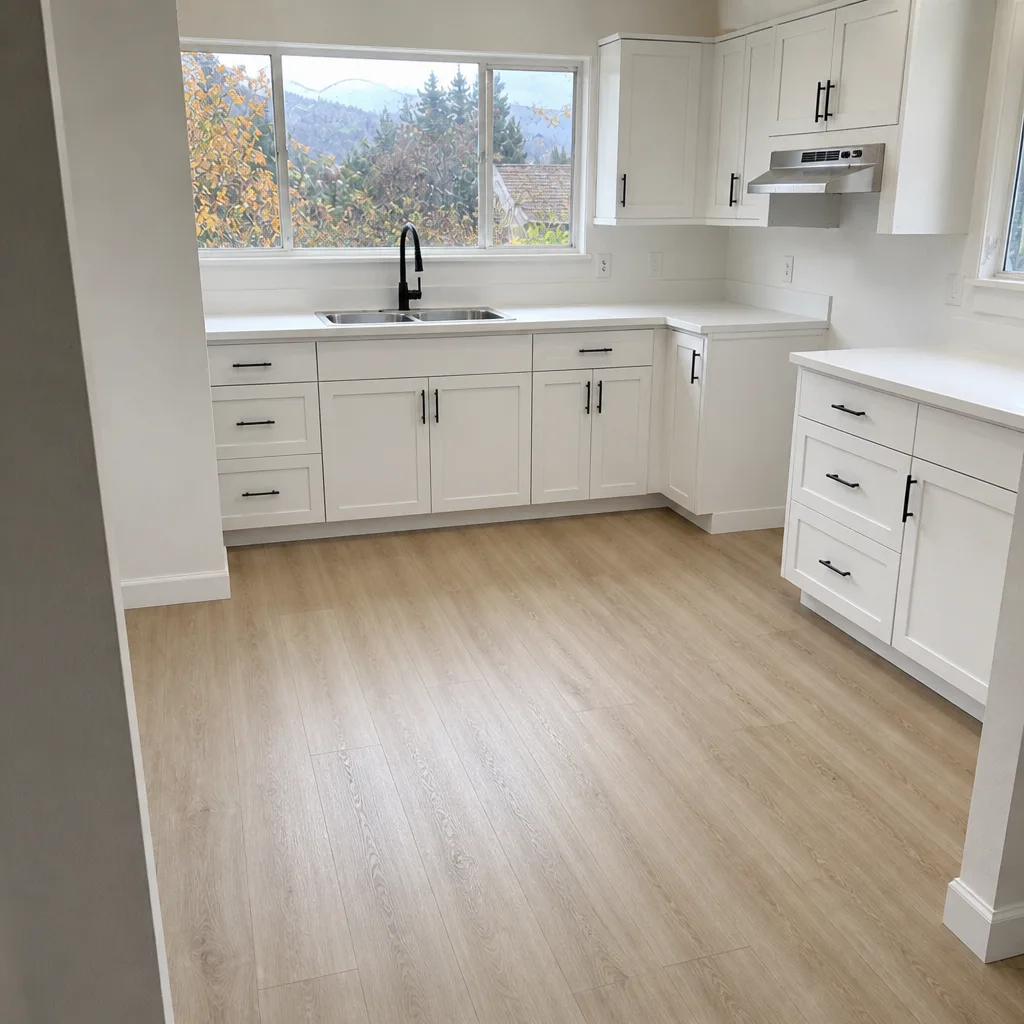 After
Frequently Asked Questions
Legally, yes – a homeowner can pull permits and perform work on their own home in California, with some limits on multi-family and rental properties. Practically, same-size exterior window replacement requires waterproofing detail that’s hard to get right as a first project, and a failed install won’t show damage until the wall is already wet. We recommend professional installation for anything that touches the exterior envelope.
Exterior window replacement generally requires a permit in Oakland, and any change to the rough opening – enlarging a window, adding a new one, converting a window to a door – definitely does. Same-size replacements sometimes move through a shorter path but still need plans and inspection. Oakland Building Services can confirm the specific requirement for your address.
Professional same-size window replacement in Oakland typically runs $700 to $1,800 per window installed, depending on the window, the access, whether the stucco or siding has to be opened, and whether trim has to be matched. Full-frame replacement where the entire window and surrounding framing get replaced runs higher. Get a written line-item quote before you commit, and ask what the quote excludes.
Pocket replacement inserts a new window into the existing frame with minimal surrounding work – less invasive, less expensive, but it can hide existing flashing problems. Full-frame replacement removes the entire window unit and the surrounding trim so the rough opening and flashing can be re-done properly – more work, more cost, but the waterproofing system gets reset. In Oakland’s older housing stock, full-frame is often the right call because what’s behind the old window is usually the problem.
Not when pricing is handled right. A written line-item quote based on an actual site visit covers what’s included and what isn’t. Hidden conditions – rot behind a window, missing flashing, a header that wasn’t what it appeared to be – are the wildcard on any window job in an older home, and a contractor who’s inspected the property should be upfront about how those surprises get priced. What you shouldn’t accept is a bid that turns into a string of change orders for things a careful inspection would have caught.
Yes, in most cases. Replacing a door slab or hanging a pre-hung interior door is a reasonable DIY project. Hardware swaps, re-screening, weatherstripping, and routine caulk maintenance are all safe weekend work. The line we draw is at the exterior envelope, at any change to a rough opening, and at anything involving a structural header in an older home.
The work has to be corrected and re-inspected, and correction cost depends on the failure. Bad flashing or improper attachment usually means pulling the window back out – several hundred to a few thousand dollars in labor and materials. Egress or Title 24 labeling failures can mean a different replacement window. In either case the correction happens before a final sign-off, and if the job was done by a licensed contractor, that correction is their responsibility, not the homeowner’s.
The Bottom Line
There’s a solid DIY list for windows and doors and it’s worth using: hardware swaps, screens, weatherstripping, caulk maintenance, interior slabs. The list stops at the exterior envelope. Same-size window replacement, rough opening changes, door conversions, and header work in a pre-1980 Oakland home all sit on the professional side of the line, and the reason isn’t skill – it’s the timing of failure. A bad interior job shows up that day. A bad window install hides. Oakland’s older housing stock, its permit and egress requirements, and its wet winters all make that hiding worse. Choose based on what you can see and fix versus what you can’t.
Our technicians have up to 12 years of experience on window and door work, and every project we do is covered by the 730-Day Done Right Promise. If a window job is on your list this year, call (833) 997-7759 for a free estimate – no obligation, no pressure, and a written quote that matches what you’ll actually pay.
Written by the team at Groundwork Construction Co. of Oakland.