
Last updated November 17, 2026
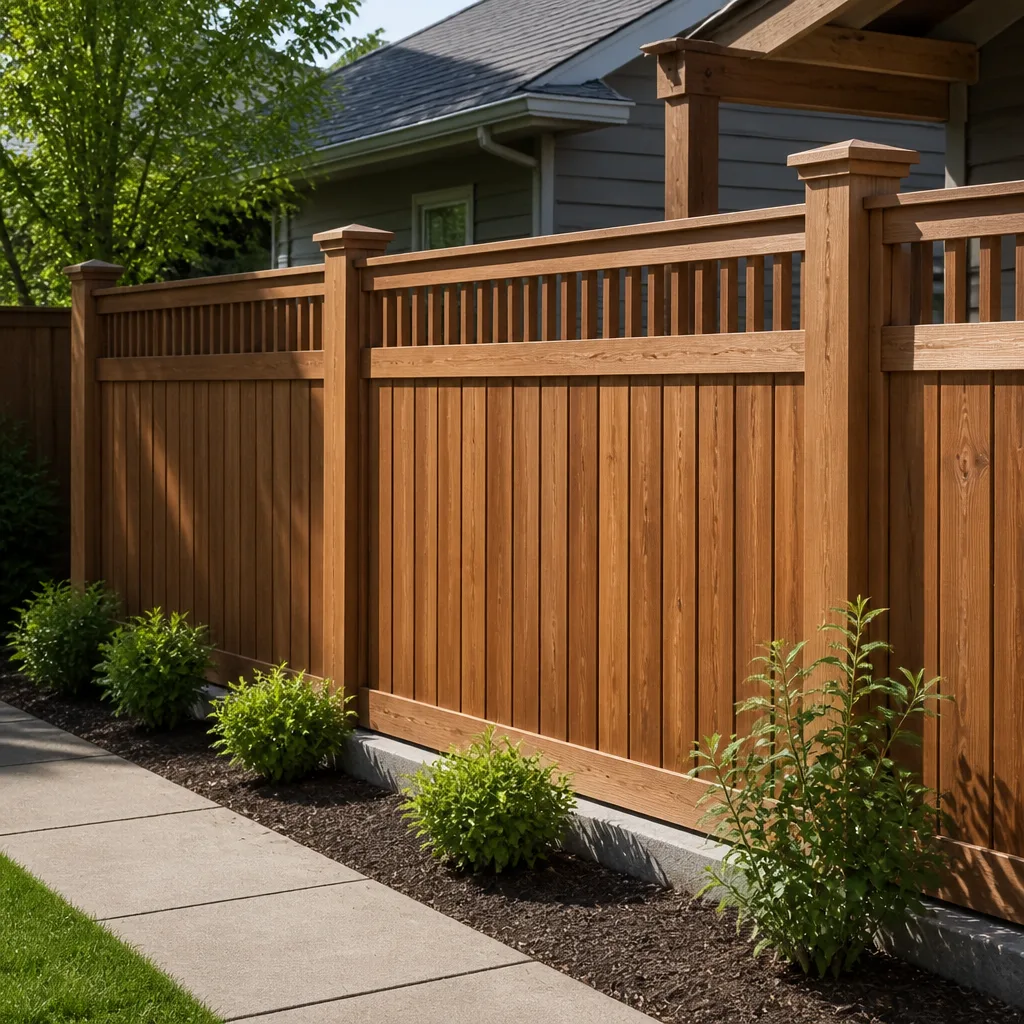 Fence
 Kitchen remodeling
 Bathroom remodeling
 Home additions & ADU
 Roofing
 Windows & doors
 Driveway & pavers
Free written scope consultation - allowances, timeline, and change-order rules on paper before a single trade is scheduled
Fence Installation Troubleshooting: Common Problems and How to Fix Them
A leaning fence post is not a one-post problem. It’s a signal that the whole run is in a slow-motion fall, and the only real question is which post goes next. We’ve pulled posts out of Oakland yards where the homeowner had propped up the same corner three times with new lumber and a bag of concrete, and each patch held for about a season before the lean came back. The reason is almost always the same: the repair treated the symptom, not the cause. In this guide we’ll walk through how to tell a footing failure from rot at grade from soil movement, why the hardware on your gate keeps rusting shut in the Oakland air, and how to decide whether you’re fixing a fence or just postponing a replacement.
Quick Answer
A leaning or failing fence is usually caused by one of three things: an undersized post footing, wood rot at the ground line, or lateral soil movement pushing the whole run. Fix the footing and the hardware together, or the repair won’t hold. In Oakland’s coastal climate, galvanized fasteners corrode faster than most homeowners expect, so pairing a proper footing repair with marine-grade or stainless hardware is what actually stops the lean from coming back.
Styles & brands we work with
- Kitchen remodeling
- Bathroom remodeling
- Home additions & ADU
- Roofing
- Windows & doors
- Driveway & pavers
- Fence
Table of Contents
- How to Diagnose a Leaning Fence Post Before You Dig
- Footing Failures: Why Posts Lean and What a Correct Footing Looks Like
- Why Galvanized Hardware Fails in Oakland’s Coastal Air
- Board Warping and Gapping: Cosmetic or Structural?
- Water Pooling vs. Sun Exposure vs. Pest Damage: Telling Them Apart
- Repair or Replace? How to Run the Numbers
- Common Mistakes to Avoid
- When to Call a Professional
How to Diagnose a Leaning Fence Post Before You Dig
Before anyone touches a shovel, you need to know which of three problems you’re dealing with, because each one has a different fix and only one of them is solved by pouring more concrete. We’ve seen homeowners add a bag of Quikrete around a post that was actually rotting from the inside out. The concrete did nothing except hide the rot for another year.
Here’s the diagnostic sequence we use on a first walk-through:
- Push test. Stand at the base of the post and push it firmly side to side. If the whole post moves in the soil like a loose tooth, that’s a footing problem. If the wood moves but the base stays put, that’s rot or a broken fastener above grade.
- Probe at grade. Take a screwdriver and push it into the wood 2 to 3 inches above and below the soil line. If it sinks in easily, you’ve got rot. A healthy pressure-treated post should resist a screwdriver with real force.
- Check the run, not just the post. Sight down the length of the fence from one end. If several posts lean in the same direction, you’re looking at lateral soil movement or a shared footing problem, not one bad post.
- Look for water. After a rain, check whether water pools at the base of the posts. If your downspout dumps next to the fence line, or the grade slopes toward the fence, you’ve found the root cause of both rot and footing failure.
- Inspect the hardware. Look at the brackets, screws, and hinges. White powdery residue or reddish rust streaks mean the fasteners are failing. In Oakland, this happens fast on standard galvanized hardware.
Each result points to a different fix. A footing failure needs the post reset or replaced with a properly sized concrete collar. Rot at grade needs the post cut back and a new post set on a standoff base. Lateral movement often needs deeper footings on the whole run. Getting the diagnosis right is the entire game. Skip it and you’ll spend money twice.
If you’re not sure what you’re looking at, the team behind our fence installation in Oakland work can walk the line with you and tell you honestly whether it’s a repair or a replacement.
Footing Failures: Why Posts Lean and What a Correct Footing Looks Like
Post footings fail for one of two reasons: they were never big enough for the load, or they were never deep enough for the soil. In Oakland, both happen constantly, and often on the same fence. A typical 6-foot privacy fence catches a lot of wind, and a post set 18 inches deep in a 10-inch hole with a few inches of concrete at the bottom simply doesn’t have the mass to resist that lateral load. When the wind pushes, the post pivots in the soil like a lever, and the whole run starts to lean.
Here’s what a footing that will actually hold looks like:
- Depth below the frost line. Oakland doesn’t get hard freezes, but depth still matters because the top 12 to 18 inches of soil is where seasonal moisture change happens. Going deeper than that puts the concrete in stable soil.
- Concrete collar, not a plug. The concrete should surround the post with 3 to 4 inches of mass on all sides, not just fill the bottom of the hole.
- Dome the top. Slope the concrete so it sheds water away from the post. A flat or dished top holds water against the wood and accelerates rot at grade.
- Gravel at the base. A few inches of gravel under the concrete lets water drain away instead of sitting at the bottom of the hole.
- Proper post size for the span. A 6-foot privacy run needs 4×4 posts at minimum, and we prefer 4×4 or 6×6 depending on the span and wind exposure. Undersized posts flex and work their footings loose over time.
When we reset a failing footing, the fix is to dig the old post out, widen the hole, and pour a footing sized to the actual load. That’s not something you can shortcut by dumping a bag of concrete on top of the old one. We’ve seen the “concrete cap” repair fail within one rainy season, and it usually makes the next proper repair more expensive because the old concrete has to be chipped out.
One more thing that trips up Oakland homeowners: if the fence post is anywhere near a retaining wall, a slope, or a driveway edge, the soil on that side is already under load from something else. The footing has to account for that. That’s why we pull the driveway and pavers work into the conversation whenever a fence runs along a hardscape edge, because the two structures share the same soil and the same drainage.
Why Galvanized Hardware Fails in Oakland’s Coastal Air
Standard hot-dipped galvanized screws and brackets are fine in a dry climate. In Oakland, they’re not. The salt air coming off the bay and the marine layer that sits over neighborhoods like West Oakland, Alameda, and the hills above the flatlands combine to accelerate corrosion on zinc coatings. It’s not that galvanized hardware is bad. It’s that it’s rated for a climate Oakland isn’t.
What actually happens is slow and sneaky. First the zinc coating chalks white. Then the underlying steel starts to pit. Then the fastener loses its grip and the board it was holding starts to pull away from the post. By the time you notice the fence looks wobbly, the fasteners are already several years gone. The wood isn’t the problem, the metal is.
What holds up better in Oakland:
- Stainless steel fasteners (Grade 304 or 316). 316 is the marine-grade option and it’s the right call for anything within about a mile of the bay, the estuary, or the coast.
- Hot-dipped galvanized with a heavier coating. If you’re not going stainless, look for hardware rated G185 or higher, not the standard G90 you’ll find at most big-box stores.
- Powder-coated or ceramic-coated brackets. The coating adds a barrier between the metal and the moist air. It’s not a substitute for the right base metal, but it extends the life of galvanized hardware.
- Stainless or coated hinges on gates. Gates take more load and more movement than the rest of the fence, and a gate hinge that corrodes shut is one of the most common failures we see.
One gallon of corrosion is worth ten of prevention. If you’re replacing boards anyway, upgrade the fasteners at the same time. It’s a modest line item on a repair, and it’s the difference between a fence that holds for fifteen years and one that starts wobbling again in five. We’ve pulled apart fences in Oakland where the cedar was still in decent shape but the screws were gone. That’s a waste of good lumber. It’s also why we spec hardware to the climate, not to the cheapest line on the bid.
Board Warping and Gapping: Cosmetic or Structural?
Not every warped board means trouble. Some do. The trick is knowing which is which.
Warping, cupping, and gapping are usually caused by moisture movement in the wood. A board that takes on water on one side and dries on the other will cup. A board that dries faster than its neighbor will open a gap at the joint. These are cosmetic issues, and in most cases they’re the cost of using a natural material. If a single board is cupped or a few pickets have developed thin gaps, that’s a replace-the-board situation, not a rebuild-the-fence situation.
Structural warping looks different. Watch for these signals:
- Racking. If the fence is leaning into a parallelogram shape, the frame is losing its square. That’s a footing or a top-rail problem, not a board problem.
- Gaps that open and close. If a gap between boards gets wider in dry weather and closes in wet weather, that’s seasonal wood movement and it’s normal. If a gap is growing over time and never closes, the frame is moving.
- Wavy top rail. Sight down the top rail. If it dips or rises along the run, the posts underneath are moving independently, which points to footings.
- Loose pickets that rattle. This usually means fasteners have failed, not that the wood is bad. It’s an easy fix if you catch it early.
- Splitting at the fasteners. Vertical splits running through a nail or screw hole mean the fastener has levered the wood apart. That’s a sign of movement at the frame.
If you’re seeing racking or a wavy top rail, don’t replace the boards. The boards aren’t the problem. You’re looking at a frame issue, and replacing boards without fixing the frame means you’ll be doing the same job again in a couple of years. In Oakland we see this most often on fences that were installed with undersized posts and no cross-bracing on gates. The gate side is where racking almost always starts, because a gate is a moving load and the fence next to it has to absorb that motion.
Water Pooling vs. Sun Exposure vs. Pest Damage: Telling Them Apart
Fence damage from water, sun, and pests can look almost identical from the outside, but the fixes are completely different. Misread the cause and you’ll replace the wrong material.
Water pooling at the base shows up as rot concentrated in the bottom 12 to 18 inches of the post, soft wood that crumbles when you probe it, green algae or dark staining near grade, and a fence that’s failing on the downhill side of the yard. The fix is drainage first, then materials. If the downspout or the grade is dumping water at the fence line, no fence material will survive it indefinitely, including vinyl and composite. We’ve seen composite fences rot at the core because the water was never redirected.
Sun exposure shows up as graying and checking on the south and west faces, boards that are dry and brittle, paint or stain that’s peeling in sheets, and a fence that’s structurally sound but looks tired. The fix is surface prep and a fresh finish, not replacement. In Oakland, the sun load on a west-facing fence in neighborhoods like Rockridge or Temescal is genuinely heavy, and a fence that doesn’t get refinished every few years will gray out faster than you’d expect.
Pest damage shows up as small holes, frass or sawdust near the base, hollow-sounding wood, and a fence that’s failing in isolated spots rather than along a continuous run. Termites and carpenter ants are the usual suspects in Oakland. Subterranean termites are the worst-case scenario because they attack from below and you don’t see them until the post is already compromised. If you see mud tubes on the post, stop and call a pest professional before you touch the fence.
Here’s the practical shortcut: probe the bottom of the post for softness. If it’s soft, you’re dealing with water or pests. If it’s hard, you’re dealing with sun or hardware. That one test cuts the diagnosis in half.
For bigger properties where the fence interacts with a full exterior scope, the same team that handles our home additions and ADU work can look at the grading and drainage on the whole site, not just the fence line. Water is a whole-yard problem, and a fence is often just where it shows up first.
Repair or Replace? How to Run the Numbers
The rule of thumb we use: if the repair is approaching half the cost of a new fence, and the fence is more than about ten years old, replacement is usually the better call. Below that line, a targeted repair is worth doing.
Here’s a rough cost breakdown for an Oakland fence run so you can frame the decision. These are ballpark ranges, not a quote, and they’ll move with material, run length, and how much old concrete has to come out:
- Reset or replace a single post footing: typically a few hundred dollars, depending on how much concrete has to be removed and whether the surrounding boards have to come off.
- Replace a section of boards: a modest line item for a short span; scales with the picket style and material.
- Full hardware upgrade (screws, brackets, gate hinges): a small fraction of the cost of a new fence, and usually the highest return on the repair list.
- Whole-run re-footing: this is where the math starts leaning toward replacement, because you’re paying for most of the labor of a new install without the benefit of new material.
- Full replacement with a new fence in the same material: the number to compare against the cumulative repair bill over the next five years.
Run the five-year number. If a single post reset solves the problem, do that. If you’re looking at three or four failing posts plus new boards plus hardware, and the fence is already being held together by patches, the honest answer is that you’re paying for a new fence in installments without ever getting one.
We also use this as an opening to talk about material choice. A cedar privacy fence with stainless hardware and proper footings will outlast a cheaper fence with standard hardware by a wide margin in Oakland’s climate. That’s a cost conversation, not a sales conversation. Prefer to talk it through? The Groundwork Construction Co. of Oakland home page lays out how we scope each service line, and the estimate is free.
Common Mistakes to Avoid
- Patching the concrete around a rotting post. Adding a fresh bag of concrete around a post that’s already soft at grade hides the problem without fixing it. The post continues to fail underneath, and the repair is more expensive later.
- Using standard galvanized hardware near the bay. Standard G90 screws and brackets rust fast in Oakland’s marine air. If the fence is anywhere within a mile or so of the water, spec stainless or heavier-coated hardware from the start.
- Replacing boards on a racking fence. If the frame is out of square, new boards will follow the old lean. Fix the frame first, then the boards.
- Ignoring the downspout. A fence that’s failing right where the gutter drains is telling you the real problem is water, not the fence. Redirect the water before you replace anything.
- Undersized posts on a long privacy run. A 6-foot privacy fence needs posts sized for the wind load, not just the cheapest lumber on the yard. Undersized posts loosen their footings over a few seasons.
- Skipping the probe test on a purchase inspection. If you’re buying a home in Oakland and the fence looks fine, push a screwdriver into the base of a few posts. It takes five minutes and it can save you thousands in follow-up repairs.
- Treating pest damage as rot. If you see mud tubes, frass, or hollow-sounding wood, call a pest professional before a fence crew. Replacing infested wood without treating the source just feeds the next round.
See the difference
 Before
 After
 Before
 After
 Before
 After
When to Call a Professional
Some fence problems are genuinely a homeowner weekend job. Replacing a cupped board or tightening a gate hinge is not the kind of work that needs a crew. But several situations are worth bringing a professional in, and doing it early usually saves money. Call us if a post has failed at the footing, if the run is racking or leaning in more than one spot, if you find pest damage at the base, or if the repair math is starting to look like half the cost of a new fence. Those are the cases where a proper diagnosis and a written scope matter more than a quick patch.
Groundwork Construction Co. of Oakland offers free estimates in Oakland – call (833) 997-7759 and we’ll walk the fence with you and give you a straight answer on repair versus replacement. Every project we take on is covered by our 730-Day Done Right Promise, our technicians are background-checked and arrive in uniform, and the price in the written estimate is the price you pay. No change orders, no surprises.
Frequently Asked Questions
Resetting or replacing a single failing post in Oakland typically runs a few hundred dollars, depending on how much old concrete has to be removed and whether boards need to come off to get to the post. A whole-run re-footing costs considerably more and often pushes the math toward replacement. Call (833) 997-7759 for a free estimate on your specific run – the number we quote is the number you pay.
No. Adding concrete around a post that’s already failing doesn’t fix the underlying cause, and it usually makes the next repair more expensive because the old concrete has to be chipped out. The correct fix is to dig the post out, widen the hole, and pour a footing sized for the wind load and the soil. A patch that ignores the cause will fail within a season or two.
Standard hot-dipped galvanized hardware corrodes faster in Oakland’s coastal air because salt and the marine layer accelerate zinc breakdown. The fix is stainless steel (Grade 304 or 316) or heavier-coated galvanized rated G185 or better. If you’re replacing boards or hinges, upgrade the fasteners at the same time – that’s the cheapest insurance against another repair in five years.
With proper footings, quality lumber, and marine-rated hardware, a cedar privacy fence in Oakland should last well over a decade, and many run twenty years with periodic refinishing. Without those three things, ten years is optimistic. Sun exposure and salt air are the two biggest variables, and the hardware you can’t see fails first.
Not necessarily. A single cupped board or a few thin gaps between pickets is usually cosmetic. But if the fence is racking into a parallelogram, the top rail is wavy, or gaps keep growing over time, the frame is moving and the boards are a symptom, not the cause. That’s a footing or top-rail repair, not a board replacement.
Fence permit requirements in Oakland depend on height, location relative to the property line, and whether the fence is on a corner lot or near a slope. We confirm what’s required for your specific address and pull the permits before work starts. Call (833) 997-7759 and we’ll walk through the requirements for your property during the free estimate.
The Bottom Line
Most fence failures in Oakland come down to two root causes: footings that weren’t sized for the soil and the load, and hardware that wasn’t rated for the coastal climate. Fix one without the other and the money’s wasted. Diagnose before you dig – use the push test, the probe test, and the sight-down-the-run check to separate a footing failure from rot from lateral soil movement, because each has a different fix. Upgrade hardware to stainless or heavier-coated galvanized when you’re already in there. And run the five-year math on repair versus replacement before you commit to a patch. If you want a straight answer on your fence, call (833) 997-7759 for a free estimate.
Written by the team at Groundwork Construction Co. of Oakland.