
Last updated November 17, 2026
 Windows & doors
 Kitchen remodeling
 Bathroom remodeling
 Home additions & ADU
 Roofing
 Driveway & pavers
 Fence
Free written scope consultation - allowances, timeline, and change-order rules on paper before a single trade is scheduled
Windows & Doors Troubleshooting: Common Problems and How to Fix Them
A drafty window is rarely a window problem. Nine times out of ten, it’s a weatherstripping, frame, or installation problem, and replacing the window without fixing the cause means you’ll have the same draft in two years with a new unit. That’s the counterintuitive truth we’ve learned after putting hands on thousands of openings across Oakland. The symptom you feel (a draft, a stick, a fogged pane, a wet sill) almost never points at the part you’d assume. This guide teaches you to trace every common window and door complaint back to its actual source before you spend a dollar, from interior condensation to settle-shifted door frames in Oakland’s older housing stock.
Quick Answer
Most window and door problems come from the frame, flashing, threshold, or the settlement around the opening, not the sash or slab itself. Diagnose from the symptom back to the source first: test for drafts with a candle or incense, read condensation by where it forms, and check door alignment against the strike plate and the floor gap. Fixing the root cause costs far less than a premature replacement, and it’s the only fix that lasts.
Styles & brands we work with
- Kitchen remodeling
- Bathroom remodeling
- Home additions & ADU
- Roofing
- Windows & doors
- Driveway & pavers
- Fence
Table of Contents
- How Do You Trace a Draft to Its Actual Source?
- What Is Your Window Condensation Telling You?
- How Do You Diagnose a Sticking or Non-Latching Door?
- Where Is the Water Around Your Window Really Coming From?
- When Is a Repair a Real Fix vs. a Temporary Mask?
- Why Do Oakland Homes Get These Problems?
- What Can You Handle Yourself, and What Needs a Pro?
- Common Mistakes to Avoid
How Do You Trace a Draft to Its Actual Source?
A draft has four likely origins: the sash seal, the frame gap, the rough opening behind the trim, or the exterior flashing. You have to find out which before touching anything. A cheap candle or a stick of incense settles it in minutes.
Here’s the method we walk homeowners through over the phone:
- Close the window and lock it. A window that isn’t latched isn’t sealed; the lock pulls the sashes tight against the weatherstripping.
- On a windy day, or with a helper running a box fan pointed at the opening, move a lit candle slowly around the perimeter. Keep the flame a few inches off the surfaces so you can see it flicker.
- Work in this order: the meeting rail (where the sashes overlap), the vertical edges, the sill, then the interior trim and casing.
- Note exactly where the flame bends. A flicker at the meeting rail points to sash weatherstripping. A flicker at the trim or where the casing meets the drywall points to a frame gap or rough-opening leak.
- Go outside and repeat around the exterior perimeter. A draft that only shows outside at the head of the window is a flashing or caulk problem, not a window-unit problem.
What we find in Oakland is consistent. In the pre-1940 bungalows around Fruitvale and the Laurel, the weatherstripping has often hardened or fallen away, and that’s a real sash-seal draft. In homes that were re-sided or had windows swapped by a previous owner, the draft usually traces to the rough opening and exterior flashing, where air moves through a gap the new window never had anything to do with. Retrofitting a window into an undersized opening without addressing that gap is how you end up with an expensive new unit that still leaks air. Find the source, then decide whether you’re spending money on weatherstripping or on the frame.
What Is Your Window Condensation Telling You?
Condensation isn’t one problem, it’s three, and each has a different cause and fix. Where the moisture forms tells you which one you’re dealing with. This is one of the most misread symptoms in homes across Oakland, especially in the winter months when interior humidity climbs.
- Surface condensation on the glass (interior side). This is a humidity problem, not a window problem. Warm, moist indoor air hits cold glass and beads up. It’s most common in kitchens, bathrooms, and bedrooms where a humidifier, a long shower, or drying laundry pushes indoor moisture up. Fix: run exhaust fans, crack a window briefly, and check that your range hood actually vents outside. Better glass helps, but the real lever is indoor humidity.
- Condensation between the panes. This means the sealed glass unit itself has failed, and the desiccant inside can no longer keep the space dry. You can’t dry it out or fix it with a coating. The fix is a replacement insulated glass unit, not a whole new window in most cases, which is a much smaller job.
- Condensation on the interior frame or sill. Moisture collecting on the wood or vinyl frame rather than the glass points to a thermal bridge or a gap where warm air leaks past the frame. Poor insulation or a failed seal lets the frame run cold, and moist air condenses on it. Look for the same draft sources above.
Here’s the practical consequence: if you have surface condensation, spending $8,000 on new windows changes nothing about the moisture source. If you have between-pane fogging, you’re paying for glass when your frame may be fine. And if you have frame condensation, you have an air-sealing job disguised as a window repair. Match the fix to the symptom. If the fogging is years old and the surrounding frame feels soft or spongy, that’s a stronger signal to have the opening inspected, because a failed seal and a wet frame often travel together.
How Do You Diagnose a Sticking or Non-Latching Door?
A door that sticks, drags, or won’t latch is giving you information. The trick is reading which part is off, because a hinge problem, a strike-plate problem, and a settlement problem all feel similar but need completely different fixes. Getting this wrong is how homeowners end up shaving a door that only needed a hinge adjustment.
Run this three-check sequence:
- Check the hinge side first. Open the door halfway and look down the edge. If the gap between the door and the jamb is even top to bottom, and hinges aren’t loose, the hinges are probably fine. Loose screws, or a screw that spins in stripped wood, is a hinge issue and usually a quick fix with a longer screw or a hinge repair plate.
- Check the strike plate and latch. Close the door and watch the latch bolt as it meets the strike plate. If the door swings freely but the latch won’t catch, or it takes a shove to latch, the strike plate or the door has shifted slightly. A slight latch misalignment on one door is common and fixable by adjusting the strike plate. A door that suddenly stopped latching after years of working points elsewhere.
- Look at the gap at the head and the floor. If the gap at the top of the door is uneven, or the door drags on the floor at one corner, you’re looking at a frame or settlement issue, not a hinge or latch issue. The opening is no longer square, which means something moved.
Pay attention to whether the problem appeared suddenly or gradually, and whether interior doors throughout the house are affected at the same time. One stubborn door is usually a hardware or hinge fix. Three doors that started sticking the same month suggests the framing or the foundation has moved, and that’s a different conversation. In Oakland’s hillside neighborhoods, where homes sit on slopes and soils shift with the wet and dry seasons, we see more settle-related door issues than in flatland communities. If several doors no longer latch correctly, have the structural condition looked at before you plane anything.
Where Is the Water Around Your Window Really Coming From?
Water showing up inside around a window almost always starts outside, and the source is usually one of three things: the window unit itself, the flashing above it, or the siding and caulk line around it. Finding the true entry point is the whole job, because a stain on the interior sill can be coming from a foot above the window.
Work from the exterior in:
- The flashing above the window. This is the most common and most missed source. The head flashing (the metal that sheds water over the top of the window) is supposed to route water out and away. When it’s missing, undersized, or installed with the wrong lap, water gets behind the siding and travels down to appear at the window. If the stain or drip is at the top of the window, suspect flashing first, not the window.
- The side and sill flashing. Water intruding at the lower corners is often a sill or pan flashing issue where the window meets the rough opening. This is an installation detail, and it’s the kind of thing that’s easy to skip when a window is replaced quickly.
- The siding and caulk line. Gaps in caulk, failed sealant, or siding that doesn’t shed water properly let moisture in around the perimeter. Caulk is a maintenance item, not a permanent seal, and it has to be renewed.
- The window unit itself. Water through the sash, a failed gasket, or a leaking unit is real, but it’s the least common of the three. Confirm the flashing and siding are sound before you blame the unit.
The counterintuitive part: a window that leaks is more often an installation problem than a defective-window problem. When we open up a wall around a leaking window in an Oakland Victorian or a 1960s ranch, the flashing and integration with the siding are usually the culprit. That’s why a straight replacement of the unit without redoing the flashing just resets the clock on the same leak. Water that appears at the same window every rainy season from the same spot is telling you the source was never fixed.
When Is a Repair a Real Fix vs. a Temporary Mask?
The difference between a real fix and a mask is whether it addresses the cause or just the symptom. Some repairs are legitimate and lasting. Others buy you a season and cost more later. Here’s how we sort the two.
A repair is a real fix when it solves the source:
- Replacing hardened or missing weatherstripping on a drafty sash, when the draft test isolated it to the sash seal.
- Adjusting a strike plate for a latched-door misalignment that’s stable and isolated to one door.
- Replacing an insulated glass unit (between-pane fogging) when the frame and seal are sound and the glass alone has failed.
- Re-sealing and re-caulking a siding or trim gap that’s periodically maintained.
A repair is a mask when it hides a deeper problem:
- Caulking over a flashing leak without fixing the flashing. The water finds a new path, and it usually goes into the wall.
- Shaving or planing a sticking door when the frame or foundation has moved and the problem will return.
- Painting over water stains without locating the source.
- Adding storm protection or more weatherstripping to cover a rough-opening leak you haven’t diagnosed.
The real cost of a mask isn’t the repair itself – it’s the deferred damage that follows. A flashing leak that gets caulked over every fall can rot the sheathing and framing around the window over a handful of seasons, turning a manageable repair into framing work. That’s why the diagnosis comes before the estimate every time. Before you approve any interior cosmetic fix around an opening, know what’s actually causing the symptom. If the source is structural or hidden in the wall, spending more now is what prevents spending a lot more later.
Why Do Oakland Homes Get These Problems?
Oakland’s climate and its housing stock create specific, predictable window and door issues that you’d approach differently in a drier or flatter market. Knowing what to expect helps you spot the pattern before it becomes expensive.
- Older homes with original openings. Much of Oakland’s housing dates to the 1920s through the 1950s, and plenty of it still has the original window and door frames. Weatherstripping has had decades to fail, frames have settled, and the rough openings may never have been modernized. These homes reward diagnosis over replacement.
- Seismic and seasonal movement. The Bay Area sits in a seismically active region, and the wet-winter to dry-summer cycle causes soils to shift. That movement shows up as settlement-related door and window misalignment, especially on sloped lots and in the hills.
- Marine-layer moisture. Fog, damp winters, and interior humidity from daily living give condensation and caulk-line issues plenty of chances to develop. Moisture management matters here more than it does inland.
- Permit and code context. Window and door replacements in Oakland are subject to building permit requirements and energy code requirements for the units you install. A proper installation accounts for that, and an unpermitted quick swap can become a problem at resale.
When a window or door is genuinely at the end of its life in an Oakland home, matching the replacement to the original construction is what makes it last. That means correct flashing, correct rough-opening sizing, and correct integration with whatever siding is on the home. It’s the same standard we hold on home additions and ADU projects in Oakland, where every opening has to be integrated correctly from the framing out. If you’re planning broader exterior work, the same discipline applies to driveway and paver work in Oakland and to fence installation in Oakland, all of which interface with the way water and settlement move around a property.
What Can You Handle Yourself, and What Needs a Pro?
Some of these problems are homeowner fixes. Others are worth a professional, not because they’re hard to attempt but because an incorrect fix hides the real problem.
Straightforward for most homeowners:
- Running the candle or incense draft test.
- Cleaning and replacing worn weatherstripping on a sash.
- Re-caulking a siding or trim gap as ongoing maintenance.
- Running exhaust fans and managing indoor humidity to address surface condensation.
- Tightening or replacing a stripped hinge screw.
Worth a professional look:
- Any water intrusion you can’t fully trace, because the source is often behind the siding.
- Flashing repairs at the head, sides, or sill of a window.
- Doors that no longer latch or square up, when more than one is affected.
- Insulated glass unit replacement.
- Anything that needs a permit, including full window replacement.
There’s also a safety line worth drawing. Window and door work involves ladders, exterior heights, and sometimes the weather barrier of the house itself. If a repair has you on a ladder against a second-story window or opening a wall to reach flashing, that’s the point to bring in someone who does it regularly. Our technicians have up to 12 years of experience, and they know the difference between a symptom that’s safe to address and one that’s telling you something bigger is wrong.
Common Mistakes to Avoid
- Replacing a window to fix a draft. If the source is weatherstripping or a rough-opening gap, the new window inherits the same problem. Fix the cause first, then decide if the unit needs replacing.
- Caulking over water intrusion. Sealant over a flashing leak traps water in the wall and sends it somewhere worse. Find the source before you seal anything.
- Shaving a door that just needs a hinge adjustment. Planing a door that’s off because of a loose hinge or a shifted strike plate takes material off for no reason. Do the three-check sequence first.
- Ignoring multiple sticking doors in the same month. One stubborn door is hardware. Several at once can mean the framing or foundation has moved, and that’s a structural conversation, not a carpentry one.
- Assuming interior fogging is a humidity problem. Moisture between the panes means the sealed unit failed, and no dehumidifier fixes it. Match the fix to the type of condensation.
- Letting an unpermitted window swap slide. In Oakland, replacement windows fall under permit and energy code requirements. A cheap swap can come back at inspection or resale.
- Skipping the diagnosis to get to the estimate. A quote written before the source is identified is a guess. Every fix should be rooted in what the symptoms actually show.
See the difference
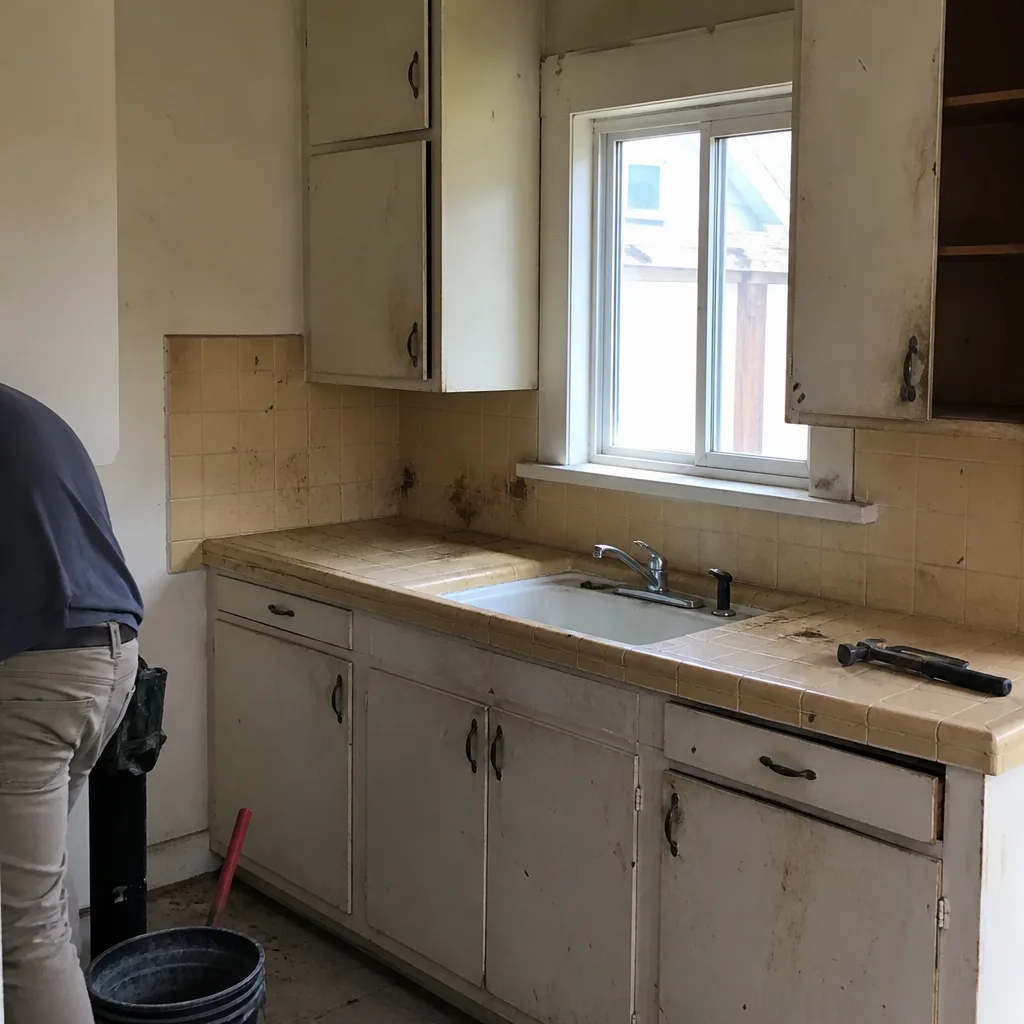 Before
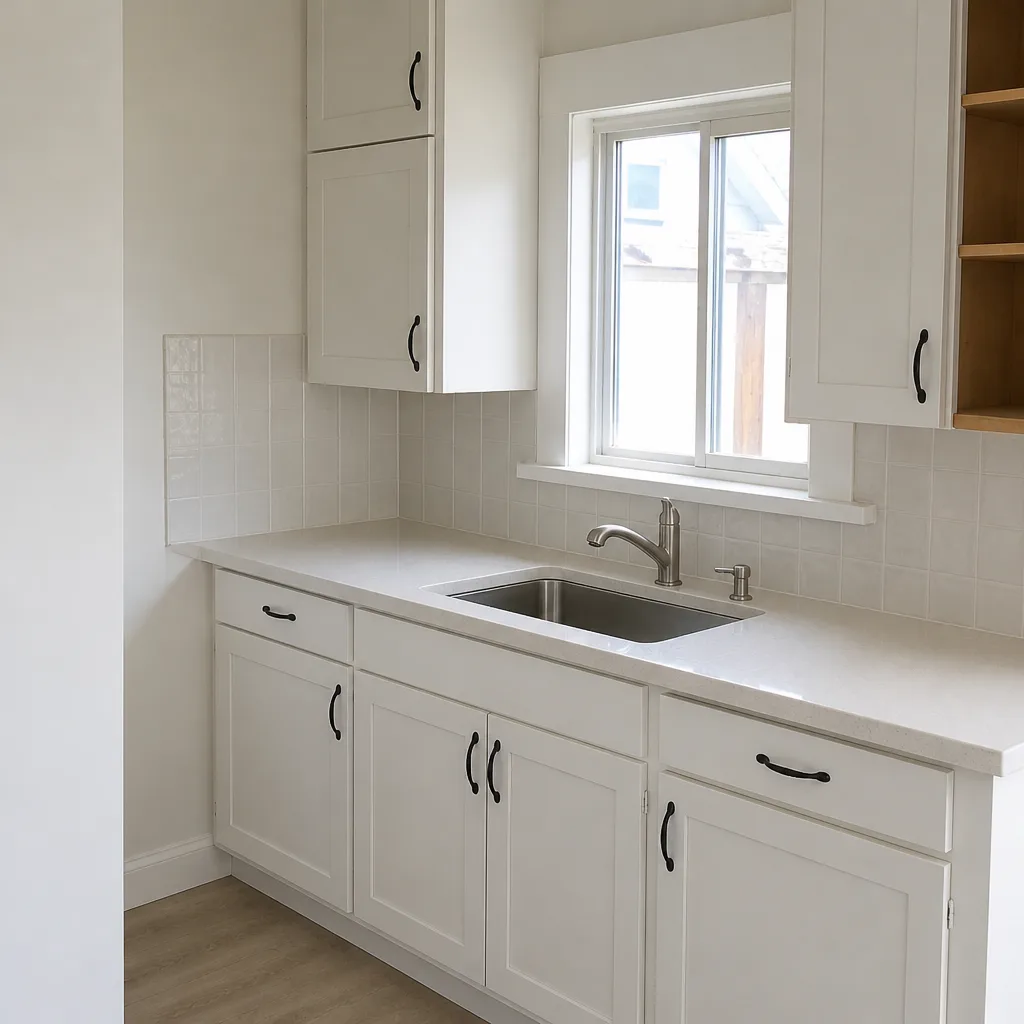 After
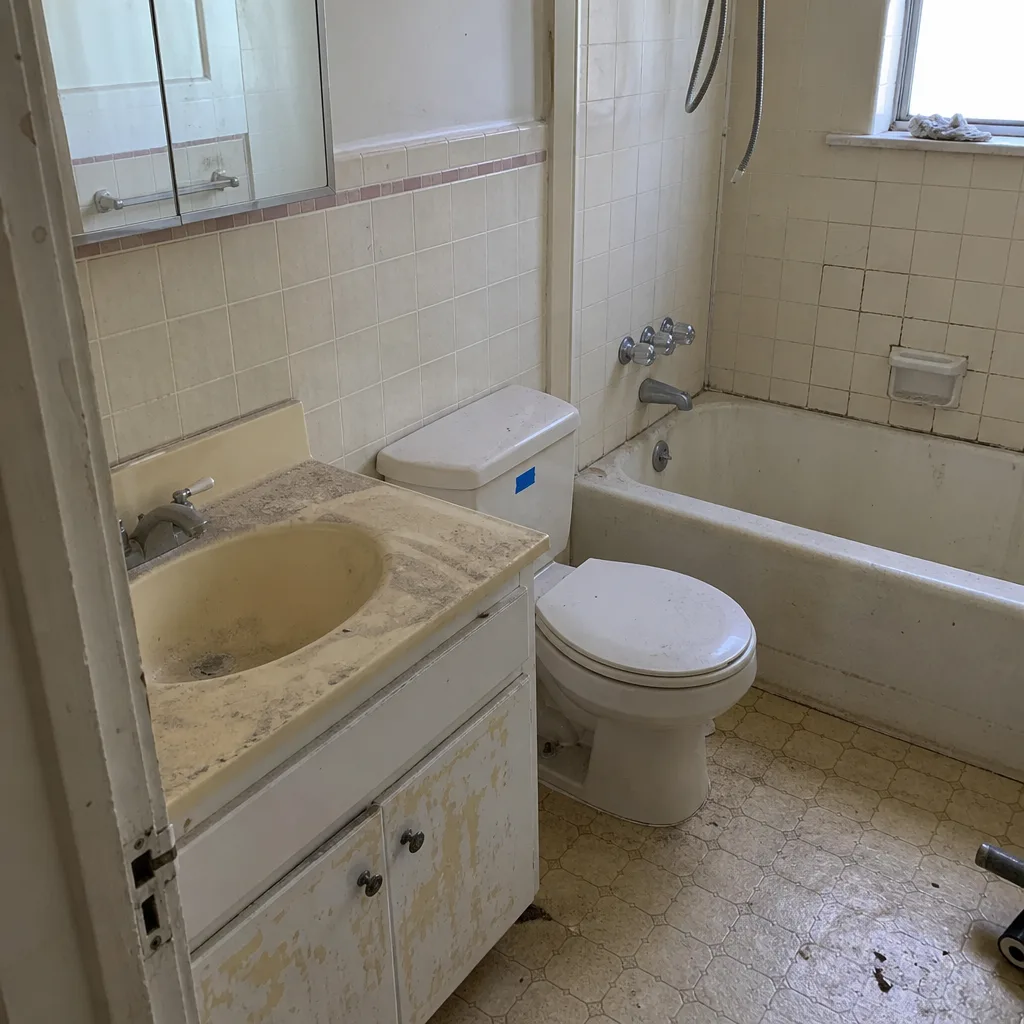 Before
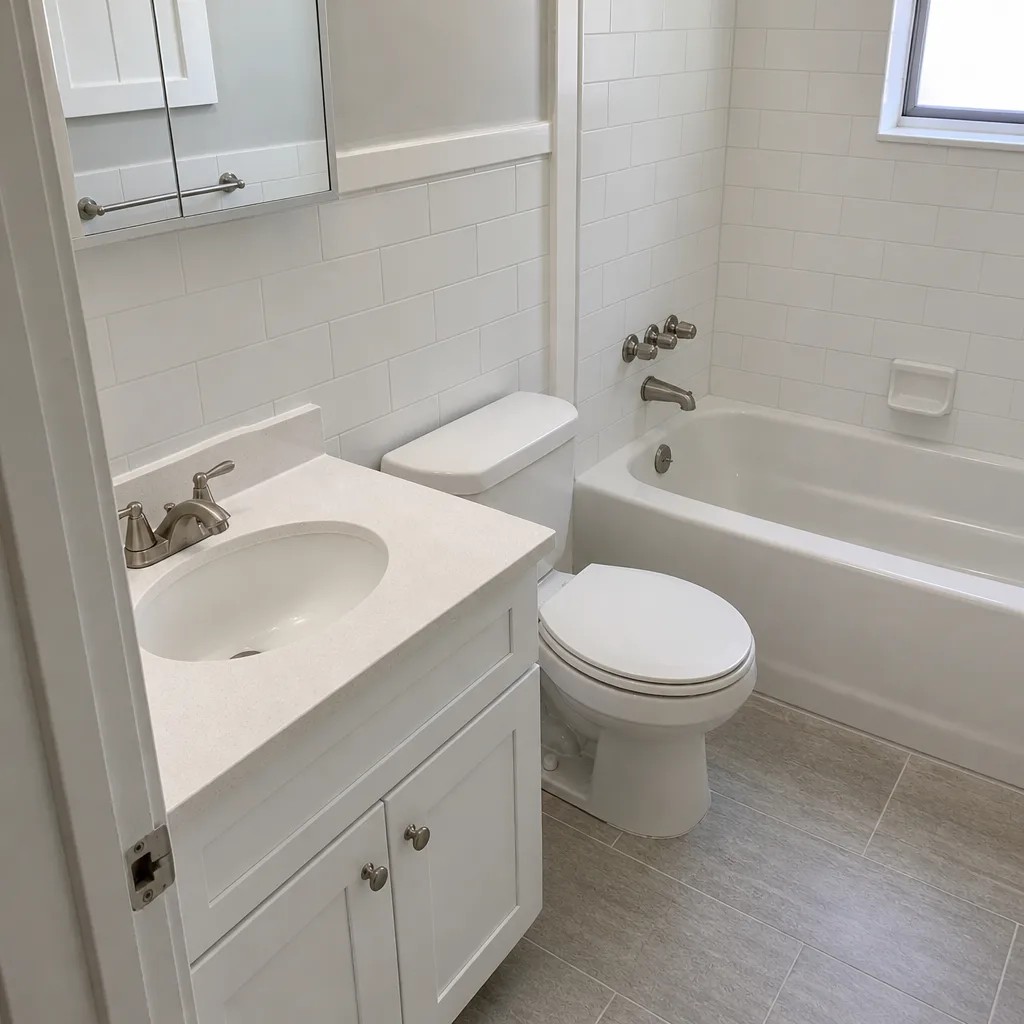 After
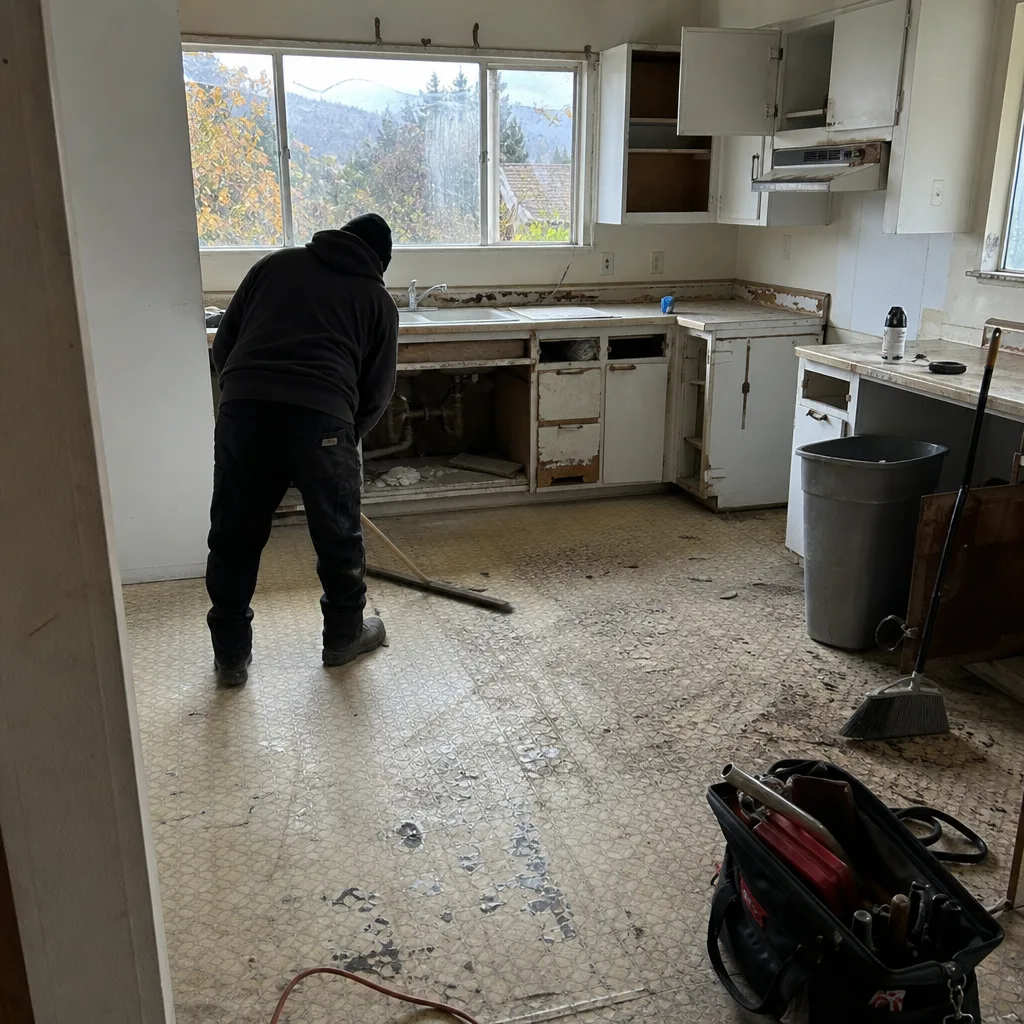 Before
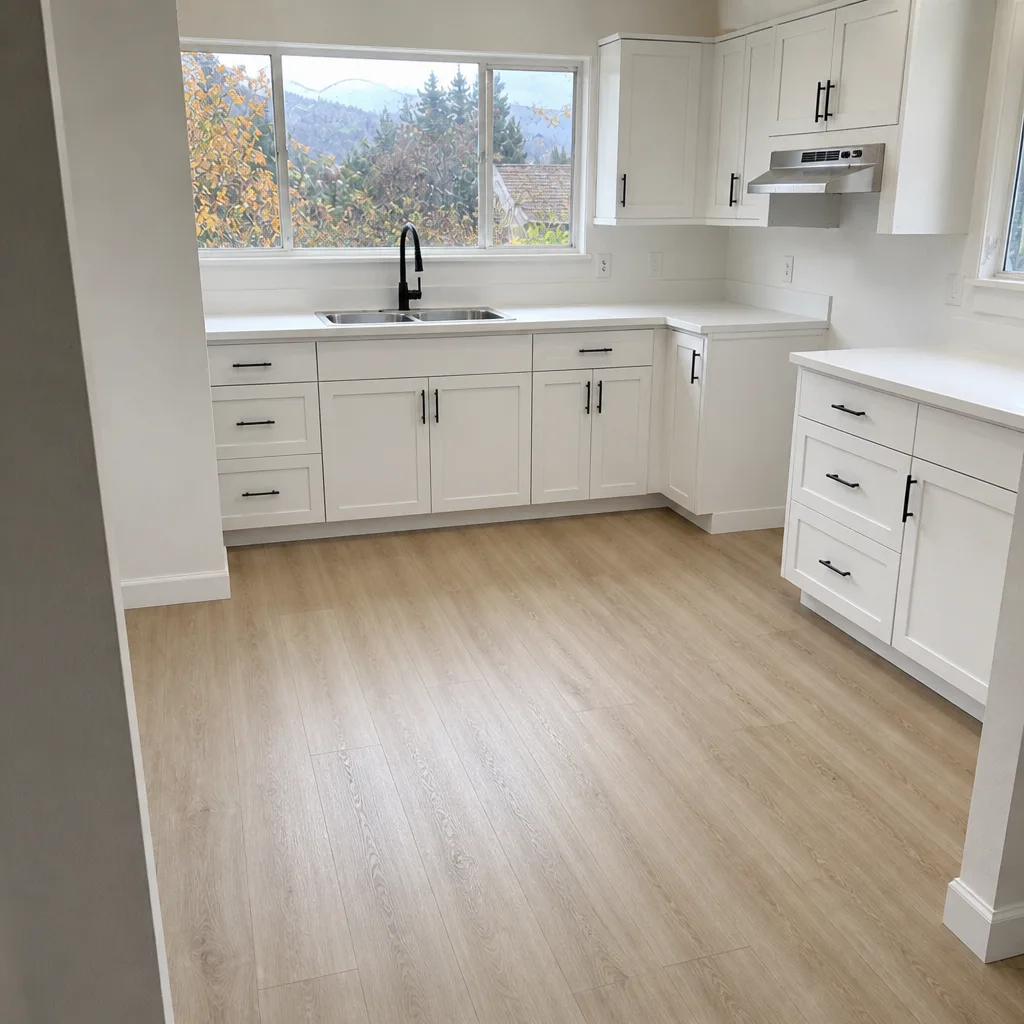 After
When to Call a Professional
Call a professional when the water intrusion source isn’t obvious, when multiple doors stop latching, or when a repair climbs a ladder to a second-story opening or opens up the wall for flashing. Those are the situations where a wrong call masks the problem and costs more later. Window and door replacement projects that need permits, energy code compliance, and correct flashing are also worth doing once, correctly. Groundwork Construction Co. of Oakland offers free estimates in Oakland – call (833) 997-7759, and a live person will pick up day or night to help you figure out whether you’re looking at a repair or a replacement. Every project we do is covered by our 730-Day Done Right Promise, so if it’s not done right, we make it right.
Frequently Asked Questions
Often yes, but only after you find the source. If the candle test points to worn sash weatherstripping, replacing it is a reasonable homeowner fix. If the draft traces to the rough opening or exterior flashing, that’s a professional job, and a new window alone won’t solve it.
Surface condensation on one window usually means that opening runs colder than the others, often because of air leaking past the frame or a thermal bridge. Check that window’s seals and the surrounding trim for gaps. Between-pane fogging on one window means that specific sealed unit has failed.
Check the hinge side and the strike plate first. If the door swings freely and the latch just misses, it’s likely a strike-plate misalignment and a small fix. If the gap at the top is uneven or the door drags after working for years, the frame may have settled, which is a different repair.
Look at where the water appears. A stain or drip at the top of the window points to the head flashing above it. Water at the corners usually points to sill or side flashing. Water along the perimeter is often the siding and caulk line. Confirm on the exterior before blaming the unit.
Fogging between the panes means the sealed glass unit failed, and replacing just the insulated glass unit is often the right fix when the frame is sound. If the frame feels soft or spongy around the glass, the opening needs a closer look before you decide.
Replacement windows and doors in Oakland fall under building permit and energy code requirements for the units you install. A proper estimate accounts for that, and every job we run is permitted and inspected to pass.
No. We give upfront pricing, so the number you see is the number you pay, with no change orders for unknowns we should have caught in the diagnosis. Call (833) 997-7759 for an exact quote and a free estimate.
The Bottom Line
Fix the cause, not the symptom. A draft, a fogged pane, a sticking door, or a wet sill is a message about the frame, the flashing, the threshold, or the settlement around the opening. Trace each symptom to its actual source with the tests in this guide – the candle draft test, the condensation location test, and the door three-check sequence – before you spend money. Match the fix to the problem, and treat a real fix and a temporary mask as different decisions. In Oakland’s older, slope-set, marine-layer homes, that discipline is what keeps a manageable repair from becoming a framing job. And when a project does call for a replacement done correctly, Groundwork Construction Co. of Oakland builds it to last, backed in writing, with premium brands like Andersen and Marvin behind the units, from the rough opening out to the finish.
Call (833) 997-7759 to schedule your free estimate. We’ll diagnose the opening first, give you a written line-item quote, and tell you straight whether you’re looking at a repair or a replacement.
Written by the team at Groundwork Construction Co. of Oakland.