
Last updated November 17, 2026
 Windows & doors
 Kitchen remodeling
 Bathroom remodeling
 Home additions & ADU
 Roofing
 Driveway & pavers
 Fence
Free written scope consultation - allowances, timeline, and change-order rules on paper before a single trade is scheduled
Windows & Doors Maintenance Schedule: What to Do and When
The average exterior door threshold costs $800 to $1,500 to replace once rot sets in. The tube of door sweep adhesive that prevents most threshold failures costs about $6 and takes ten minutes to apply. Nobody tells homeowners that until after the damage is done. Windows and doors are the most-used moving parts in any home and the least maintained. Most people do nothing until something sticks, leaks, or won’t latch. This guide gives you a simple seasonal routine built for Oakland’s actual climate – the wet winters, dry summers, and salt air that shape how hardware and seals age here – so you can extend hardware life, stop water damage before it starts, and keep everything working for decades.
Styles & brands we work with
- Kitchen remodeling
- Bathroom remodeling
- Home additions & ADU
- Roofing
- Windows & doors
- Driveway & pavers
- Fence
Quick Answer
Inspect and lubricate all window and door hardware twice a year, in spring and fall. Re-caulk exterior perimeters every 3 to 5 years or whenever you spot cracking, and test weatherstripping every fall before the rains arrive. In Oakland, the critical window is late September through October – seal everything before the first real storm, because that’s when most water intrusion starts.
Table of Contents
- Spring: Post-Winter Inspection and Reset
- Summer: The Dry-Season Prep Window
- Fall: Sealing Before the Rains
- Winter: Monitoring and Quick Response
- Hardware Lubrication by Component
- How and When to Re-Caulk Exterior Perimeters
- Weatherstripping: How to Test What You Have
- What to Document Every Year
- Common Mistakes to Avoid
- When to Call a Professional
- Frequently Asked Questions
- The Bottom Line
Spring: Post-Winter Inspection and Reset
Spring in Oakland means the rain has stopped and the damage is done – or it isn’t. This is your audit season. Winter is when water finds every failed seal, so spring is when you find out what failed. Walk every exterior door and window with a notepad and a flashlight. Look for water staining on interior trim below windows, soft spots in wood sills, bubbling paint, and rust streaks on hinges or tracks. Those are the fingerprints winter leaves.
Our technicians have up to 12 years of experience and they’ll tell you the same thing: the spring inspection catches far more problems than any other season, because that’s when the evidence is fresh. Here’s the checklist we walk through:
- Open and close every window and door. Note sticking, scraping, or anything that needs a hard push.
- Inspect interior trim and drywall below and beside each unit for staining or softness.
- Check exterior caulk lines for cracks, gaps, or caulk that has pulled away from the frame.
- Look at door sweeps and thresholds for wear, especially on west-facing entries that take the most rain.
- Test every lock and latch for smooth operation.
- Clear debris from window well drains and door thresholds.
In Oakland neighborhoods like Rockridge and Temescal, the housing stock skews older – plenty of 1920s bungalows with original wood double-hungs. Those windows need more spring attention than modern vinyl units because wood moves with moisture, and after a wet winter the sashes often swell and stick. That’s a maintenance issue, not a replacement signal, and a light sanding and paraffin wax on the tracks usually solves it.
Summer: The Dry-Season Prep Window
Oakland summers are dry and mild, which makes June through August the single best stretch of the year for any work that requires caulk, paint, or adhesive to cure properly. Caulk needs dry surfaces and moderate temperatures to bond. You get that here in summer and almost nowhere else on a predictable schedule. This is when you do the repairs, not just the inspection.
Summer is also when the marine layer and afternoon sun create a specific wear pattern on east- and west-facing units. The fog rolls in most mornings, then the sun comes out and bakes the frames dry. That wet-dry cycle is hard on caulk and paint, and it’s why Oakland exterior seals tend to fail faster than inland seals do. Prioritize those exposures.
Your summer task list:
- Re-caulk any lines flagged in spring, and re-caulk full perimeters on a 3 to 5 year cycle.
- Paint or seal any bare or checked wood on frames, sills, and thresholds.
- Clean window tracks and door tracks thoroughly – dry weather means debris vacuums out easily.
- Replace worn door sweeps and threshold seals before fall.
- Adjust or replace casement window operators that have stiffened.
- Touch up any hardware that shows corrosion, particularly near the coast.
If you’re planning a larger project and thinking about window replacement rather than repair, summer is also the season to get it scheduled. A free estimate now means the work gets done before the rains, not in the middle of them. That’s a conversation we’re glad to have any time – just call (833) 997-7759.
Fall: Sealing Before the Rains
Late September through October is the most important maintenance window on the entire calendar in Oakland. The first significant storm usually hits in late October or November, and every failed seal, every cracked caulk joint, and every worn door sweep becomes a water intrusion point the moment it does. Everything you do in fall is about one thing: keeping water out.
Water intrusion doesn’t announce itself. It shows up weeks later as a soft spot in a sill, a stain on a ceiling, or a musty smell in a closet. By then the repair is a carpentry job, not a maintenance job. In our experience working across Oakland, the calls that come in after the first big storm are almost always for damage that could have been prevented with a $10 tube of sealant in October.
Here’s your fall sequence, in order:
- Do a full exterior caulk inspection on every window and door perimeter. Mark any crack, gap, or lifting edge.
- Re-caulk all marked areas and any lines that are 3 to 5 years old. Use a paintable exterior sealant rated for the material you’re sealing.
- Test every piece of weatherstripping (see the dedicated section below).
- Replace door sweeps and threshold seals that are compressed, torn, or missing.
- Check window and door flashing for lifting or gaps – this is above the caulk line and matters just as much.
- Clear gutters and downspouts so water isn’t dumping onto door thresholds and window foundations.
- Lubricate all moving hardware before it sits through a wet winter.
Homes in the Oakland hills sit on slopes where runoff is intense. If your doors or windows face uphill drainage, that fall checklist matters even more. Water pressure against a threshold during a storm is far higher than most homeowners expect.
Winter: Monitoring and Quick Response
Winter maintenance is about watching and responding, not repairing. Caulk won’t cure properly in wet conditions, so major sealing work waits until spring. What you do in winter is stay ahead of problems. After each significant storm, walk the exterior and check the same spots you sealed in fall. Look for standing water at thresholds, water staining inside, and any new cracks or gaps.
Oakland winters are moderate, which is good news for your windows and doors – you’re not dealing with hard freezes that crack seals and split frames. That’s a real advantage over most of the country. But the wet is relentless, and the salt air near the waterfront and in neighborhoods like Jack London Square accelerates corrosion on steel hardware. Winter is when that corrosion shows up.
Watch for these specific warning signs during the rainy season:
- Water pooling on the interior side of any threshold or window sill.
- Doors that suddenly stick or won’t latch – swelling from moisture intrusion.
- Drafts that weren’t there in the fall.
- Condensation between window panes, which signals a failed seal on insulated glass.
- Rust or white powdery corrosion on hinges, locks, and tracks.
If you spot any of these, note it and plan the fix for the first dry stretch. If water is actively coming in, that’s a different situation – see the professional section below. We answer our phones with a live person, 24/7, at (833) 997-7759, so if a storm creates an emergency, you’re not waiting until Monday.
Hardware Lubrication by Component
Here’s where most maintenance advice falls apart: it says “lubricate your hardware” as if every component takes the same product. They don’t. Putting the wrong lubricant on a window track attracts dirt and makes the problem worse. Putting oil on a lock cylinder gums it up over time. Each component needs something specific, and getting this right is the highest-return ten minutes you’ll spend on your home all year.
Lubricate twice a year – spring and fall – and anytime a component starts to feel stiff. Here’s what to use where:
- Door hinges: A light machine oil or a dry lithium spray. One or two drops per hinge is enough. Wipe off any excess so it doesn’t attract dust and stain the frame.
- Sliding door and window tracks: A silicone spray, never oil or grease. Oil attracts grit and turns a smooth track into a grinding one. Clean the track first, then spray lightly and run the door back and forth a few times.
- Rollers on sliding doors: A dry silicone or PTFE lubricant. If a roller is worn flat or cracked, no lubricant will fix it – replace the roller, which is a simple job on most units.
- Locks and latches: Graphite powder or a lock-specific dry lubricant. Avoid oil-based products in lock cylinders – they collect dust and eventually jam the mechanism.
- Casement and awning window operators: A light grease on the gear mechanism, or the manufacturer’s recommended lubricant. These are the most neglected hardware on any house and the most expensive to replace.
- Weatherstripping contact points: A dry silicone spray or a light coat of paste wax on the door edge keeps the seal from tearing as it compresses.
One more thing about hardware: when it fails, match the replacement to the original. In Oakland’s older homes, original brass and bronze hardware is worth restoring rather than replacing, and modern replacements often don’t fit the original mortises. If you’re not sure, a photo and a measurement will get you the right part.
How and When to Re-Caulk Exterior Perimeters
Caulk is the cheapest insurance your windows and doors have, and it’s the first thing to fail. Most exterior caulk has a working life of 3 to 5 years in Oakland’s climate – less on the sunbaked west and east exposures. The wet-dry cycle works it loose at the frame-to-siding joint, and once a gap opens, water gets behind the frame and starts working on the wood and the sheathing. That’s how a $6 tube of caulk becomes a $1,200 trim repair.
Here’s how to know when it’s time:
- Run a fingernail or a plastic tool along the caulk line. If it lifts, curls, or separates from either surface, it’s failed.
- Look for cracks, gaps, or caulk that’s turned chalky or has pulled away from the frame.
- Press on the caulk. If it’s hard and brittle instead of slightly flexible, it’s past its life.
- Check below the joint for water staining – if there’s staining, water is already getting in and the repair is bigger than re-caulking.
When you re-caulk, do it right or it won’t last. Remove the old caulk completely – don’t caulk over caulk. Clean and dry the surface. Use a paintable exterior sealant rated for the materials you’re joining (siding to frame is a different joint than frame to glass). Apply a consistent bead and tool it smooth. Do the work in dry weather with moderate temperatures, which is why summer and early fall are the right seasons here.
We’ve re-caulked thousands of linear feet of window and door perimeter across Oakland, and the failure pattern is consistent: south- and west-facing joints fail first, and joints at the bottom of a window or door fail before the top or sides because that’s where water sits. Start there when you inspect.
Weatherstripping: How to Test What You Have
Weatherstripping does two jobs – it blocks air and it blocks water at the door edge. Most homeowners never test it, so they never know it’s failed until they feel a draft or see water at the threshold. Testing takes about two minutes per door and gives you a clear answer. Do it every fall before the rains, and again in spring to confirm it survived the winter.
Here’s the test:
- The dollar bill test. Close the door on a dollar bill so it’s trapped between the door and the frame. Pull the bill out. If it slides out easily with no resistance, the seal has failed. Test at the top, middle, bottom, and both sides.
- The light test. At night, have someone shine a flashlight along the inside of the door edge while you look from outside. Any light that comes through is air and water coming through.
- The feel test. Run your hand along the door edge on a windy day. Any draft means the seal is failing.
- The visual test. Look at the weatherstripping itself for compression, tears, brittleness, or sections that have pulled loose from the frame.
Replacement is inexpensive and most types are available at any hardware store. Match the style to the door – a kerf-mounted seal won’t work on a door that uses a surface-mounted one, and thresholds need a sweep plus a threshold seal to work as a system. If you’re not sure what style you have, a photo is enough to get an answer. This is one of the cheapest fixes on the entire list and one of the highest-impact.
What to Document Every Year
This is the section nobody writes, and it’s the one that saves homeowners real money. Every window and door in your home came with a manufacturer warranty that has conditions – typically that the product was installed correctly and maintained. Most of those warranties last 10 to 20 years on the glass seal, and longer on the frame. If a unit fails and you can’t show you maintained it, the claim gets denied. Similarly, if storm damage ever leads to an insurance claim, documentation of the condition before the storm matters enormously.
Here’s what to keep, updated annually:
- Photos: One shot of each window and door exterior, one of each interior, dated. Include close-ups of caulk lines, thresholds, and hardware.
- Product records: Make, model, and installation date for every unit. If you don’t have these from the original install, photograph any labels still on the frame or in the glass.
- Maintenance log: What you did, when, and what product you used. A simple spreadsheet or a notebook works.
- Repair receipts: Any caulk, sealant, hardware, or weatherstripping you’ve purchased, with dates.
- Warranty documents: The original warranty paperwork, kept somewhere you can find it in five years.
This takes about 30 minutes once a year and it’s the difference between a warranty claim that gets paid and one that doesn’t. We’ve seen homeowners lose $3,000 window warranty claims for the lack of a single year of documented maintenance. Do it in the same season every year so it becomes a habit – fall, right before you do the sealing work, is the natural slot.
If you’re planning a replacement project at any point, having this record in hand also makes the bid process cleaner. It’s the kind of thing that separates a homeowner who knows their house from one who’s guessing – and it’s exactly the kind of preparation we respect when a project starts. Our Groundwork Construction Co. of Oakland home page is the place to start if a replacement is on your horizon.
Common Mistakes to Avoid
- Caulking over old caulk. The new bead bonds to failing caulk instead of the frame, and it fails within a year. Remove the old caulk completely before you apply new.
- Using oil on sliding tracks. Oil attracts grit, which turns a smooth track into a grinding one. Use silicone spray, every time.
- Skipping the dollar bill test in favor of “it looks fine.” Weatherstripping fails invisibly. The only reliable test is the one that measures resistance, not appearance.
- Caulking in wet weather. Sealant won’t bond to a damp surface, and it won’t cure properly. Wait for a dry stretch rather than rushing the job before a storm.
- Ignoring water staining below a window. By the time you see the stain, water has been getting in for months. Staining means the repair is a carpentry job, not a caulk job.
- Assuming original hardware needs replacing. In Oakland’s older homes, brass and bronze hardware can usually be restored rather than replaced – and modern replacements often don’t fit the original mortises.
- Never documenting anything. A failed warranty claim is usually a paperwork problem, not a product problem. The photos and records take 30 minutes a year and protect thousands of dollars.
- Waiting for a component to fail before maintaining it. A casement operator that’s been lubricated twice a year lasts decades. One that’s never been touched seizes and costs more to replace than the entire routine.
The pattern behind all of these is the same: the cheap preventive step gets skipped because nobody explains it until after the expensive repair. That’s why we put this guide together – the routine costs less than a single service call and prevents most of what we get called out to fix. If you’re ever unsure whether something is maintenance or a real repair, a free estimate is the fastest way to find out.
When to Call a Professional
Most of this routine is doable by any homeowner with a few hours and a tube of caulk. Some of it isn’t. Call a professional when you find water actively coming in during a storm, when interior trim or drywall below a window is soft, when a door or window frame has moved out of square, when a window has lost its seal and fogged between the panes, or when hardware failure requires a replacement that doesn’t match standard sizes. Older Oakland homes often have non-standard openings, which makes a proper measurement and fit a job for someone who’s done it before. And if a seal failure has progressed to rot, that’s carpentry, not maintenance.
Groundwork Construction Co. of Oakland offers free estimates in Oakland – call (833) 997-7759 to schedule yours. Our technicians have up to 12 years of experience, they’re background-checked and arrive in uniform, and every project is covered by the 730-Day Done Right Promise – if it’s not done right, we make it right. We answer our phones with a live person, 24/7, so if a storm creates an emergency, you’re not waiting for a callback. Upfront pricing means the number you see is the number you pay, and we offer 0% financing for 18 months plus $1,000 off projects over $10,000. From foundation to finish line, one contractor manages the whole thing.
Frequently Asked Questions
Twice a year for hardware – lubricate in spring and fall. Inspect and test weatherstripping every fall. Re-caulk exterior perimeters every 3 to 5 years or whenever you see cracking, and document the condition of every unit once a year. In Oakland, the most important single window is late September through October, before the first significant storm. Call (833) 997-7759 for a free estimate if you’re not sure what condition your units are in.
Silicone spray for sliding window and door tracks, light machine oil or dry lithium spray for door hinges, and graphite or a lock-specific dry lubricant for locks. Never use oil on sliding tracks – it attracts grit and makes the problem worse. Call (833) 997-7759 if a component feels stiff after lubricating; that usually signals wear that needs a replacement part.
Use the dollar bill test. Close the door on a dollar bill and pull it out – if it slides out with no resistance, the seal has failed. Repeat at the top, middle, bottom, and both sides. Any spot where the bill slides out easily needs new weatherstripping. Call (833) 997-7759 for an exact quote on replacement – estimates are free.
Yes, on the sun- and fog-exposed sides. Oakland’s marine layer creates a daily wet-dry cycle on west- and east-facing frames that works caulk loose faster than a stable climate would. Plan on the shorter end of the 3 to 5 year range for those exposures, and inspect every fall. Call (833) 997-7759 to schedule a free estimate if the caulk has failed and you suspect water has gotten behind the frame.
Documented maintenance. Photograph each unit annually, keep the make, model, and installation date, log every maintenance task and repair, and keep receipts and warranty paperwork. Most glass-seal warranties last 10 to 20 years and are conditionally tied to proper maintenance. Without records, a claim gets denied. Call (833) 997-7759 if you’re planning replacement and want a free estimate and design consult.
Replace the sealed glass unit, not the entire window, in most cases. Fogging means the insulated glass seal has failed, and the frame is usually still sound. In older Oakland homes with original wood frames, a glass replacement keeps the original character and costs far less than a full unit swap. Call (833) 997-7759 for a free estimate and a written line-item quote so you can compare the two options directly.
The Bottom Line
The maintenance routine in this guide costs a few hours a year and a handful of inexpensive materials. The repairs it prevents – rotted thresholds, water-damaged trim, seized operators, failed seals – cost hundreds to thousands of dollars each. Twice-a-year lubrication, an annual weatherstripping test, re-caulking every 3 to 5 years, and 30 minutes of documentation are the whole job. In Oakland, the calendar matters: do the sealing work in late September through October, before the rains, and use summer for the repairs that need dry weather. If any of it is beyond a homeowner’s comfort level, or if you’ve found water damage already, call (833) 997-7759 for a free estimate. Estimates are free, pricing is upfront, and every project is backed by the 730-Day Done Right Promise.
If your maintenance routine turns up a project worth doing properly, our team handles window and door replacement across Oakland alongside Driveway & Pavers in Oakland, Fence Installation in Oakland, and Home Additions & ADU in Oakland – one contractor, one team, from foundation to finish line.
Written by the team at Groundwork Construction Co. of Oakland.
See the difference
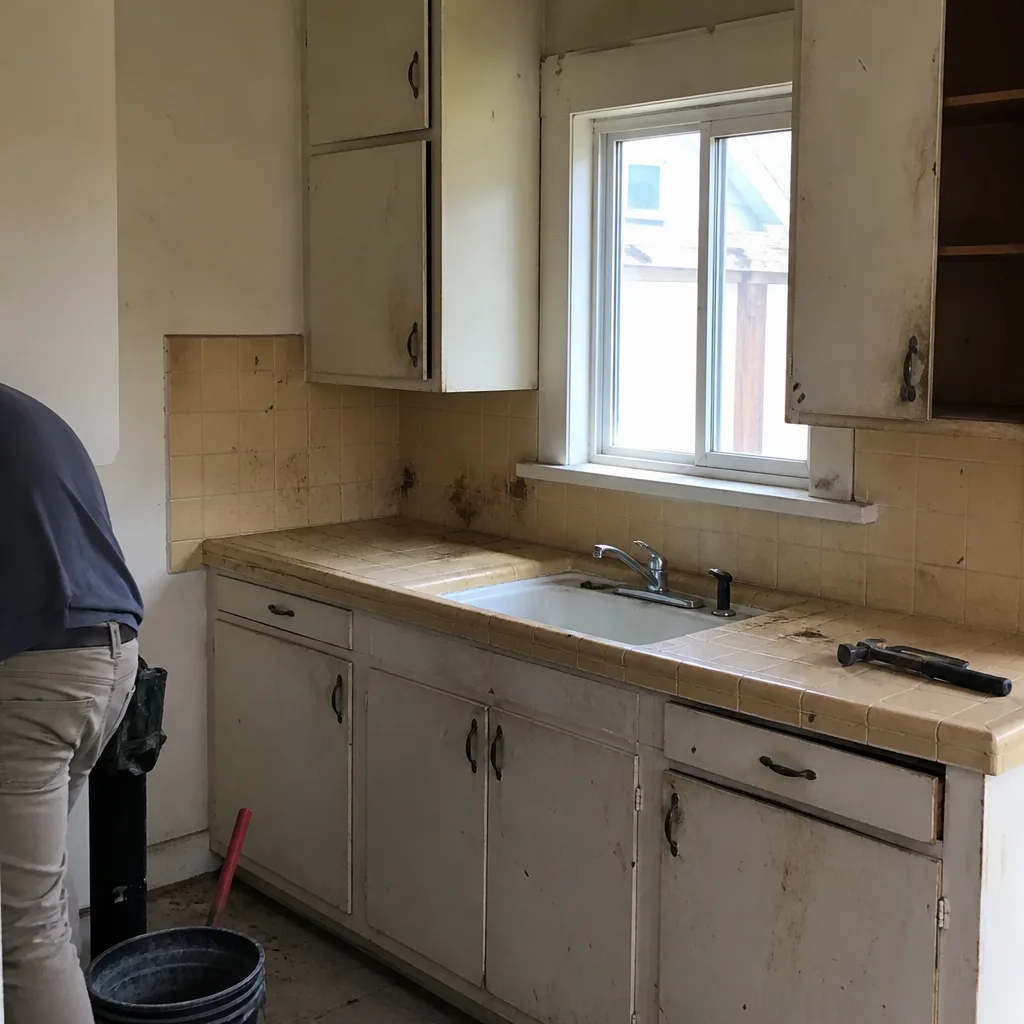 Before
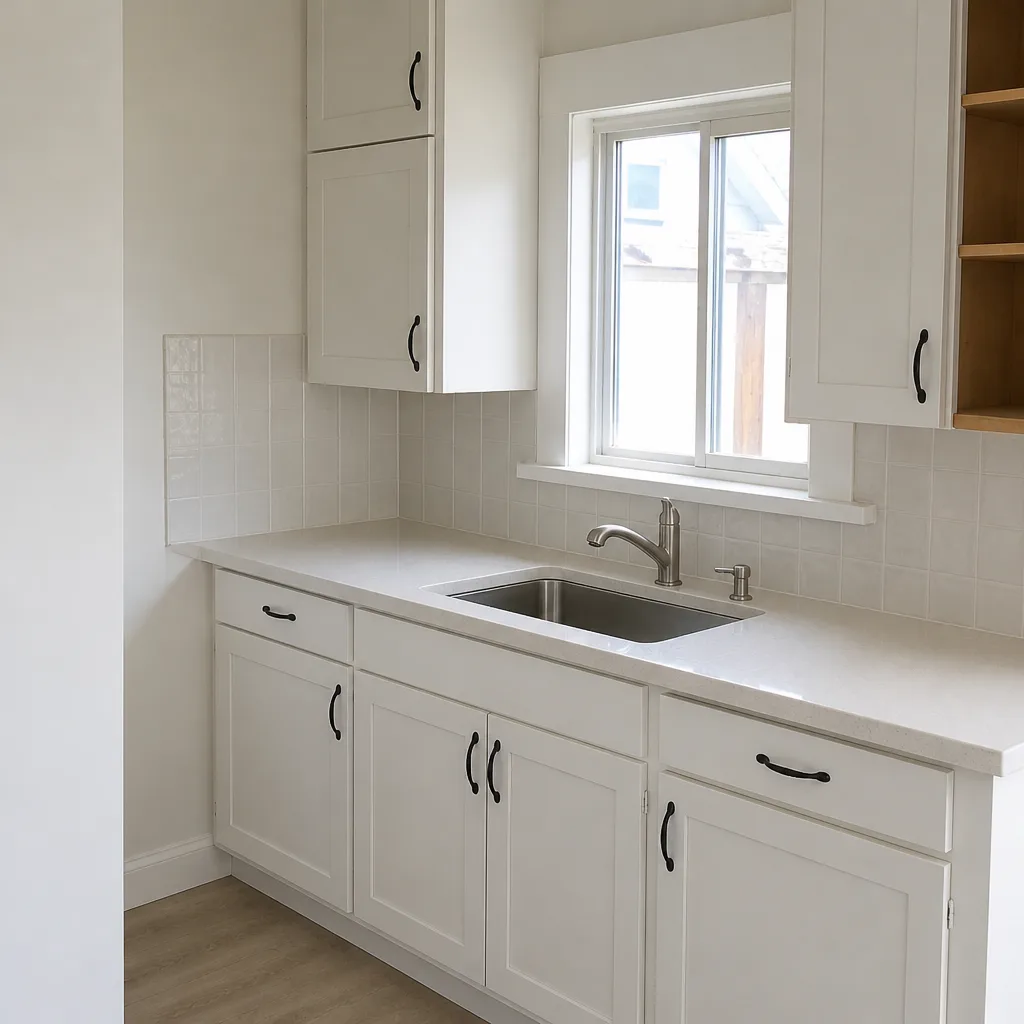 After
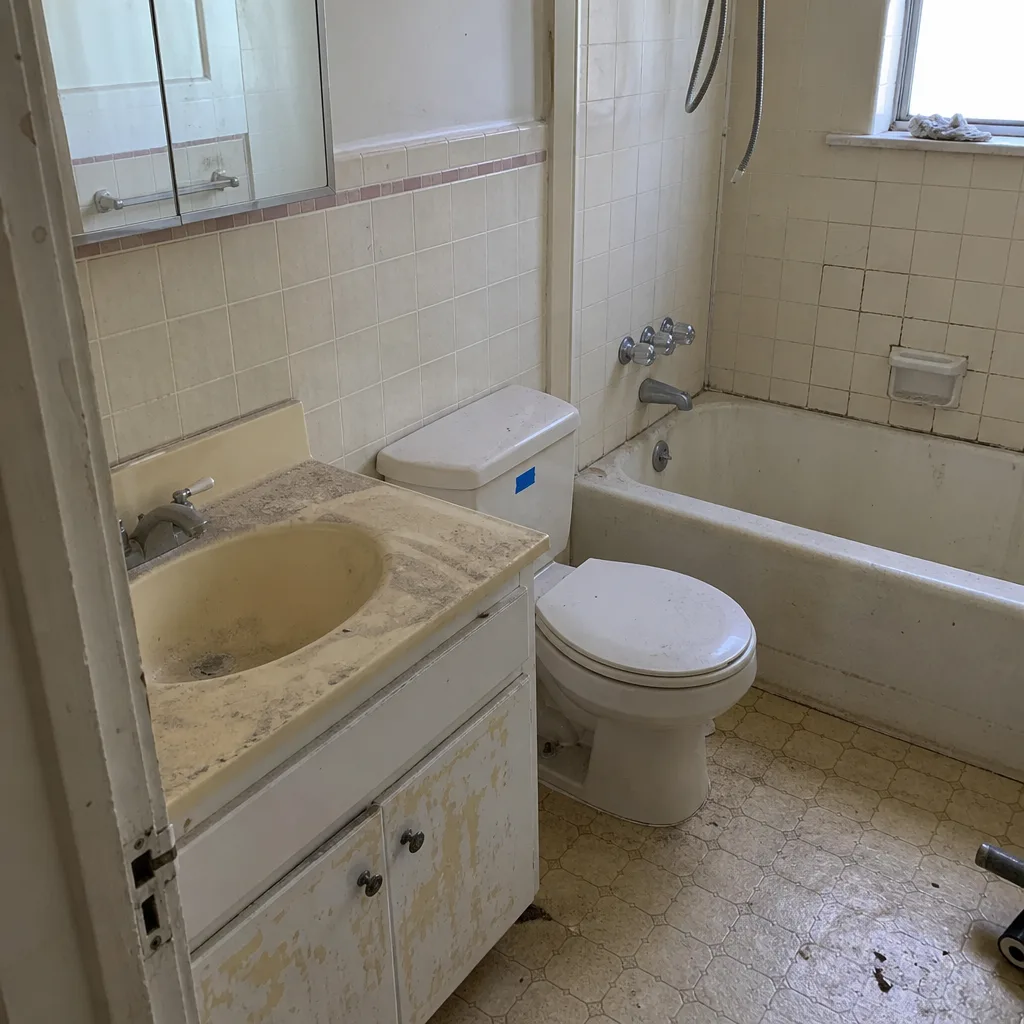 Before
 After
 Before
 After